A sprinkler zone that won’t run doesn’t automatically mean its solenoid has failed. To learn how to tell if a sprinkler solenoid is bad, measure its resistance with a multimeter: a properly functioning residential solenoid commonly reads between 20 and 60 ohms. A reading near zero, infinite resistance, or no continuity points to a failed coil, while a separate voltage test can show whether the controller is sending its 24-volt signal.
When a sprinkler zone stays dry or keeps running, the valve may seem like the obvious culprit. But wiring, the controller, debris, or a worn valve diaphragm can cause similar symptoms. To tell if a sprinkler solenoid is bad, check the clues in order before replacing any parts.
This guide explains how the solenoid controls water flow, which symptoms can point to a problem, and how to test the solenoid and controller signal safely with a multimeter. You’ll learn how to tell if a sprinkler solenoid is bad and distinguish an electrical fault from a mechanical valve issue.
Key Takeaways
- Learn how the solenoid’s electrical signal moves the valve mechanism to start or stop water flow.
- Use symptoms and a manual valve test to help separate an electrical fault from debris, a damaged diaphragm, or another valve-body problem.
- Measure solenoid resistance with a multimeter; a typical working residential solenoid reads between 20 and 60 ohms.
- Test the controller output to see whether the zone is receiving its 24-volt activation signal.
- Use the test results to decide whether cleaning, a minor repair, or valve replacement is the more appropriate next step.
What Is An Irrigation Solenoid Valve?
Shut off the irrigation water before removing a sprinkler solenoid. This limits water discharge if the valve is open, damaged, or unable to seal.
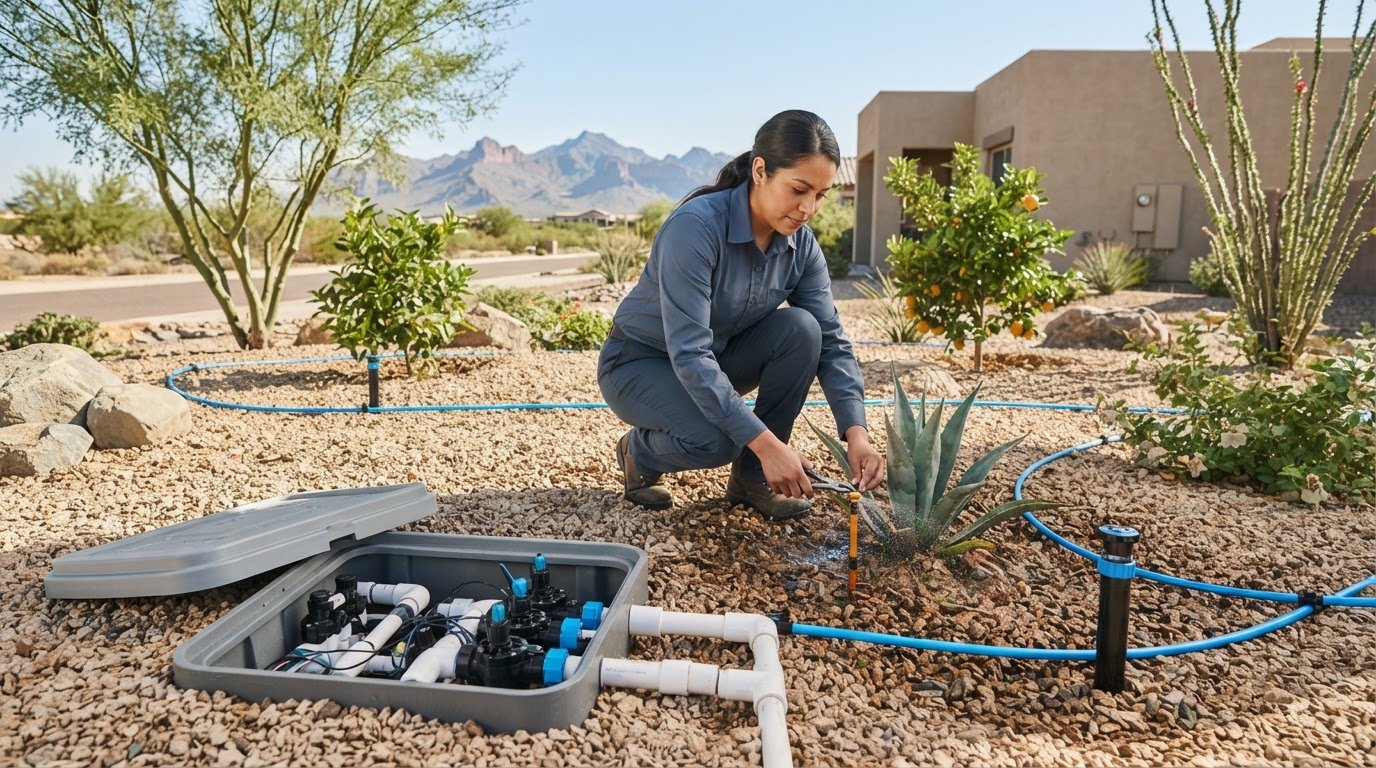
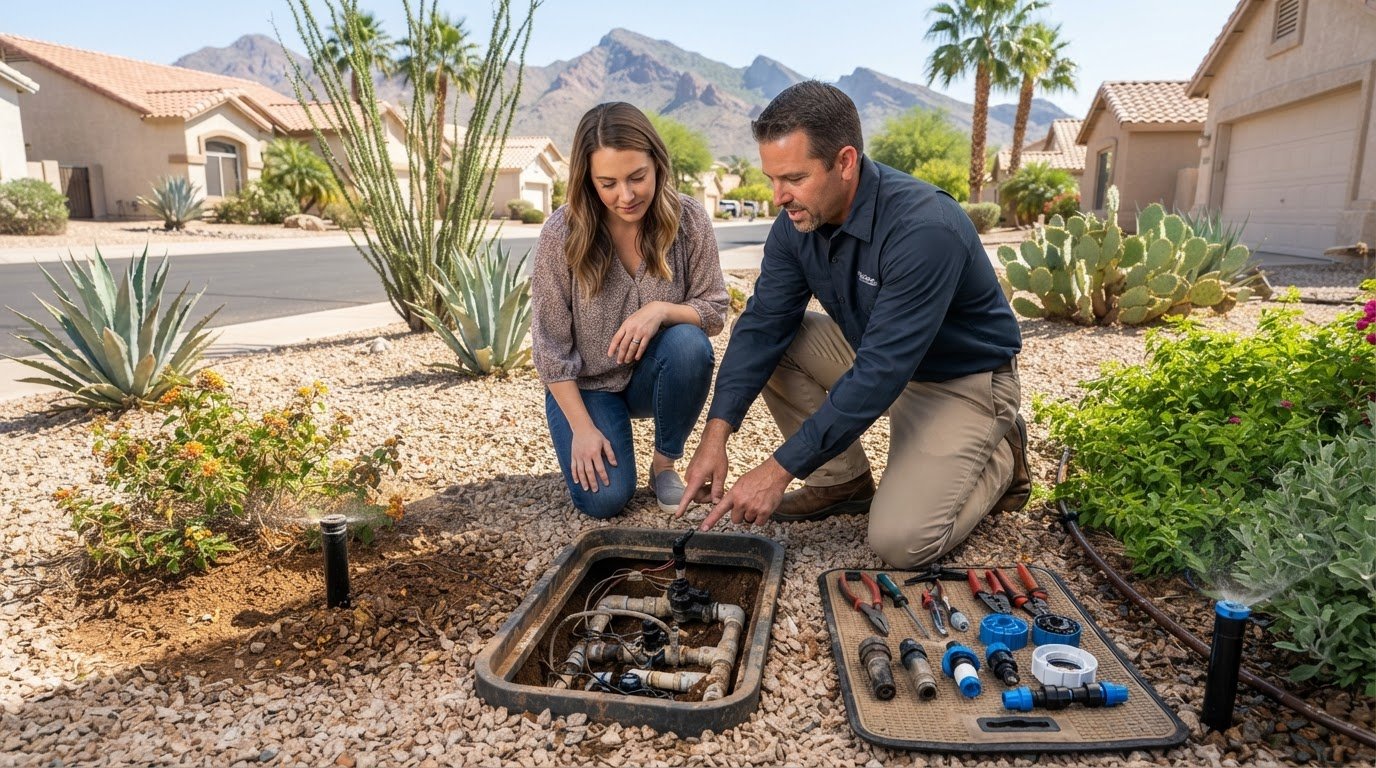
- Identify the solenoid and valve parts. Find the solenoid mounted on top of the sprinkler valve. In a two-way solenoid valve, water passes through two ports: an inlet and an outlet. The electrical coil moves a plunger that controls the valve’s opening. The diaphragm inside the valve body then regulates water flow. Knowing these parts helps you distinguish a coil failure from a mechanical problem before replacing anything.
- Clean the valve before replacing parts. Turn off the irrigation water, then inspect the valve and solenoid for visible debris or damage. If the valve body is intact and the trouble started suddenly, sediment may be blocking the plunger or diaphragm. Remove the solenoid carefully and flush the solenoid and valve with clean water. Clear debris without damaging the plunger, ports, or diaphragm, then reassemble and test the zone. Cleaning may resolve a blockage without replacing the complete valve.
- Replace a faulty solenoid coil or assembly. Disconnect the controller wires and note which wire connects to each terminal. Unscrew the old solenoid, then install a compatible replacement for that valve model. The solenoid body commonly attaches with a quarter to half turn; avoid overtightening it. Reconnect the wires securely, restore the water supply, and run the zone from the controller. A replacement solenoid must match the valve’s electrical requirements and physical fit.
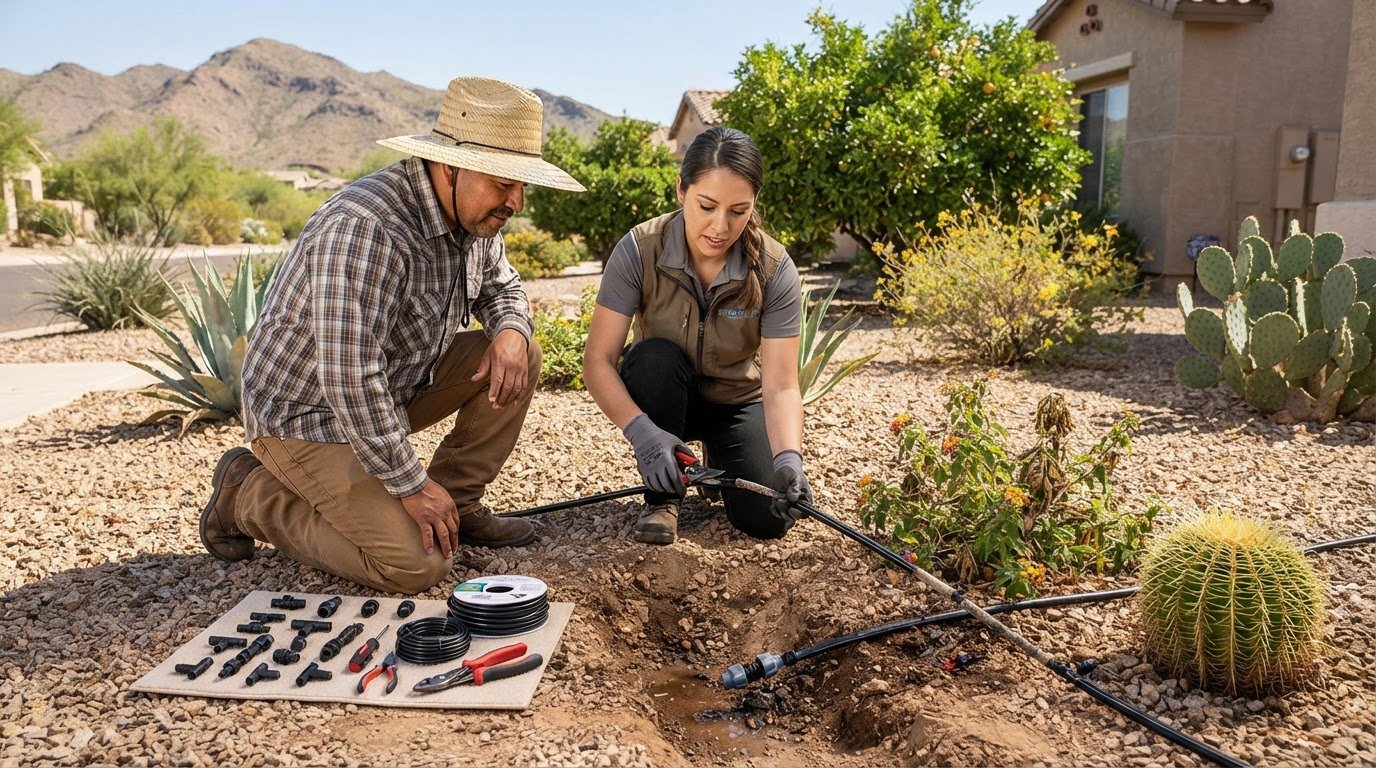
- Inspect the diaphragm when the valve still fails. If the solenoid moves but water flow remains incorrect, open the valve body and examine the diaphragm for tears, wear, or trapped sediment. Clean the sealing surfaces and remove debris, then replace a damaged diaphragm with a compatible part. Reassemble the valve evenly so the diaphragm seats properly. If the valve continues to seep after shutdown, a sealing problem is more likely than a controller signal fault.
- Replace the full valve when damage is extensive. A cracked body, severe corrosion, widespread worn parts, or repeated failures can make full valve replacement more appropriate than repeated minor repairs. The price depends on the valve brand and model, whether the work needs a coil, diaphragm, or complete valve, and access to the valve; pricing is provided after a quote request. After any replacement, test the zone from the controller and check that it opens, waters correctly, and closes without leaking. If it still fails, inspect the wiring, connections, and valve seating rather than replacing the same part again.
How Do I Test If a Sprinkler Solenoid Is Bad?
Check the affected zone in sequence, starting with its symptoms, then testing manual operation and inspecting the valve. This helps distinguish an electrical solenoid fault from debris or damage inside the sprinkler valve.
-
Recognize Valve Failure Symptoms
Run the affected zone and listen at the valve for buzzing or chattering. A click or hum can mean the solenoid is receiving power, even if the valve fails to open or close correctly. Note whether the zone stays dry, waters unevenly, or keeps running after shutdown. A zone that won’t start could have a problem with the solenoid, wiring, controller, or a stuck valve, so one symptom alone won’t identify the faulty part.
- Operate the valve manually. Use its manual bleed or opening control, following the valve’s markings. If water flows through the zone when opened manually, the supply and much of the valve’s mechanical path are working, making an electrical signal, wiring, or solenoid problem more likely. If the zone still won’t run manually, check for a blockage, damaged diaphragm, or another internal valve problem. Close the manual control after testing.
-
Separate Solenoid and Valve Body Problems
Compare manual and controller operation before replacing parts. If manual opening runs the zone but the controller doesn’t, focus on the solenoid circuit and its connections. If the controller appears to send power but the valve doesn’t respond, the solenoid or valve assembly may be at fault. If manual operation also fails, don’t assume the solenoid is the cause: debris or damage to the valve body can block water flow.
- Inspect the diaphragm for damage. Shut off the irrigation water before opening the valve body. Check whether the diaphragm is torn, distorted, or held open by dirt or sediment. Debris on its sealing surface can prevent the valve from closing, while a tear can interfere with normal water control. Carefully clean away sediment and replace a damaged diaphragm with a part that fits the valve. Reassemble it evenly so the diaphragm can seat correctly.
- Use the results to choose the next check. A zone that runs manually but not from the controller points toward an electrical issue; test the wiring and solenoid rather than immediately replacing the valve body. A zone that won’t operate manually calls for inspection of the diaphragm, passages, and valve body. If water continues seeping after shutdown, a sealing problem is more likely than a controller signal fault. For help diagnosing recurring valve or wiring problems, request irrigation troubleshooting.
Signs of a faulty solenoid
Look for patterns across the affected zone, valve box, and controller. A single symptom may point to an electrical component, a mechanical obstruction, or another irrigation problem.
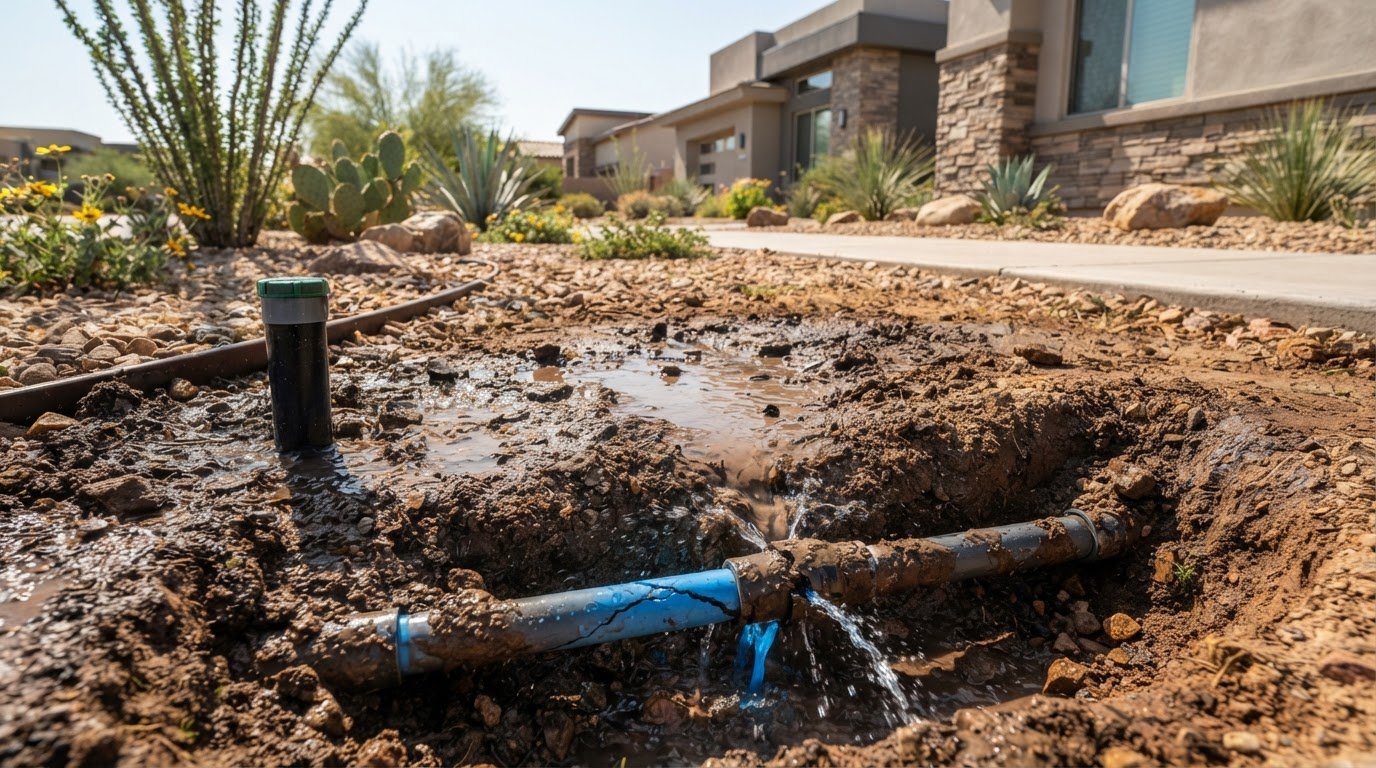
- Check for heat, noise, and continued flow. Run the zone and listen for a click, hum, or chatter at its valve. A clicking solenoid may be trying to open without fully moving the valve. Slight warmth can occur during normal use, but a scorching-hot solenoid suggests a short circuit. Shut off system power if the solenoid is scorching hot. If a zone keeps running after shutdown, the solenoid may be stuck open, but debris or a damaged diaphragm can also prevent the valve from closing.
-
Use the Manual Bleed Test
Open the valve’s manual bleed control or turn its solenoid about a quarter turn, following the valve’s design. This no-tool test takes about two minutes. If the zone runs manually but not from the controller, the water supply and valve can pass water, so investigate an electrical fault. If manual opening doesn’t start the zone, check for a mechanical blockage or valve damage instead of assuming the solenoid failed.
- Compare zone performance. Note whether one zone fails while the others work normally. A single dry zone narrows the likely problem to its valve, field wiring, or controller connection. Brown lawn spots can indicate low pressure and uneven watering, but they don’t prove the solenoid has failed. Check whether the heads in that zone receive water and whether manual operation changes the result. Record what happens with the controller and during manual operation.
-
Check the Controller and Wiring
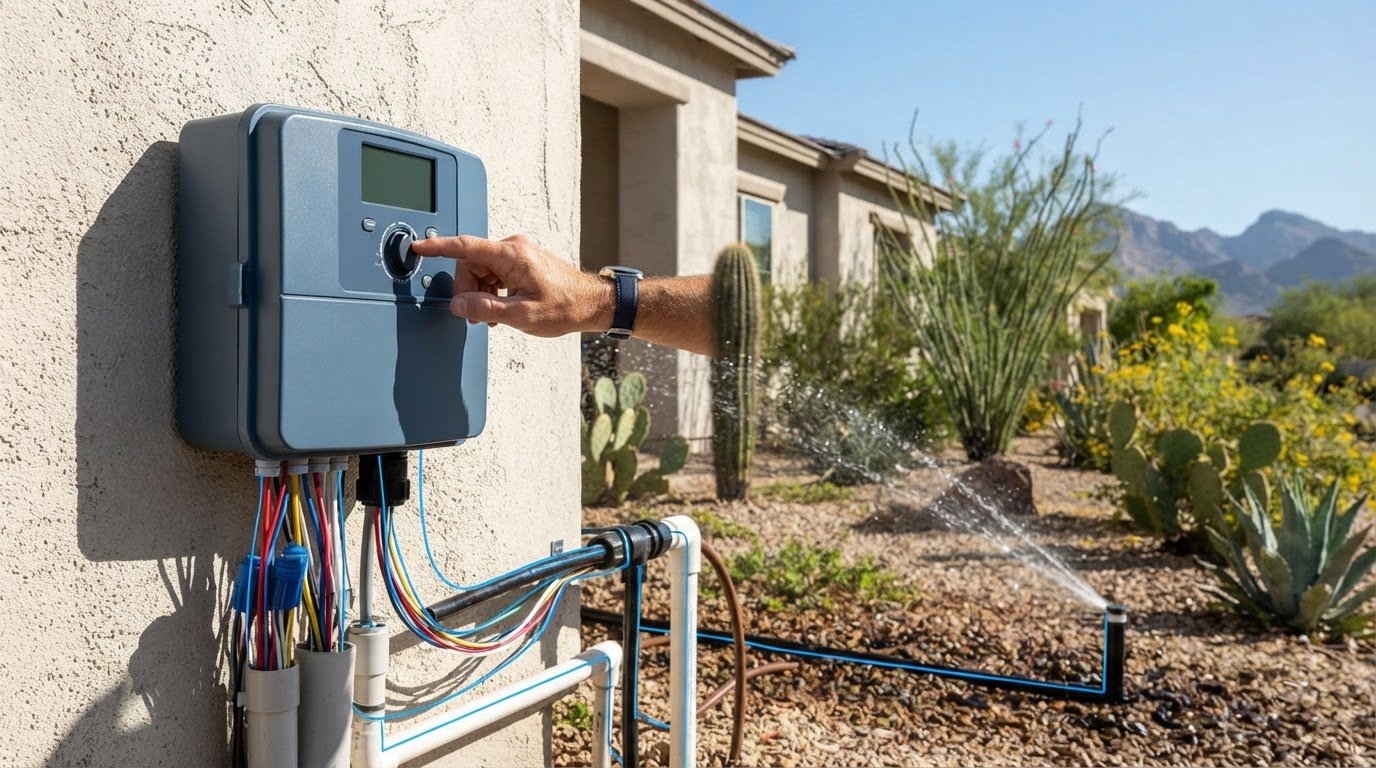
Inspect the controller’s zone setting and the wire connections at the controller and valve box. Look for loose connections, damaged insulation, or a wire pulled free from its terminal. If the controller wire still fails after you connect it to a known-working zone terminal, the fault is in the field wiring or solenoid. A multimeter can help determine whether the controller sends its activation signal.
- Match each clue to the likely fault. If a zone runs manually but not electronically, suspect the controller circuit, wiring, or solenoid. If the valve won’t operate manually, look for a mechanical problem such as debris or diaphragm damage. Seepage after shutdown more often points to a sealing issue than an electrical signal fault. Compare these observations before replacing a component so you address the cause, not just the symptom.
Using a multimeter to test the controller signal
Test the solenoid coil and controller output separately. This helps show whether the fault is at the valve or elsewhere in the irrigation system.
- Isolate the solenoid before measuring resistance. Turn off the controller, open the valve box, and disconnect at least one solenoid wire from the field wiring. Set the multimeter to resistance, marked ohms, and touch one probe to each solenoid terminal. Don’t take an ohms reading on an energized circuit; the controller must be off for this test. Keeping the coil disconnected also helps prevent other wiring from affecting the reading.
- Compare the coil reading with the expected range. Most properly functioning residential sprinkler solenoids measure between 20 and 60 ohms. A reading near zero ohms indicates a short circuit; infinite resistance or an open-circuit display indicates a failed coil. A reading of 50 to 80 ohms may mean the solenoid is approaching failure. Compare the result with the valve’s specifications where available, since solenoids vary by model.
- Check continuity and terminal isolation. A working solenoid should show continuity, or low resistance, between its terminals. Then touch one probe to a terminal and the other to the solenoid body or casing. The solenoid shouldn’t show continuity between a terminal and its casing. Record each result before reconnecting wires, so you can distinguish a coil fault from a connection problem.
- Measure the controller signal at the station terminal. Reconnect the field wire and set the multimeter to voltage. With the controller on, select the affected station and place the probes between that station’s terminal and the common terminal. The controller sends a 24-volt signal to activate the zone solenoid. A signal present at the controller but absent at the valve points toward field wiring or a connection fault; a signal reaching the valve without operation points toward the solenoid or valve assembly.
- Use a no-meter check if needed. If you don’t have a multimeter, operate the valve manually and compare its response with controller operation. A zone that opens manually but not through the controller points toward an electrical problem, but this check can’t confirm voltage or isolate the failed component. A solenoid click can show movement, yet it doesn’t prove the valve opens completely. Use the resistance and voltage tests for a clearer diagnosis when readings are available.
How sprinkler solenoids control water flow
Trace the process from the controller’s electrical signal to water movement through the valve. Understanding each stage helps explain why a valve can click yet still fail to water a zone properly.
- Follow the controller signal to the coil. When the controller activates a station, it sends a 24-volt signal through the field wiring to that zone’s solenoid. The coil converts electrical energy into a magnetic force that moves its internal plunger. That small movement controls a passage inside the valve. A correct signal matters: the solenoid’s voltage tolerance should match the irrigation system’s output. Excess voltage can burn out or short the coil.
- See how the plunger affects the diaphragm. In a common sprinkler valve, the solenoid controls a small pilot opening rather than pushing the full volume of irrigation water itself. Opening or closing that passage changes pressure inside the valve body. The pressure difference moves the diaphragm, which opens or seals the main water path. If debris blocks the pilot passage, the plunger sticks, or the diaphragm is damaged, the valve may not open or close properly.
- Identify the valve’s unpowered position. A normally closed solenoid valve stays closed without power, then opens when its circuit energizes the coil. A normally open valve allows water through while unpowered. A bi-stable solenoid can be toggled between open and closed positions without a defined unpowered state. These designs behave differently after a controller stops sending voltage, so identify the valve type before interpreting unexpected water flow.
- Consider pressure as part of the mechanism. The solenoid operates the valve, but available water pressure and the valve’s pressure tolerance also affect its performance. Pressure above the valve’s tolerance can rupture it; a failing electrical component alone doesn’t explain every leak or weak zone. Water or liquid contacting the coil can short it, while sediment can obstruct movement. Inspect the wiring, valve body, and water path as separate parts of the same circuit.
- Use the sequence to guide diagnosis. A controller signal with no valve response points toward the solenoid or valve assembly. A moving solenoid with continued seepage directs attention toward the diaphragm or sealing surfaces. A valve that opens but delivers uneven water may involve pressure or an obstruction. Keeping these stages distinct helps avoid replacing a coil when the mechanical fault lies elsewhere. If the signal, solenoid, and valve behavior don’t align, get help diagnosing the irrigation system.
Sonora Sprinkler Inc.: Irrigation Repair
Sonora Sprinkler Inc. can diagnose irrigation problems involving wiring, valves, or other system components. Its Irrigation Repair and Irrigation Wiring & Diagnostics services address faults that can be difficult to isolate, such as a controller signal that doesn’t reach the valve or a zone that still won’t operate after basic checks.
Share your test results and symptoms, including whether the zone worked manually, whether the solenoid clicked, and what the multimeter reads. These details help pinpoint the likely electrical or mechanical issue. If the system needs a broader change rather than a repair, Irrigation Installation or Custom Sprinkler System Design may suit the project.
Contact Sonora Sprinkler Inc. to discuss your irrigation issue.
Take the Next Step Toward Reliable Watering
Knowing how to tell if a sprinkler solenoid is bad helps narrow the problem, but a recurring zone issue may involve several components. Use your observations to decide whether the system needs a focused repair or a broader change to how it delivers water.
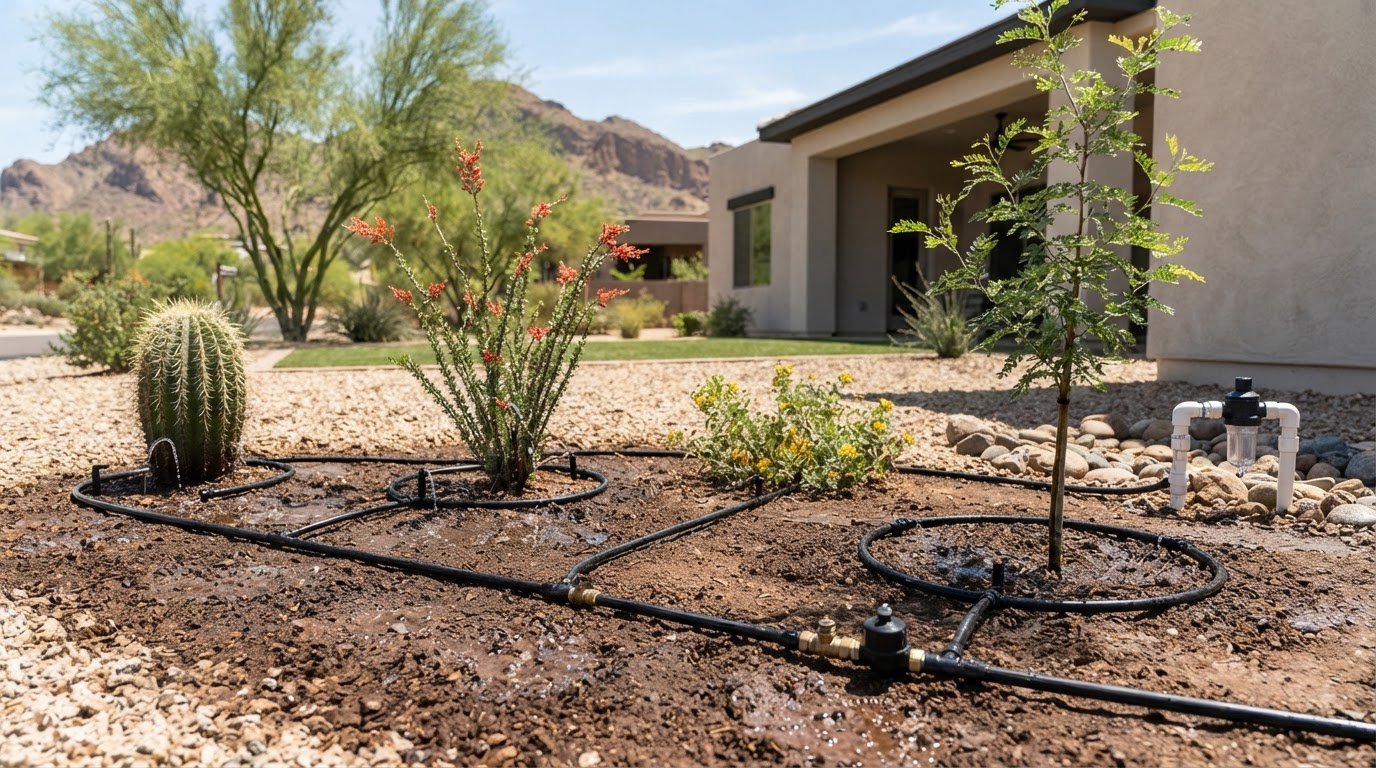
Sonora Sprinkler Inc. provides Irrigation Repair, Irrigation Installation, and Drip Irrigation Installation for homeowners in Surprise and Peoria. The right service depends on your system’s needs, from fixing a faulty zone to changing how plants receive water. Share what you observed, including whether the zone worked manually and what your multimeter displayed, to help explain the problem.
Keep a short record of the affected zone and its symptoms before reaching out. That practical detail can help make the next conversation more focused. Contact Sonora Sprinkler Inc. for help, and take a clear step toward a better-functioning irrigation system.
Frequently Asked Questions
Can a bad solenoid cause a high water bill?
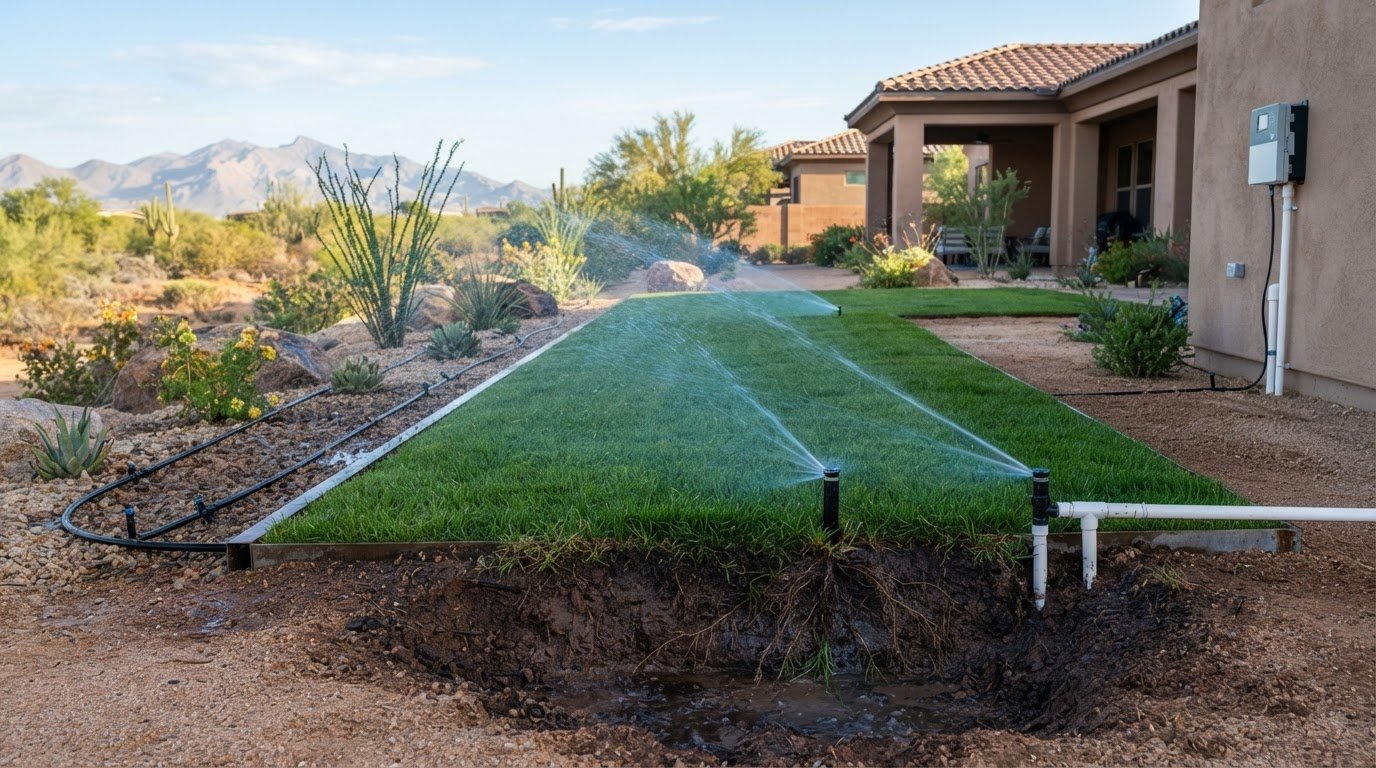
Yes, if the solenoid or valve fails to close and water keeps flowing. A stuck-open sprinkler valve can waste hundreds of gallons per hour. Even a smaller leak matters: a flow of 1 gallon per minute can waste over 43,000 gallons in a month. If your bill rises unexpectedly, check whether a zone continues running after its scheduled cycle ends.
How can I tell if it’s the solenoid or the wiring?
Compare the controller output with the signal at the valve, then test the solenoid’s resistance with the controller power off. If the controller sends a signal but it doesn’t reach the valve, the field wiring or a connection may be faulty. If the signal reaches the valve but the valve doesn’t operate, suspect the solenoid or valve assembly.
Should you clean it, rebuild it, or replace it?
If a sudden problem may be caused by debris and the valve body is intact, clean the solenoid and valve. Flush the parts with water and check whether the obstruction clears. Repair or replace a damaged diaphragm if it prevents proper sealing. A cracked body, severe corrosion, widespread wear, or repeated failures may make replacement of the complete valve more appropriate than repeated minor repairs.
What are the most common signs of a bad solenoid?
Common clues include a zone that won’t start, a valve that won’t shut off, or clicking without effective watering. These signs aren’t conclusive: debris or a worn diaphragm can cause similar behavior. Compare the affected zone with another, then note whether manual valve operation changes the result. This helps narrow the diagnosis.
Why is only one of my sprinkler zones not working?
One inactive zone often points to that station’s solenoid, field wiring, controller connection, or a blockage in the valve. For a home irrigation system in Surprise or Peoria, compare the affected zone’s response with a working zone. If the problem stays with the same valve after its station wire is connected to a known-working controller terminal, the fault is likely in the field wiring or solenoid.
What are the symptoms of a bad sprinkler solenoid?
A faulty solenoid may leave its valve stuck open or closed, cause clicking without effective watering, or become scorching hot. Slight warmth can occur during normal operation, but a scorching-hot coil suggests a possible short circuit. Shut off system power if the solenoid is scorching hot. Continued seepage after shutdown is more likely to indicate a valve-body or diaphragm sealing problem.
How do I test a sprinkler solenoid with a multimeter?
Turn off the controller and disconnect a solenoid wire before measuring resistance. Set the multimeter to ohms, then touch one probe to each solenoid terminal. To test controller output, set the meter to voltage and measure between the selected station terminal and common while the controller runs that zone. This checks whether the irrigation system sends its activation signal.
What resistance reading should a sprinkler solenoid have?
Most residential sprinkler solenoids that work properly measure between 20 and 60 ohms. A reading near zero indicates a short circuit, while infinite resistance indicates an open circuit and a failed coil. A reading of 50 to 80 ohms may mean the solenoid is approaching failure. Compare readings with the valve’s requirements, since solenoid models can differ.