That persistent pool of water around your valve box doesn't have to mean a weekend spent digging up your entire yard. Many homeowners in Surprise and Peoria see a leaking valve and immediately fear a costly, full-system overhaul. It is easy to feel overwhelmed by the technical differences between brands like Hunter or Rain Bird, especially when a malfunctioning system leads to high water bills and potential issues with local water waste ordinances. We understand the pressure to keep your landscape healthy while managing the unique stressors of the Arizona desert.
The good news is that a targeted irrigation valve diaphragm replacement is often all it takes to restore your system's efficiency. This guide provides the professional expertise you need to diagnose a failing component and complete the repair with precision. You'll learn how to clear out the fine desert silt that often compromises these parts and how to install a new seal without disturbing your existing piping. By following this methodical approach, you can stop water waste immediately and ensure your irrigation system remains reliable throughout the peak of the summer heat.
Key Takeaways
- Identify the specific symptoms of a failing seal, such as "weeping" valves or low-pressure sprinkler heads, to confirm if a repair is necessary.
- Follow a methodical step-by-step process for an irrigation valve diaphragm replacement to restore your system's pressure without the need for a full valve overhaul.
- Discover how to manage Arizona-specific challenges like calcium buildup and "white crust" that can prevent even a new diaphragm from sealing correctly.
- Learn why identifying your specific valve brand, whether it's Hunter, Rain Bird, or Orbit, is the first critical step toward a successful and durable repair.
- Understand the risks of common DIY pitfalls, such as cross-threading, and recognize when a simple swap might require professional expertise to protect your home's main irrigation lines.
Understanding the Role and Failure of Irrigation Valve Diaphragms
The diaphragm is the primary pressure-sealing mechanism in an automatic irrigation valve. This flexible rubber component acts as a gatekeeper, regulating water flow by responding to pressure differentials within the valve chamber. In most residential setups, this component is designed as a diaphragm valve, utilizing the natural pressure from your main water line to stay firmly seated against the valve seat. Because it's the only moving part that constantly flexes and withstands high pressure, it's the most frequent cause for an irrigation valve diaphragm replacement .
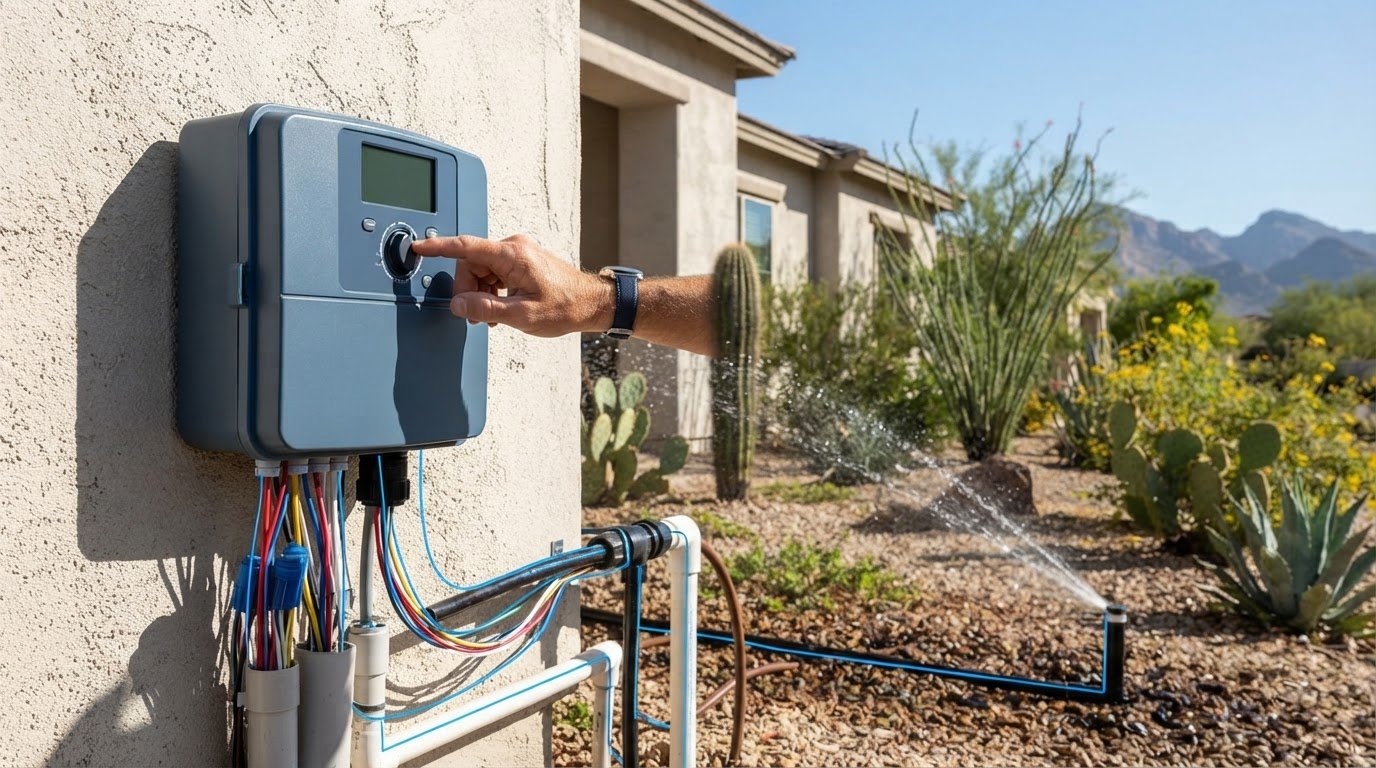
The operation depends on a delicate balance between the diaphragm and the solenoid. When your irrigation controller sends an electrical signal, the solenoid retracts a small internal plunger. This movement opens a tiny port, allowing water to escape from the chamber above the diaphragm. This creates a pressure drop, which enables the main water supply to push the diaphragm upward and allow water to flow to your sprinklers. When the electrical signal stops, the plunger closes, pressure builds back up in the top chamber, and the diaphragm is forced back down to seal the valve shut.
Anatomy of a Residential Sprinkler Valve
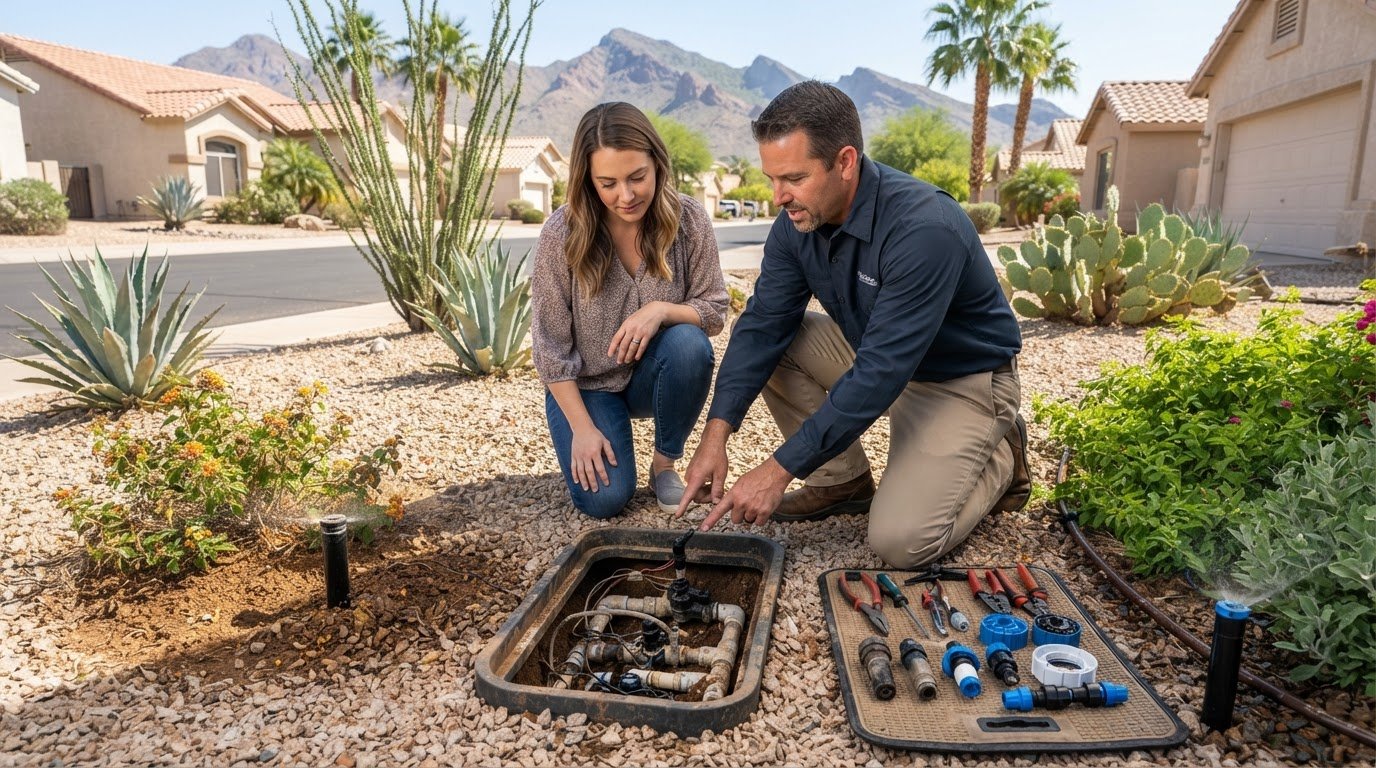
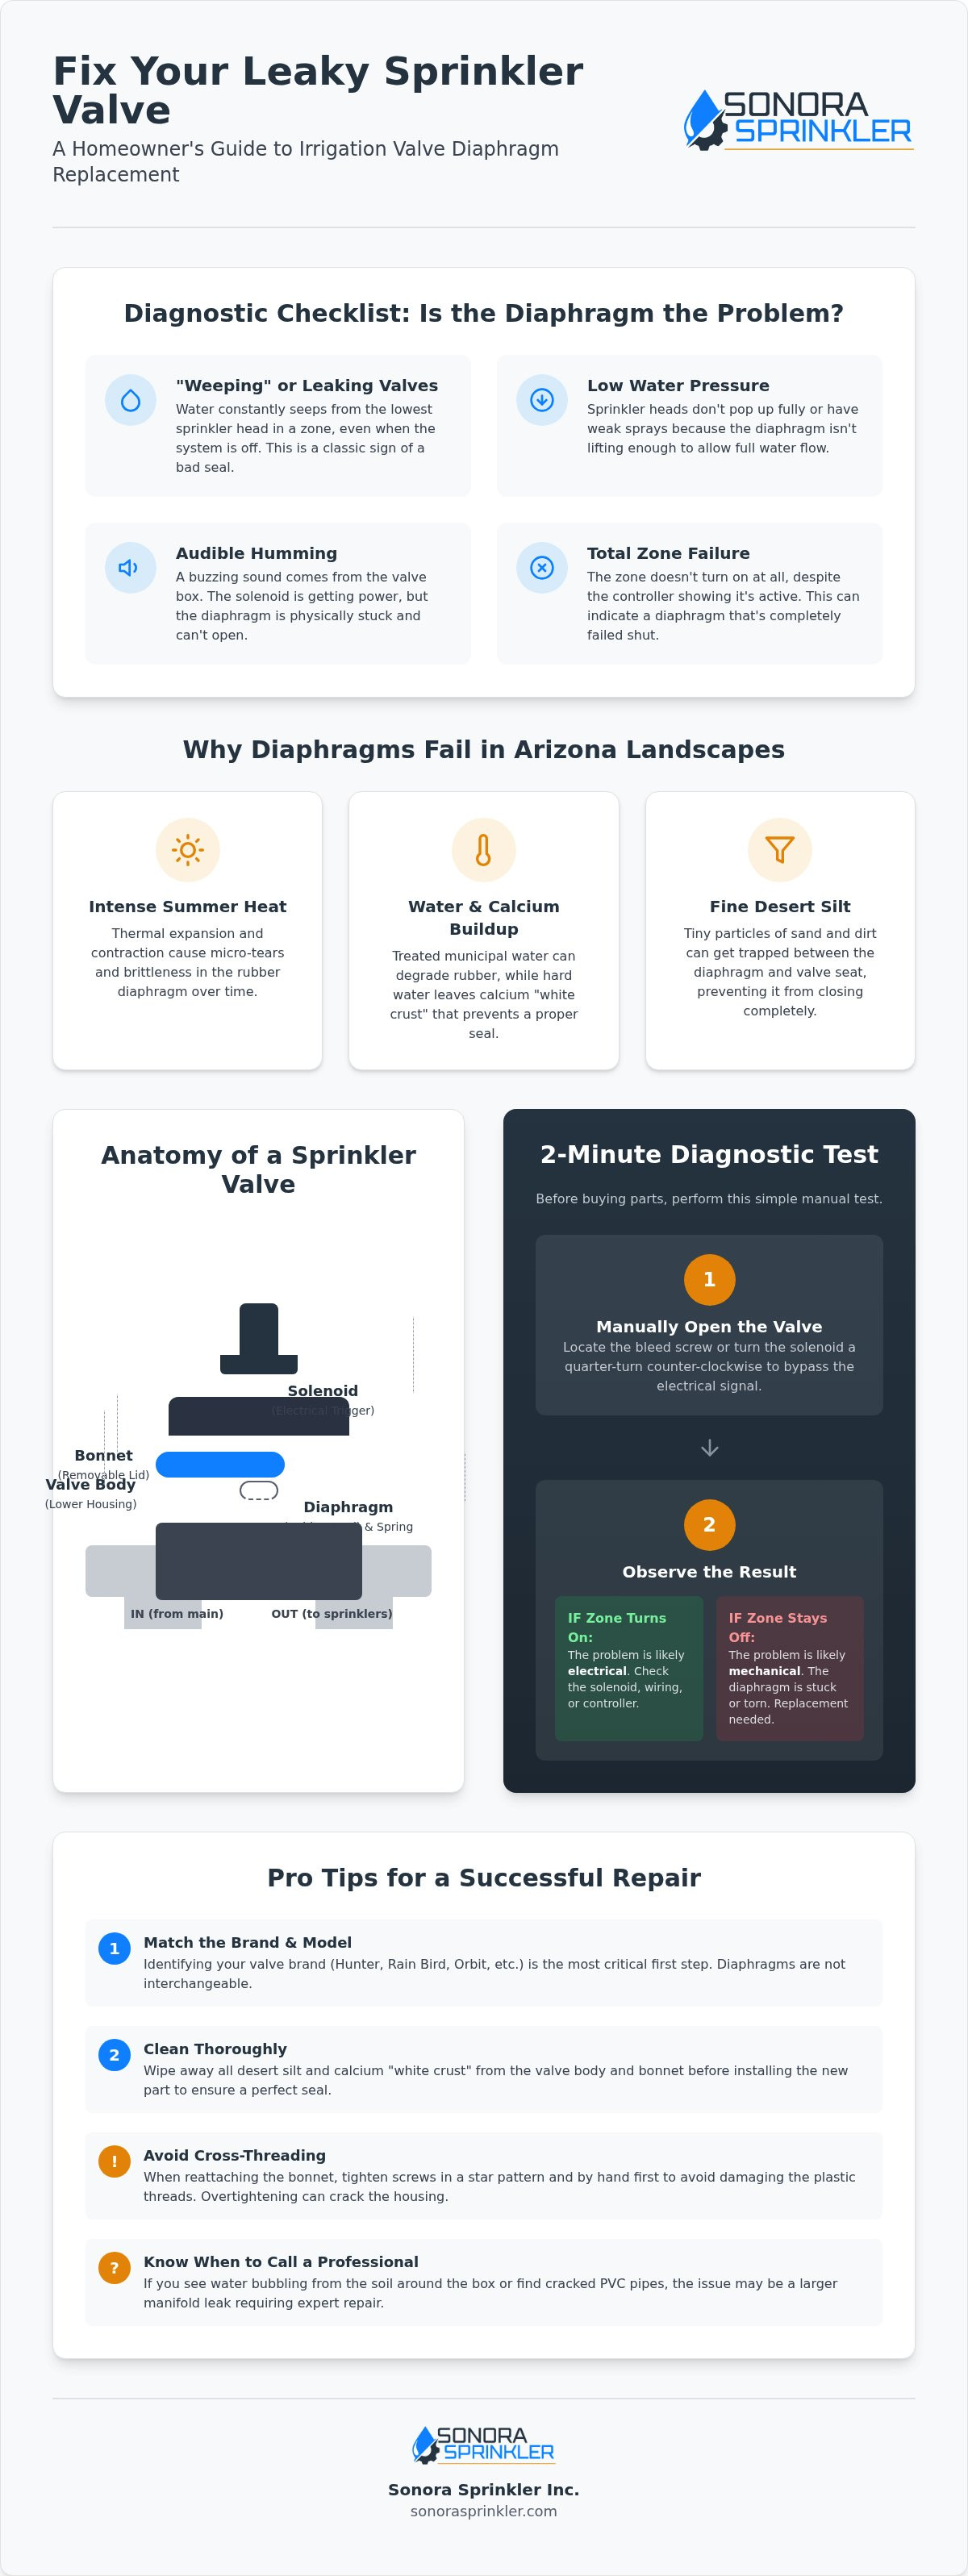
A standard residential valve is comprised of several key parts that must work in unison. The valve body is the lower housing connected to your PVC lines, while the bonnet serves as the removable lid that holds everything together. The solenoid sits atop the bonnet as the electrical trigger. Inside, an internal spring provides the necessary tension to help the diaphragm return to its sealed position. If the spring loses its tension or the bonnet screws become loose, the seal will fail regardless of the diaphragm's condition. Our valve and backflow services often involve inspecting these secondary parts to ensure a repair is truly durable.
Why Diaphragms Fail in Arizona Landscapes
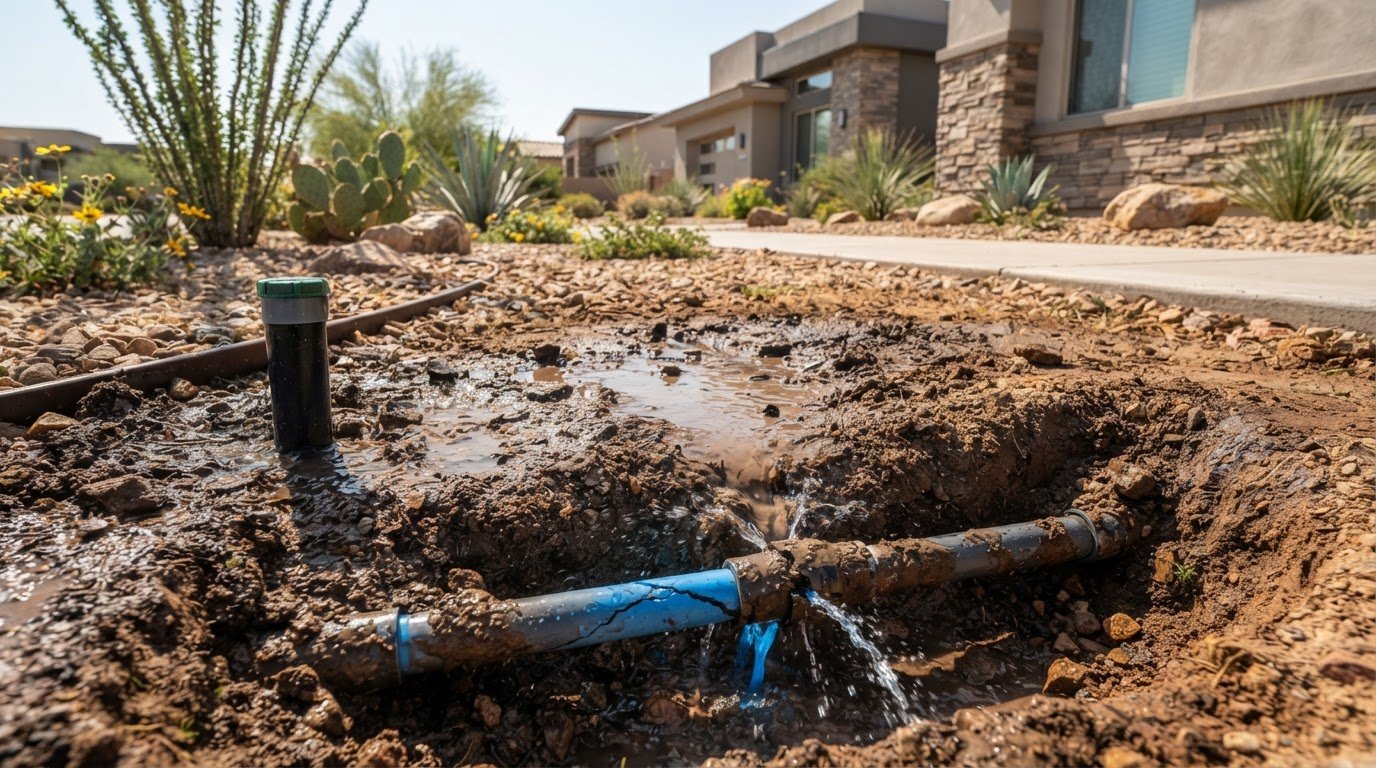
In communities like Surprise and Peoria, the environment presents unique challenges to irrigation hardware. The intense summer heat causes significant thermal expansion and contraction within the valve box, which eventually leads to micro-tears and "brittleness" in the rubber. This degradation often results in "weeping" valves, where a small amount of water constantly bypasses the seal and leaks out of the lowest sprinkler head in the zone. This constant leak can quietly inflate your monthly utility bill. Additionally, the chemical makeup of treated municipal water can accelerate the breakdown of the rubber, while fine desert silt can become trapped in the seal, preventing it from closing completely. Recognizing these environmental stressors is the first step toward maintaining a reliable system.
Diagnostic Checklist: Is the Diaphragm Actually the Problem?
Accurately identifying the source of a system failure saves time and prevents the unnecessary purchase of parts. Before you begin an irrigation valve diaphragm replacement , you need to be certain the rubber seal is the actual point of failure. Many symptoms of a broken valve can mimic electrical issues or pipe leaks, so a systematic approach is necessary to avoid replacing functional components.
Common symptoms of a faulty diaphragm include:
- The valve "weeps" or leaks: Water continues to flow out of the lowest sprinkler head in the zone even when the controller is off.
- Low pressure: Sprinkler heads never fully pop up because the diaphragm isn't lifting enough to allow full water volume through the valve.
- Audible humming: A buzzing sound emanates from the valve box, indicating the solenoid is energized but the diaphragm is physically stuck.
- Total zone failure: The zone refuses to activate at all, even though the controller indicates the station is running and the wiring is intact.
Testing the Solenoid vs. the Diaphragm
To narrow down the cause, use the manual bleed screw or turn the solenoid a quarter turn to open the valve manually. If the zone turns on when you bypass the controller but fails to respond to the electrical signal, your issue likely lies with irrigation wiring diagnostics rather than the rubber seal. However, if the valve remains closed even with the manual bleed open, the internal seal is likely jammed or fused to the valve seat. This simple test helps you decide if an irrigation valve diaphragm replacement is the correct path forward or if the solenoid plunger is simply blocked by debris.
Inspecting for External Manifold Leaks
You should also consult Rain Bird's valve troubleshooting guide for a systematic look at pressure-related failures. Sometimes the problem isn't internal. If you notice water bubbling up from the soil around the valve box rather than leaking from a head, you might be dealing with a cracked valve body or root intrusion. In these cases, our irrigation manifold repair guide can help you determine if the entire assembly needs attention. If these diagnostic steps feel overwhelming or the leak persists, you can always request a professional inspection to ensure your system is handled with expert care.
Step-by-Step Guide to Irrigation Valve Diaphragm Replacement
Executing a successful irrigation valve diaphragm replacement requires more than just swapping a rubber part; it demands a methodical approach to ensure the new seal lasts for several seasons. Before you begin, identify the specific brand and model of your valve, such as Hunter, Rain Bird, or Orbit. This information is typically embossed on the valve bonnet. Attempting to use a generic or "universal" kit often leads to premature failure because even minor differences in the guide pin placement or thickness can prevent a watertight seal.
Safety and preparation are the foundations of any professional repair. Start by shutting off the main water supply to the irrigation system. Once the water is off, activate the zone manually from your controller to relieve the internal pressure. This step prevents water from spraying when you loosen the bonnet and makes it much easier to remove the screws without stripping the plastic housing. Working on a pressurized valve is a common mistake that can permanently damage the valve body threads.
Tools and Parts You Will Need
Gather your materials before opening the valve box to prevent debris from falling into the open system. You will need a Phillips or flat-head screwdriver, a pair of needle-nose pliers for stubborn springs, and a clean, lint-free rag. Ensure your replacement kit includes a new diaphragm and a matching internal spring. It is vital that you never use lubricants, silicone grease, or pipe dope on the internal components of the valve. These chemicals can cause the rubber to swell or degrade, leading to a "sticky" valve that fails to open or close properly.
The Replacement Process
Carefully remove the bonnet screws and lift the lid to reveal the old diaphragm. Take a moment to inspect the plastic "seat" where the diaphragm rests; if you find pits, deep scratches, or cracks, a simple irrigation valve diaphragm replacement may not be enough to stop the leak. Before installing the new part, perform the non-negotiable step of flushing the valve. Briefly turn the main water supply on for three seconds to blow out any desert silt or pebbles trapped in the line. For more detailed technical diagrams on this process, you can refer to Rain Bird's valve maintenance guide. When reassembling, align the guide pins perfectly and tighten the screws in a "star pattern" to ensure even pressure across the seal.
Testing and Re-pressurizing the System
Once the bonnet is secure, slowly turn the main water supply back on. Opening the main valve too quickly can cause a "water hammer," a pressure surge that can burst PVC fittings or dislodge your newly installed diaphragm. Perform a manual test run of the zone to verify the seal is watertight. If the valve still leaks or fails to close, double-check that the internal spring is seated correctly and that no new debris entered the chamber during reassembly. If you encounter persistent issues with the manifold, our irrigation repair services can provide a deeper diagnostic to identify hidden cracks or wiring faults.
Arizona-Specific Challenges: Heat, Hard Water, and Debris
While the mechanical steps of an irrigation valve diaphragm replacement are relatively standard, the environmental factors in the West Valley present unique obstacles. In Surprise and Peoria, the intense summer sun can heat the soil and valve boxes to temperatures that exceed 120 degrees Fahrenheit. This extreme heat causes the rubber components to lose their elasticity much faster than in milder climates. Over time, the diaphragm becomes brittle, making it prone to cracking under the constant pressure of your main water line.
Mineral content is another significant factor. Arizona is known for its hard water, which often leaves behind a "white crust" of calcium and magnesium on internal valve parts. These deposits can build up on the valve seat, preventing a perfect seal even if you have just installed a new part. Additionally, fine desert silt and sand can bypass filters and enter the valve body. These tiny, abrasive particles can puncture a brand-new rubber diaphragm or jam the solenoid plunger, leading to an immediate return of the very leaks you sought to fix.
Your backflow preventer plays a critical role in this ecosystem by maintaining consistent pressure and protecting your home's potable water. If the backflow device is failing, it can lead to pressure surges that stress the valve diaphragms throughout your entire system. Ensuring this component is in good working order is a prerequisite for the long-term success of any valve repair.
Hard Water Maintenance for Valley Homeowners
To combat mineral buildup, we recommend using a soft-bristled brush to gently clean the valve seat whenever the bonnet is removed. Because of the local water chemistry, homeowners in our area should expect that an irrigation valve diaphragm replacement will be necessary every 3 to 5 years. Regular cleaning of these mineral deposits can extend the life of your solenoid and ensure that the valve closes completely every time the controller shuts off the power. This proactive maintenance prevents the "weeping" effect that can lead to surprisingly high water bills.
Protecting the Valve Box from the Elements
Maintaining a clean environment inside the valve box is just as important as the internal repairs. Overgrown desert roots can often press against the valve body, causing structural stress or even cracking the manifold. A "dry" valve box is essential for preventing the electrical corrosion of your wire nuts and solenoid connections. Before performing any maintenance, ensure your system is accessible by completing any necessary irrigation shut off valve repair to guarantee you can stop the water flow in an emergency. If you find your valve box filled with mud or crushed by roots, contact our team for a professional evaluation to ensure your system is properly protected.
Professional Maintenance vs. DIY: Ensuring Long-Term Reliability
Many homeowners take pride in maintaining their own landscape. However, there's a point where a simple irrigation valve diaphragm replacement no longer solves the underlying issue. If the valve body itself has warped from years of Arizona heat or if the internal plastic seat has been scored by debris, the new diaphragm won't be able to create a watertight seal. This often leads to frustration as the leak persists despite your best efforts. Recognizing when a component has reached the end of its functional life is key to preventing water waste and protecting your property.
One of the most common pitfalls we see during DIY attempts is cross-threading the bonnet screws or the solenoid. In a high-pressure system, even a slightly misaligned screw can lead to a catastrophic failure that requires a complete irrigation repair. A professional audit can determine if the manifold is structurally sound or if systemic issues, like pressure surges from the main line, are causing your valves to fail prematurely. Taking the time for a thorough inspection prevents a minor leak from turning into a major yard flood.
Signs You Need a Full Valve Replacement
Visible cracks in the valve body housing are an immediate indicator that a replacement is necessary. These often appear as hairline fractures that expand under pressure. If you've performed an irrigation valve diaphragm replacement multiple times and the zone still "weeps," the valve seat is likely damaged beyond repair. Upgrading to modern, high-efficiency valves is also a wise choice for water conservation. With Arizona facing prolonged drought conditions and cities like Phoenix strictly enforcing water waste rules, installing hardware that guarantees a positive shut-off is a responsible investment for any property owner.
The Sonora Sprinkler Inc. Advantage
Since 1999, our family-owned business has focused exclusively on residential irrigation needs in the West Valley. We provide specialized valves and backflow services that go beyond simple parts replacement. Our team uses professional diagnostics to identify whether your problem is mechanical, electrical, or related to the manifold's design. We understand the nuances of local soil and the specific brands that perform best in our climate. If your DIY project has become overwhelming or if you want the peace of mind that comes with a master craftsman's touch, contact Sonora Sprinkler Inc. today for a comprehensive system diagnostic. We're here to help you protect the long-term health of your landscape.
Restoring Reliable Irrigation Control
By addressing a faulty seal early, you protect both your landscape's health and your home's water budget. As we have discussed, a targeted irrigation valve diaphragm replacement is a highly effective way to stop leaks and restore pressure without the labor of a full valve overhaul. Success depends on careful cleaning of the valve seat and selecting the exact model-specific components for your system. Taking these methodical steps ensures your irrigation remains a precise tool rather than a source of waste.
Sonora Sprinkler Inc. has been family-owned and operated since 1999, providing dedicated residential irrigation support to the Surprise and Peoria communities. As licensed and insured specialists, we understand the specific mechanical stressors caused by the Arizona environment. We take pride in delivering stable, reliable repairs that ensure your system functions at peak efficiency for years to come. Our grounded expertise allows us to solve complex manifold issues that might overwhelm a generalist.
Schedule Your Professional Valve Diagnostic with Sonora Sprinkler Inc. to secure the long-term reliability of your irrigation system and ensure it is prepared for the desert heat.
Frequently Asked Questions
How do I know which replacement diaphragm to buy?
You must identify the specific brand and model number embossed on the top of the valve bonnet. Manufacturers like Hunter, Rain Bird, and Orbit design their internal components with proprietary dimensions that are not interchangeable. Taking the old part to a local irrigation supplier in Surprise or Peoria is the most reliable way to ensure the new seal fits the internal guide pins perfectly.
Can I replace a diaphragm without turning off the main water?
No, you must shut off the main water supply and relieve system pressure before opening the valve. Attempting an irrigation valve diaphragm replacement while the line is pressurized will result in water spraying uncontrollably from the bonnet. This can lead to lost internal parts, such as the spring or solenoid plunger, and may cause physical injury from the sudden release of pressure.
Why is my sprinkler valve still leaking after I replaced the diaphragm?
Persistent leaks usually signify that fine desert silt or calcium deposits are trapped on the valve seat. Even a single grain of sand can prevent a new rubber seal from closing completely against the plastic housing. If the leak continues after a thorough flushing, the valve body itself might be warped or cracked from years of exposure to extreme Arizona temperatures.
How long do irrigation valve diaphragms typically last in Arizona?
Most residential diaphragms in the West Valley last between 3 to 5 years before requiring service. The intense desert heat accelerates the "brittleness" of rubber components, while the high mineral content in local water leads to chemical degradation. Regular system audits can help identify these failing seals before they result in a significant spike in your monthly utility bill.
What is the difference between a jar-top valve and a screw-top valve?
A jar-top valve uses a large threaded ring that you can often unscrew by hand, similar to opening a mason jar. In contrast, a screw-top valve uses multiple metal screws to secure the bonnet to the valve body. While jar-top models offer easier access for a quick irrigation valve diaphragm replacement , screw-top models are frequently found in high-pressure residential manifolds due to their robust design.
Is it better to repair the valve or replace the entire unit?
Repairing the valve with a new diaphragm kit is the most efficient choice if the external housing is in good condition. It avoids the need to cut PVC pipes and rebuild the manifold. However, if you notice stripped threads, visible cracks in the plastic, or persistent weeping that a new seal doesn't fix, replacing the entire unit is the only way to ensure long-term reliability.
What happens if I put the diaphragm in upside down?
The valve will fail to function because the pressure differential required to lift the seal won't be able to form. Most diaphragms have a specific orientation, often marked by guide pins or a reinforced rubber side that must face the water source. Installing it incorrectly usually results in a zone that either stays permanently open or refuses to activate when triggered by the controller.
How much does it cost for a professional to replace a valve diaphragm?
Professional service costs depend on the accessibility of your valve box and whether the repair involves a single zone or a full manifold diagnostic. While DIY kits are affordable, a professional ensures the valve seat is properly cleaned and the system is tested for pressure surges. Homeowners should request a specific estimate based on their system's brand and the current condition of their irrigation wiring.