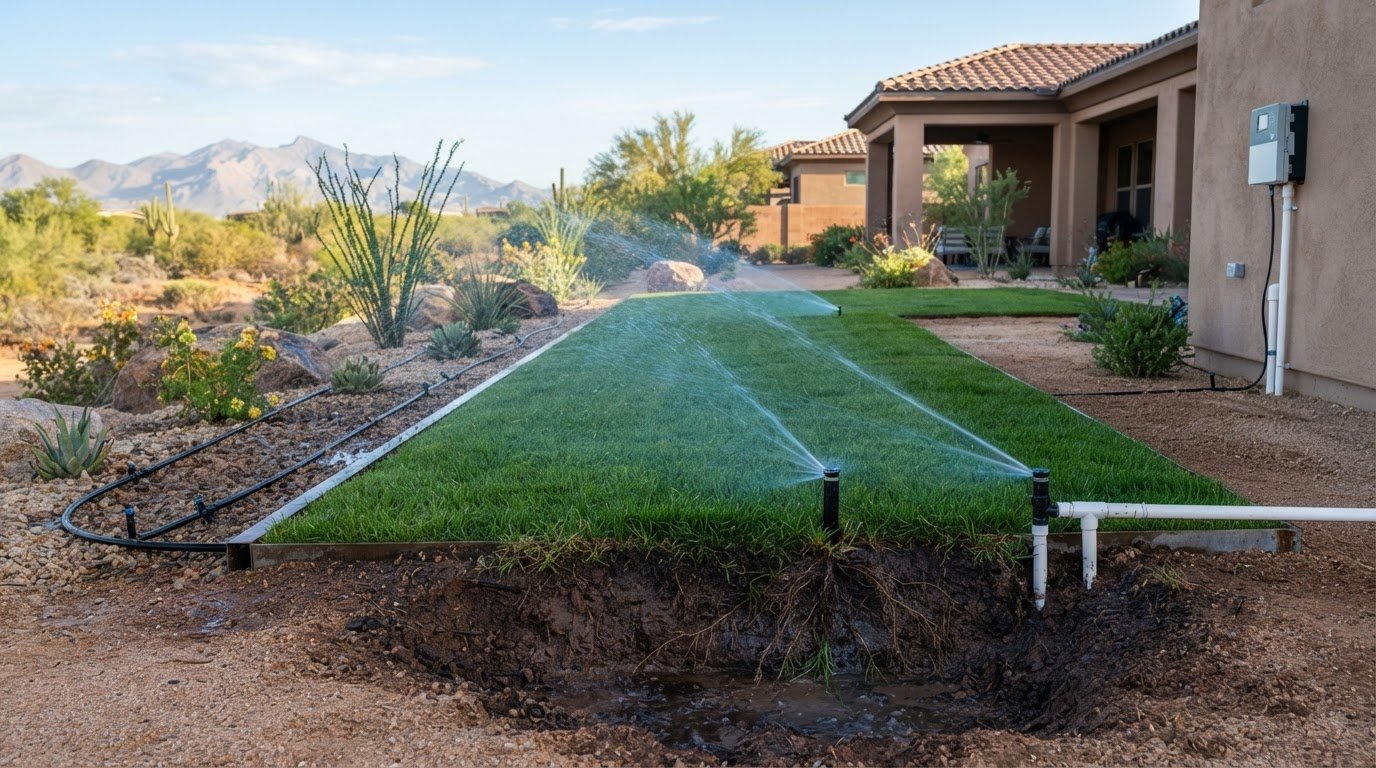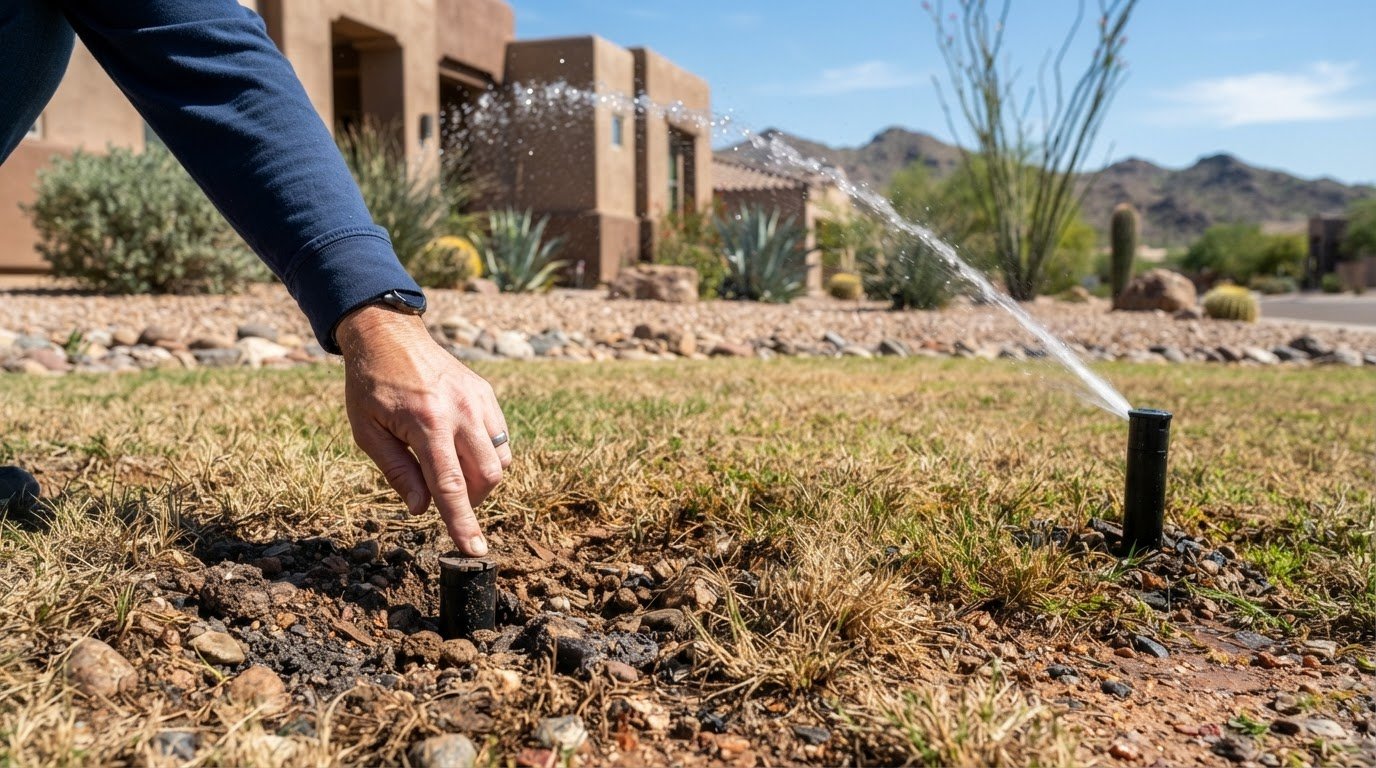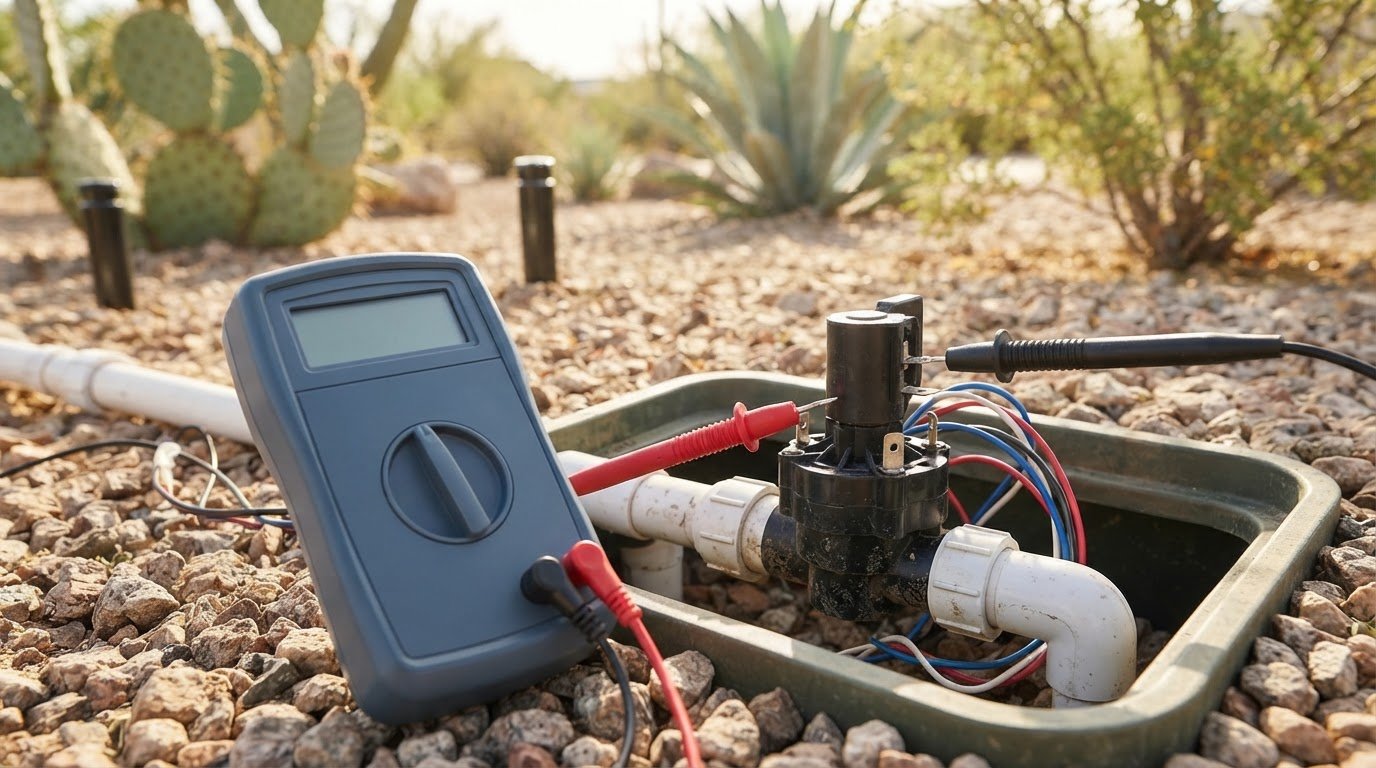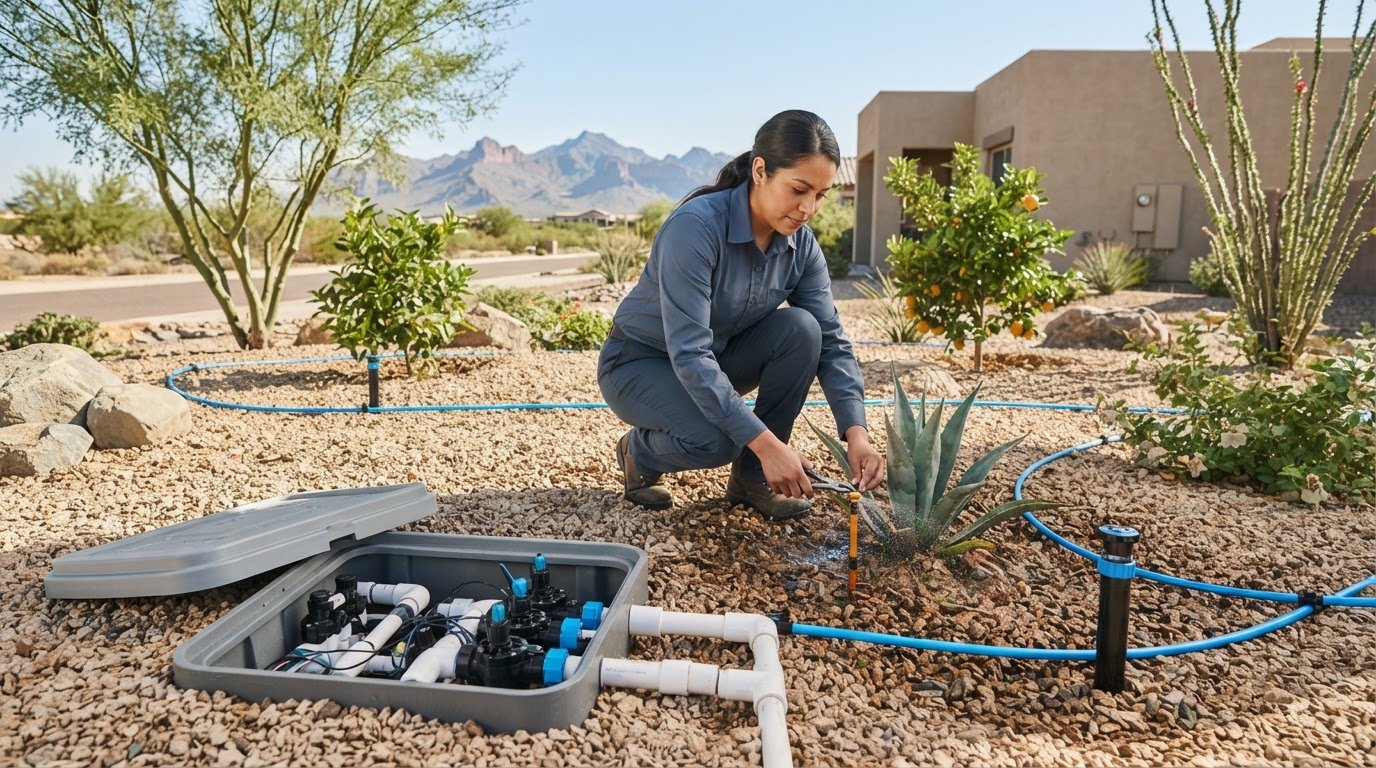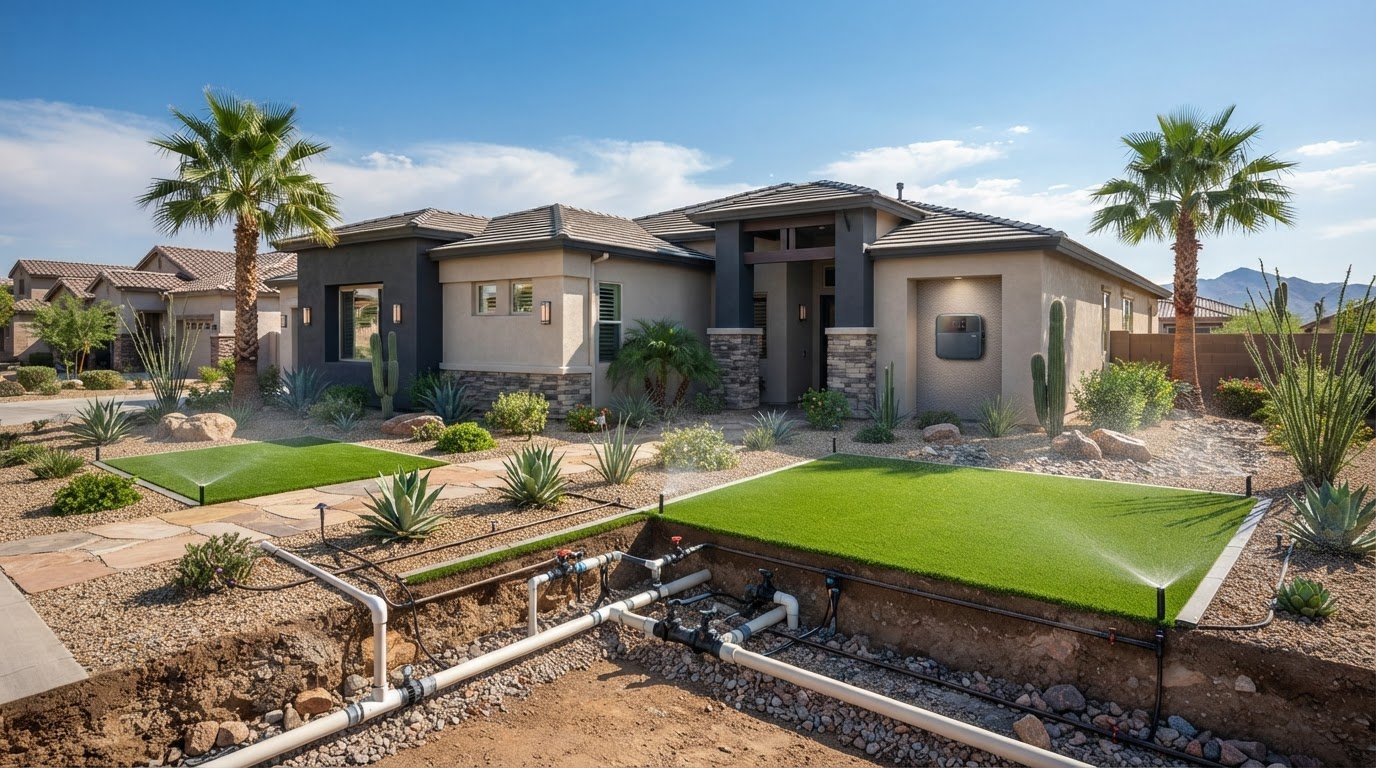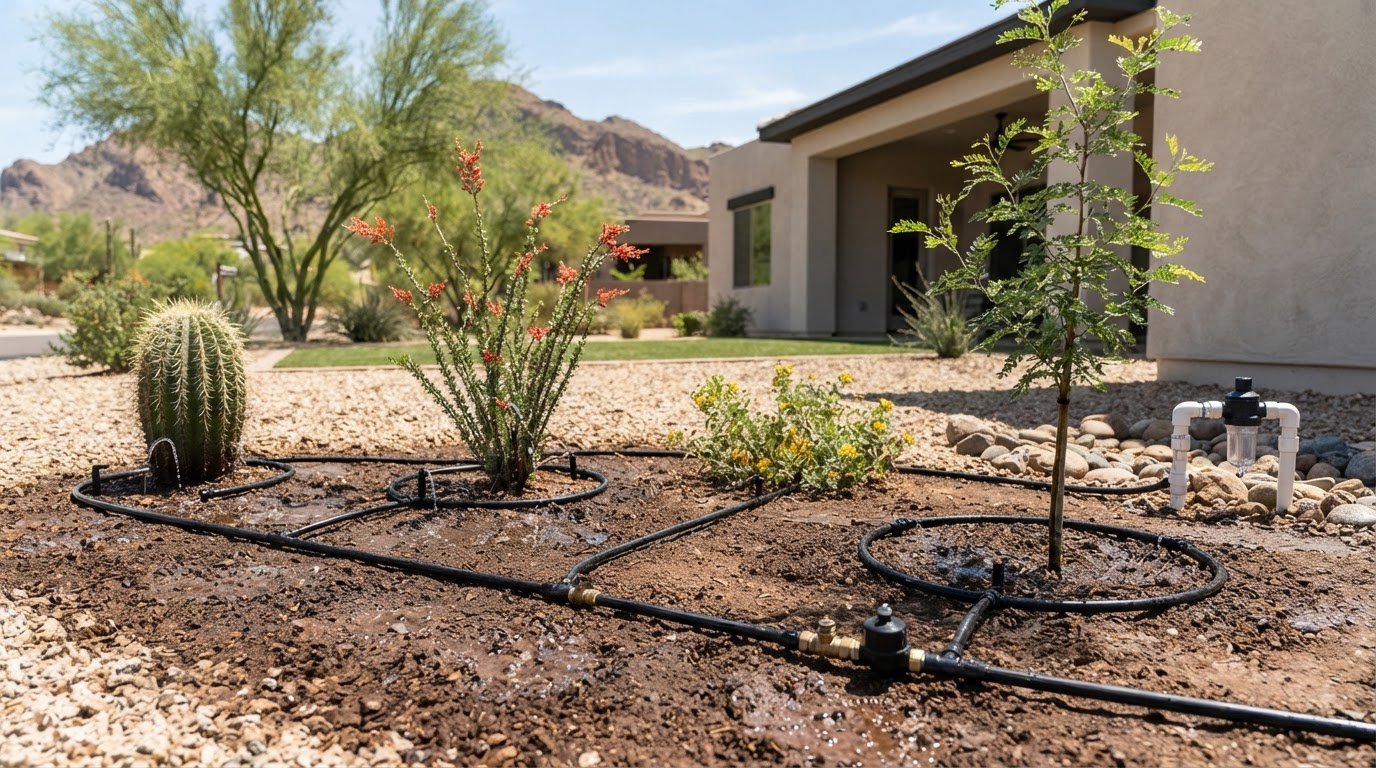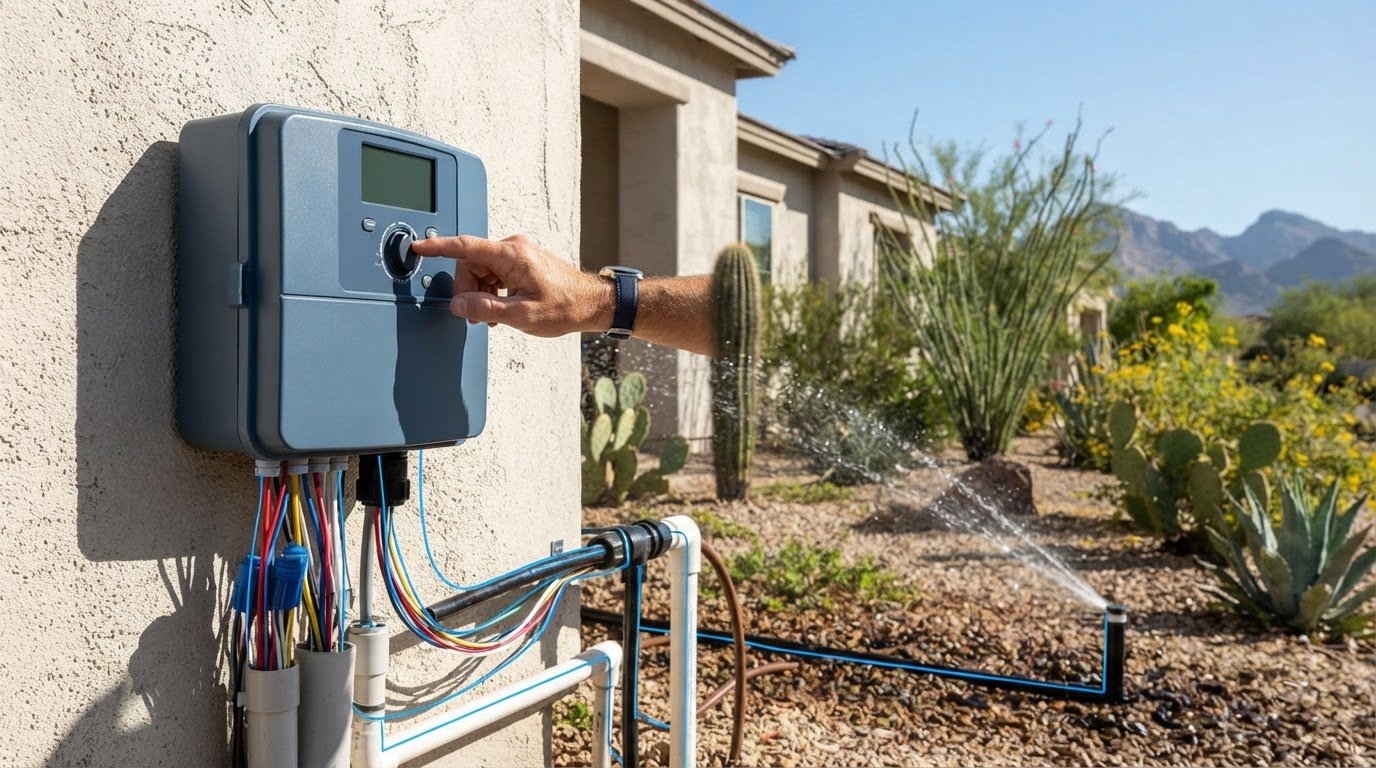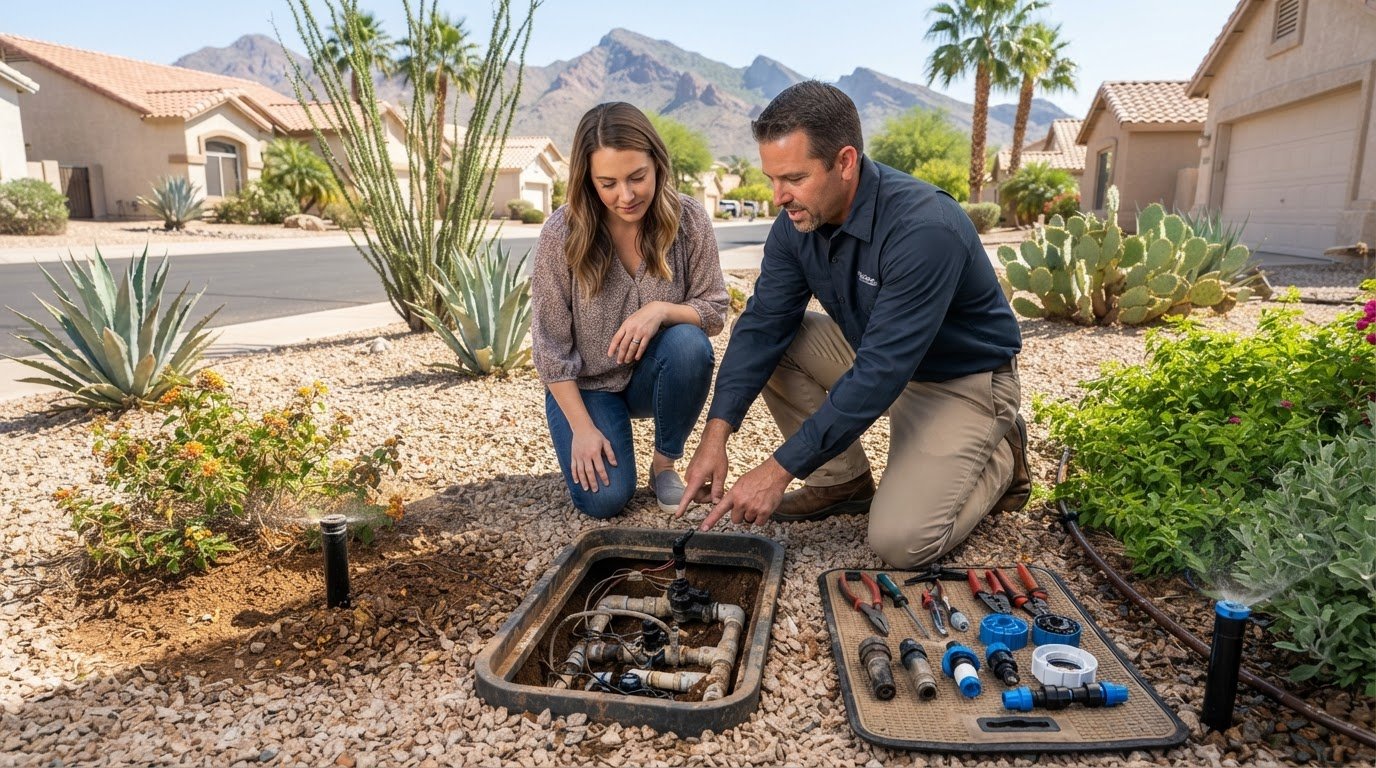
The most flexible drip line isn’t always the best fit for a vegetable bed. Drip irrigation for a vegetable garden in Peoria delivers water slowly to the soil near plant roots through tubing and emitters, rather than spraying across the leaves; it can use 30 to 50% less water than sprinklers or other watering methods. The right device depends on your bed layout, plant spacing, soil, and water supply.
Choosing irrigation can mean balancing a system that is easy to adjust with one that stays reliably in place. Rigid drip tubing, flexible T-tape, soaker hoses, and individual emitters suit different garden layouts. How water spreads through soil also affects how well each option serves your plants.
This guide explains how drip irrigation works and how to compare options for a Peoria vegetable garden. You’ll learn how rigid tubing differs from T-tape, when other devices may fit, and which practical factors help match a watering setup to your beds and crops.
Key Takeaways
- Drip irrigation delivers water near plant roots, helping you choose a watering approach that limits wet foliage and directs water into the soil.
- Match emitter spacing and placement to how closely crops are planted and how water spreads through your garden’s soil.
- Compare rigid drip tubing, flexible T-tape, and soaker hoses by considering bed layout, ease of adjustment, and seasonal durability.
- Check the system’s pressure, filtration, and flow capacity when choosing devices so the setup can serve the garden consistently.
- When estimating a garden setup, account for its components and layout; turn to drip irrigation installation when you need a system designed for your beds.
What is drip irrigation?
Drip irrigation moves water through tubing and releases it slowly near plant roots. In Peoria, follow any water-use restrictions that apply to your address; a drip system doesn’t override them.
Water and Foliage Benefits
Drip irrigation delivers water to soil near plants instead of spraying it across leaves. This can reduce water lost to wind and evaporation while keeping foliage drier, an advantage in hot, sunny conditions. A vegetable garden typically needs about one inch of water per week, including rainfall and irrigation, but the amount reaching roots depends on soil and delivery.
For an initial watering, soak the garden until the soil is wet 10 to 12 inches deep. Afterward, drip systems are usually run every one to two days for a few hours. Treat this as a starting schedule, not a fixed timer setting: adjust watering duration for crop growth stage, season, soil drainage, and rainfall.
Crop guidance varies. Rain Bird recommends 60 minutes twice a week for tomatoes and peppers in warm, humid climates, so that schedule shouldn’t be copied automatically for Peoria. Rain Bird recommends watering squash twice a week for 30 minutes, or longer during hot, dry periods. Its guide also recommends one to 1.5 gallons weekly for broccoli, Brussels sprouts, and squash, and one gallon weekly for beets.
A dual watering layout can provide separate watering paths across a garden bed. For a budget-conscious setup, keep the design simple: match the lines to the planted rows and avoid adding devices that the bed doesn’t need. Material quality and bed layout affect the system’s cost; a single timer schedule may not suit crops with different water needs.
Watering Individual Plants and Crop Rows
Drip tubing can water a continuous crop row, while individual emitters can target widely spaced plants. For vegetables and annual flower beds, emitters can be spaced every 12 inches; widely spaced plants can have one emitter per plant. These layouts help direct the amount of water toward planted areas instead of unused paths.
Soil changes how far water spreads from each emitter. In sandy soil, water may move one to two feet horizontally; in clay, it may move 2½ to four feet. To see the pattern in your own bed, dig beside an emitter after a long irrigation run. Adjust emitter placement when the wetted area misses roots or overlaps unnecessarily.
Pressure and flow determine how many devices one section can operate. Household faucets typically provide 25 to 35 psi, while most drip systems operate around 10 psi, so a pressure reducer is needed. Check pressure with a gauge. To estimate flow, time a five-gallon bucket: filling in 30 seconds corresponds to 10 gallons per minute, or 600 gallons per hour. At 75% usable flow, that source supplies 450 gallons per hour for irrigation devices.
What Are the Best Drip Devices for A Garden?
The right device depends on row length, plant spacing, and how your soil holds moisture. Compare tubing style and emitter output before choosing an irrigation kit for a particular bed.
Drip Tape, Emitters, and Tubing
Drip tape, emitter tubing, and individual emitters deliver water through different line designs. Tape has built-in outlets, while separate emitters attach to tubing and can target specific plants. A kit may include 50 feet of half-inch mainline, 100 feet of quarter-inch tubing, and 50 feet of quarter-inch dripline with emitters spaced 12 inches apart, each rated at 0.5 gallons per hour.
Those components suit different layouts: continuous lines serve planted rows, while individual emitters work for separated crops. A filter with a 100-mesh screen helps keep debris from clogging small outlets.
Emitter Placement for Vegetables and Soils
Place emitters according to the crop’s root area and how water moves through the soil. For widely spaced vegetables, place one emitter by each plant; closer plantings can use evenly spaced outlets along the row. Aim for consistent moisture near roots, not a wet patch that misses the plants.
Soil texture changes the wetted pattern. Water may spread one to two feet horizontally in sandy soil, compared with 2½ to four feet in clay. Dig beside an emitter after a long watering cycle to see the actual wetting pattern, then adjust the line or outlet position to suit the bed.
Emitter Tubing for Vegetable Rows
Emitter tubing provides repeated outlets along a row, making it useful where vegetables grow in a consistent line. Rain Bird recommends half-inch emitter tubing with 0.9-gallon-per-hour emitters spaced every 12 or 18 inches for vegetable rows. The spacing choice should reflect the crop arrangement and how closely roots need access to moisture.
For shorter runs under 30 feet, Rain Bird recommends quarter-inch emitter tubing. Match line length to the row rather than adding excess tubing, which can make placement and watering less precise.
Estimate quantities from your bed layout. Measure each row, add the lengths, then account for the connection from the water source to the planted area. Count individual emitters for separated plants; for continuous crops, choose tubing with built-in outlets. A three-row bed needs three laterals, one covering each row.
Clogs can interrupt watering even when the rest of the irrigation system runs normally. A 100-mesh filter helps block particles before they reach emitters. Flush drip laterals before spring use and periodically during the growing season as needed. Rinse the filter a few times during the season, or more often if the water source carries calcium or sediment.
Timer controls can automate watering, but they don’t correct poor emitter placement or blocked tubing. Select a device first, then set its run schedule around crop needs and soil response. If your garden layout calls for a tailored system, you can discuss drip irrigation options for the bed.
Rigid drip systems and flexible T-tape
Rigid drip tubing and flexible T-tape both carry water along planted beds, but suit different uses. Consider how often the layout changes, how long the lines need to last, and how the system will be protected during colder weather.
Rigid drip systems use durable tubing connected to a main line and fittings. A main line may be 1/2-inch or 1-inch, with smaller laterals carrying water beside crop rows. This structure suits a bed with stable planting locations because the tubing can remain in place between growing cycles. Larger gardens may need separate sections to keep each run supplied evenly.
Flexible T-tape bends around bed edges and can be laid out or repositioned for seasonal crops. Its light construction suits changing rows, but flexible drip tape usually lasts one or two growing seasons. Match the tape length and outlet spacing to the planted rows, and use correctly sized fittings to keep connections secure.
Choose rigid tubing when the bed layout stays consistent and fixed lines are practical. Choose T-tape when flexibility and seasonal repositioning matter more. With either option, use a filter to protect small water passages and inspect fittings where lines join the main supply. Loose connections can let water escape before it reaches the rows.
Winterizing matters wherever temperatures can fall below 37 degrees Fahrenheit. Drip Depot advises winterizing irrigation systems in those areas. Drain the lines before winter so freezing water doesn’t damage hoses, emitters, or pipes. Open the lowest part of the system to let gravity empty the lines, or use an air compressor to clear remaining water. Remove and store the backflow preventer, filter, and pressure reducer indoors before a freeze.
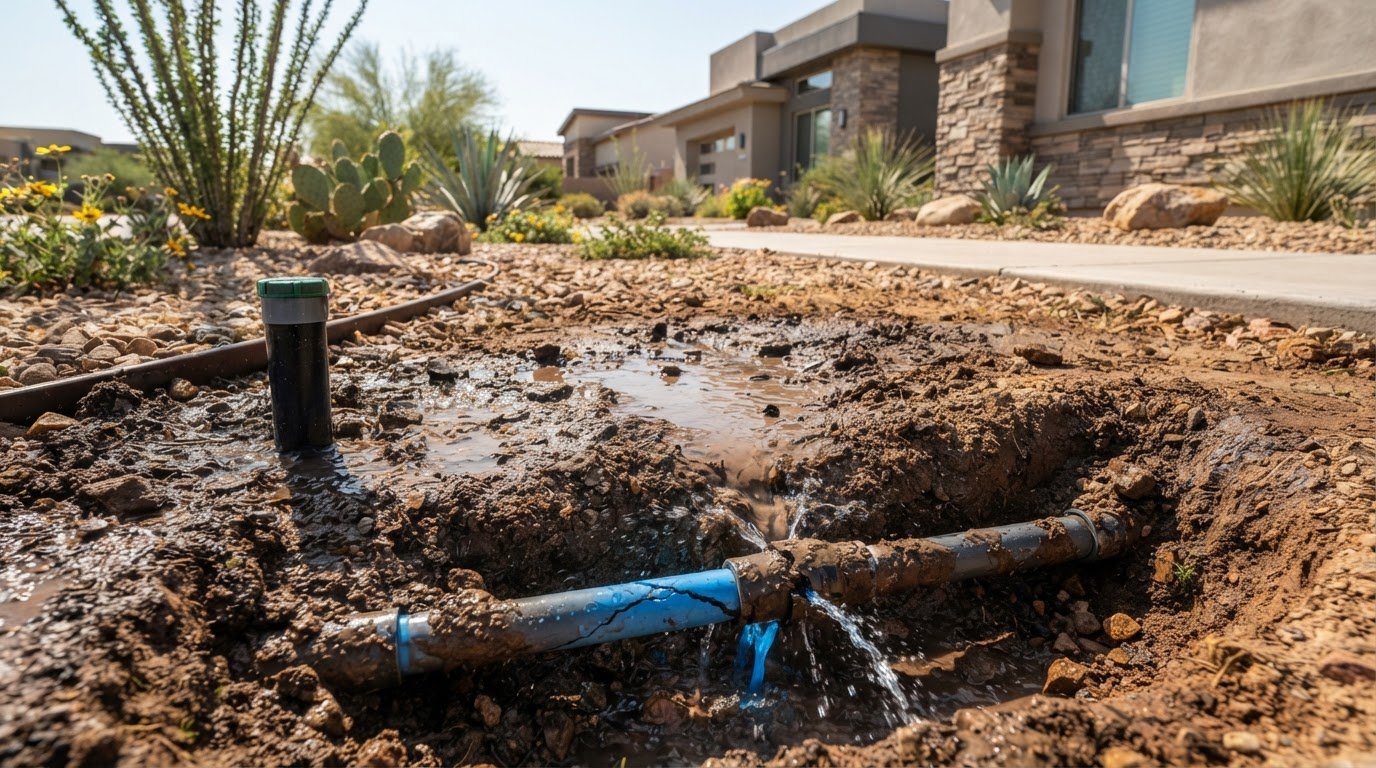
Test for leaks before they affect a full watering cycle. Run one section at a time and inspect the tubing, fittings, and end caps while water flows. Look for steady leaks at connections, split lines, or emitters releasing much less water than nearby outlets. Shut off the supply before reseating a fitting or replacing damaged tubing, then run the section again to confirm the repair.
After seasonal storage, inspect the drip system before using it again. Flush the laterals, check fittings for cracks, and watch each section during its first run. Storing lines out of direct sunlight also helps limit material breakdown.
Choosing drip devices for vegetable gardens
Choose components to suit the water source, bed layout, crop spacing, and soil texture. For drip irrigation for a vegetable garden in Peoria, compare line type and emitter flow before deciding what to install. A device suited to a short row of peppers may not water a larger bed of closely planted greens as evenly.
Start with the garden’s shape. Measure each planted row and note where plants sit, then choose tubing that reaches those areas without unnecessary branches. Header pipes commonly range from 0.5 inch to 1 inch or more. A larger header can supply multiple laterals, while smaller lines carry water along individual rows. Some kits are designed for a quarter-acre garden, so check whether a kit’s coverage suits your actual planting area.
Next, match outlet flow to the crop layout. Typical emitters are rated from 0.2 to 4 gallons per hour, with common options of 1/2, 1, or 2 gallons per hour. Closely planted rows need water distributed along the row; widely spaced plants can use an individual emitter near each plant. Choose the flow and spacing together, because a high-flow emitter at each plant differs from lower-flow outlets spaced along a continuous row.
Soil also affects device choice. For sandy soil, Rain Bird recommends increasing watering duration and frequency because the soil drains quickly. Raised beds generally need more frequent irrigation because they drain rapidly. In clay, water from an emitter can spread 2½ to 4 feet horizontally; in sandy soil, it may travel 1 to 2 feet. These patterns help determine how closely to space outlets and whether a line should follow every crop row.
Consider how long the garden will use the same layout. Fixed beds with recurring rows can suit permanent tubing, while seasonal planting changes may favor flexible lines that are easier to reposition. Soaker hose comes in 100-, 250-, and 500-foot rolls, so select a roll length based on measured rows and planned routing. Leave room for connections and avoid buying by garden area alone.
Protect small outlets from debris by choosing a filter screen opening smaller than the emitter orifice. For example, narrow emitter openings need filtration fine enough to catch particles before they enter the tubing. Flush laterals before spring use and periodically during the growing season as needed. This maintenance helps each section deliver water through its intended outlets.
Finally, think about the full system rather than one device. A vegetable garden may combine a main header, row tubing, fittings, filter, and pressure control. Rain Bird recommends 1/2-inch emitter tubing with 0.9-gallon-per-hour emitters spaced every 12 or 18 inches for vegetable rows. Use that as a row-layout reference, then weigh crop spacing, soil, line length, and water supply together.
How much does a drip irrigation kit for a vegetable garden cost?
The cost depends on the bed layout and the components a kit includes, so compare parts rather than package labels alone. For a 40-foot bed, a dual watering layout may use different materials and line arrangements than a single row. The amount of tubing, emitters, filter, fittings, pressure control, and timer all affect the final setup.
Start by measuring the planted rows and totaling their lengths. A basic kit may include 50 feet of half-inch polyethylene mainline and 100 feet of quarter-inch tubing. Compare those lengths with your garden plan before choosing a kit. Extra line can be useful for connecting rows, while a short supply may require additional components.
Next, count the watering outlets your crops need. Closely planted vegetables may use emitter tubing with outlets spaced along each row; widely spaced plants may need individual emitters. Emitter flow rates commonly range from 0.2 to 4 gallons per hour, so the number and type of outlets affect what the kit must contain. A filter and suitable fittings are also important parts, not optional extras to overlook during a comparison.
Garden size alone does not determine the right package. A quarter-acre kit may include more line than a small raised bed needs, while several short beds may need extra connectors or separate sections. Soil matters, too: sandy ground drains quickly, and raised beds generally need more frequent irrigation. These conditions affect the layout and the amount of tubing required.
For an installed system, the price depends on the garden’s dimensions, line length, emitter count, components, and site conditions, and is given after a quote request. Compare a kit’s contents against those factors before deciding whether a package or a tailored layout better matches your beds.
Use a parts checklist to compare options: mainline, row tubing, emitters, filter, fittings, pressure reducer, and timer. Mark which items are included and which must be added. For example, a kit with long tubing but too few emitters may not suit closely planted rows. Separate sections may suit mixed crops better, but need components to connect and control them.
Careful selection can prevent buying mismatched parts or excess tubing. If you’re planning a fitted system for your vegetable garden, request a drip irrigation quote based on your bed layout and watering needs.
Sonora Sprinkler Inc.: Irrigation Repair
Sonora Sprinkler Inc. helps homeowners address irrigation problems affecting garden watering, from leaks and uneven delivery to system installation. If drip lines repeatedly clog, fittings leak, or one section receives less water than another, irrigation repair can address the system issues. For a new vegetable-bed layout, drip irrigation installation can match tubing and emitters to the planting area, while custom sprinkler system design supports broader yard watering needs.
Choosing between repair and installation depends on the condition of existing components and whether the current layout serves your garden. A damaged line may need repair; a bed with a different arrangement may need a new irrigation setup. For help with your garden’s irrigation needs, contact Sonora Sprinkler Inc..
Set Your Garden Up for the Next Growing Season
Plan your irrigation layout as part of the garden, not as an afterthought. Before planting, note where beds and rows will sit, which crops share watering needs, and how tubing can reach them from the water source. This preparation can help drip irrigation for a vegetable garden in Peoria suit the way you grow, rather than forcing your beds around an awkward system.
If your current setup has persistent leaks or uneven delivery, Sonora Sprinkler provides irrigation repair. For a new layout, irrigation installation and drip irrigation installation can address the system from its connections through the garden lines. The next step depends on whether existing equipment needs repair or the garden needs a different arrangement.
Bring your irrigation questions and garden plans together. Contact Sonora Sprinkler Inc. to discuss your next irrigation project, and take the next growing season forward with a setup planned around your beds.
Frequently Asked Questions
How much water do common vegetable crops need during Peoria summers?
Start with about one inch of water weekly for the garden, including rainfall and irrigation, then account for crop and seasonal conditions. Rain Bird’s guide gives crop-specific examples: beets need one gallon weekly, while broccoli, Brussels sprouts, and squash need 1 to 1.5 gallons weekly. These are reference amounts, not a Peoria summer schedule; check soil moisture near the roots and adjust for plant growth and hot, dry weather.
How often should a vegetable garden be drip-irrigated in Peoria?
After an initial deep watering, a common starting pattern is to run drip irrigation every one to two days for a few hours. In Peoria, adjust duration and frequency as temperatures, rainfall, plant growth, and soil drainage change. Check below the surface instead of judging by dry-looking soil alone. If roots remain moist, the schedule may be sufficient; if the soil dries quickly, pay closer attention.
What drip tubing, emitters, and spacing work best for vegetable beds?
For vegetable rows, Rain Bird recommends half-inch emitter tubing with 0.9-gallon-per-hour outlets spaced every 12 or 18 inches. Choose spacing that follows the crop arrangement: a continuous row needs regularly distributed outlets, while separated plants can use individual emitters. For shorter runs under 30 feet, Rain Bird recommends quarter-inch emitter tubing. The bed’s length and plant spacing help determine how much line to install.
How do I install and maintain drip irrigation in a vegetable garden?
Lay tubing beside planted rows, connect each section securely, and run the system before planting to spot leaks or outlets that do not flow. Include filtration to protect emitters, then flush lateral lines before spring use and as needed during the growing season. Rinse the filter during the season, especially if the water contains calcium or sediment, and cover or store exposed tubing to limit sun damage.
How can I connect drip irrigation to a hose bib or rain barrel safely?
Drip systems may need pressure regulation to operate properly. Include filtration and backflow protection in the connection design; backflow-prevention devices are required by law in many municipalities, and systems used to apply fertilizer require a backflow preventer. A rain barrel supplies water differently, so its outlet and system design must suit the available pressure and flow.
How should drip irrigation be adjusted for Peoria soil types and summer heat?
Adjust watering according to how quickly the bed dries and how far water spreads below each emitter. Sandy soil drains quickly, so it needs longer and more frequent watering; raised beds also tend to need more frequent irrigation. During hot, dry periods, check soil moisture more often and adjust the schedule as plants grow. After watering, dig beside an emitter to see whether moisture reaches the root area.
What are common drip irrigation problems, such as clogging, leaks, or uneven watering?
Clogged emitters can leave individual plants dry, while a leaking fitting may create an unexpectedly wet patch. Uneven output can also result when a system serves too large an area without adequate pressure; dividing the garden into zones can help. Inspect connections while the system runs, clean the filter, and flush the lines. If low pressure or leaks persist, irrigation repair can address system faults.