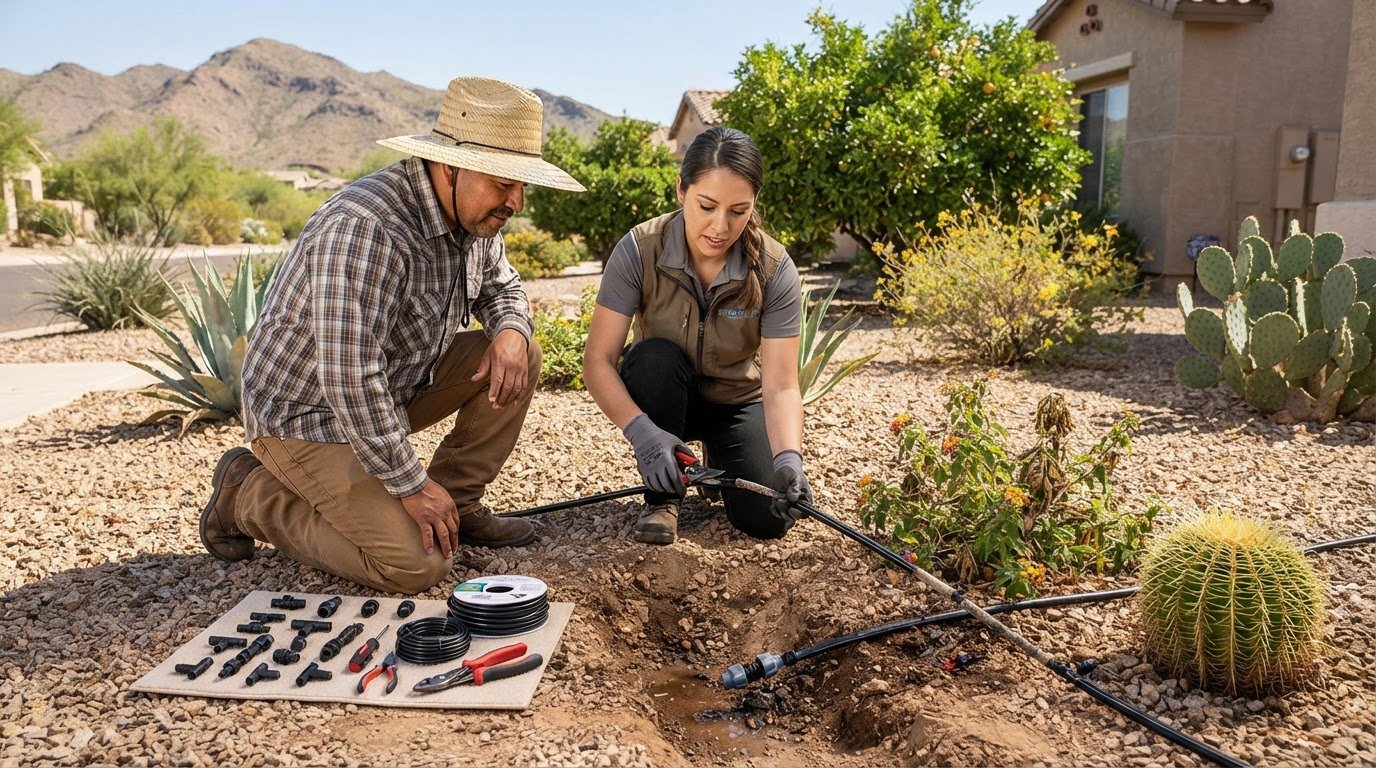
The causes of sprinkler heads not popping up in Surprise range from debris or a damaged riser at one head to low pressure, a valve fault, or a control problem affecting a whole zone. If nearby heads work normally, start by inspecting the stuck head; if several heads fail together, look for a shared system issue.
Dry patches during an irrigation cycle are frustrating, but one head staying down doesn’t necessarily mean the whole system needs repair. A careful inspection may reveal a simple obstruction or visible damage.
This guide explains how to clear loose dirt, spot parts that may need replacement, and identify signs of pressure or zone-wide problems. You’ll also learn when the cause may extend beyond one sprinkler head and what to do next to restore even watering.
Key Takeaways
- Use the pattern of failed heads to narrow the cause: one stuck head often points to a local obstruction or damaged part, while several in a zone suggest a shared issue.
- Check water flow and valve position before assuming the sprinkler head itself is faulty; residential pop-up sprinklers generally need 20-30 PSI to operate effectively.
- For a head that may be jammed with loose debris, press it down and release it 3-4 times, then watch whether it rises freely.
- Look for persistent leakage, a cracked cap, or a scratched riser; these signs can indicate that replacing the head is more appropriate than trying to clean it.
- When multiple heads fail in one zone, test the zone valve manually to help distinguish a mechanical problem from an electrical or controller issue.
What Causes Sprinkler Heads Not to Pop Up?
First, check whether one head or an entire zone is affected. This helps distinguish a local obstruction from low pressure, a valve issue, or a water-supply problem.
-
Test system pressure and water flow
Run one sprinkler valve at a time, then compare the affected head with others on that zone. If nearby heads rise normally, suspect an individual head rather than system-wide pressure. Residential pop-up sprinklers generally need 20-30 PSI to operate effectively. Spray heads generally operate at 20-30 PSI, rotary nozzles at 25-35 PSI, and rotor heads at 30-45 PSI.
Check water flow at a hose spigot along the main line, comparing it while irrigation is running and when it is off. Weak flow at the spigot may point to a supply issue. If flow is strong there but sprinkler performance is weak, a restriction or pressure loss farther along the system may be responsible.
-
Check valves and investigate low pressure
Check the irrigation valves and turn each fully counterclockwise to open it. A partly closed valve can reduce pressure and flow, preventing heads from rising fully. Check that the controller is activating the intended zone, then see whether the same heads respond once the valve is fully open.
Consider timing and recent utility work. Municipal pressure may dip between 5 and 8 AM, when household demand is high. A temporary municipal pressure drop caused by pump or pipe repairs may resolve within a few days. If nearby properties also have weak water flow, contact the water company about the shared supply.
-
Look for a zone design or supply mismatch
Consider whether the system was expanded or extra heads were added to the zone. Too many heads for the available water can lower pressure, leaving some risers down or producing weak spray. Compare the zone with one that works normally and note whether the problem began after a system change.
Watering schedules and restrictions in Surprise depend on the rules that apply to your property. Set the controller according to current local guidance, and don’t assume that a pressure dip during watering means a head is damaged.
-
Trace possible underground leaks
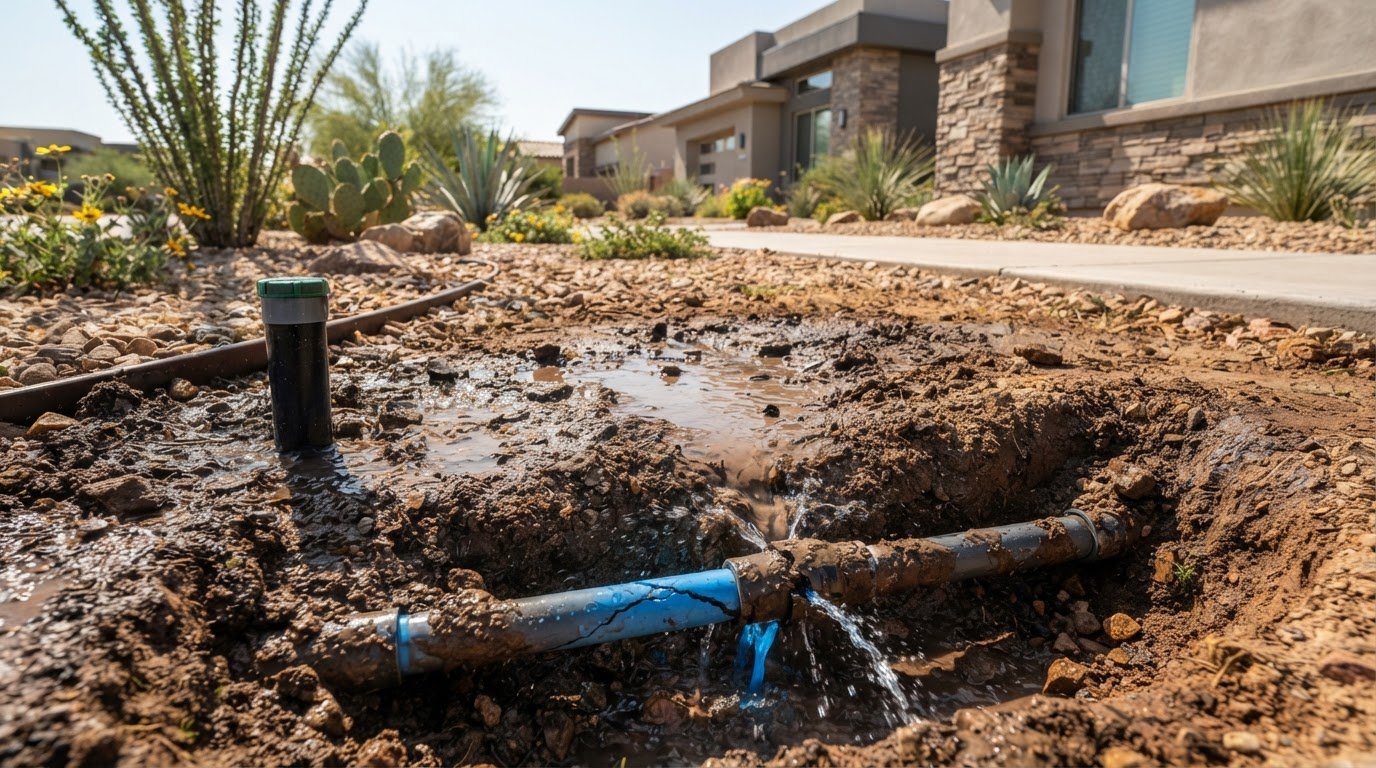
Look for unusually muddy or wet spots, greener grass patches, or water pooling between irrigation cycles. The U.S. Environmental Protection Agency says pooling between cycles may indicate an underground leak. With all water-consuming systems off, check whether the water meter’s sweep-hand still moves.
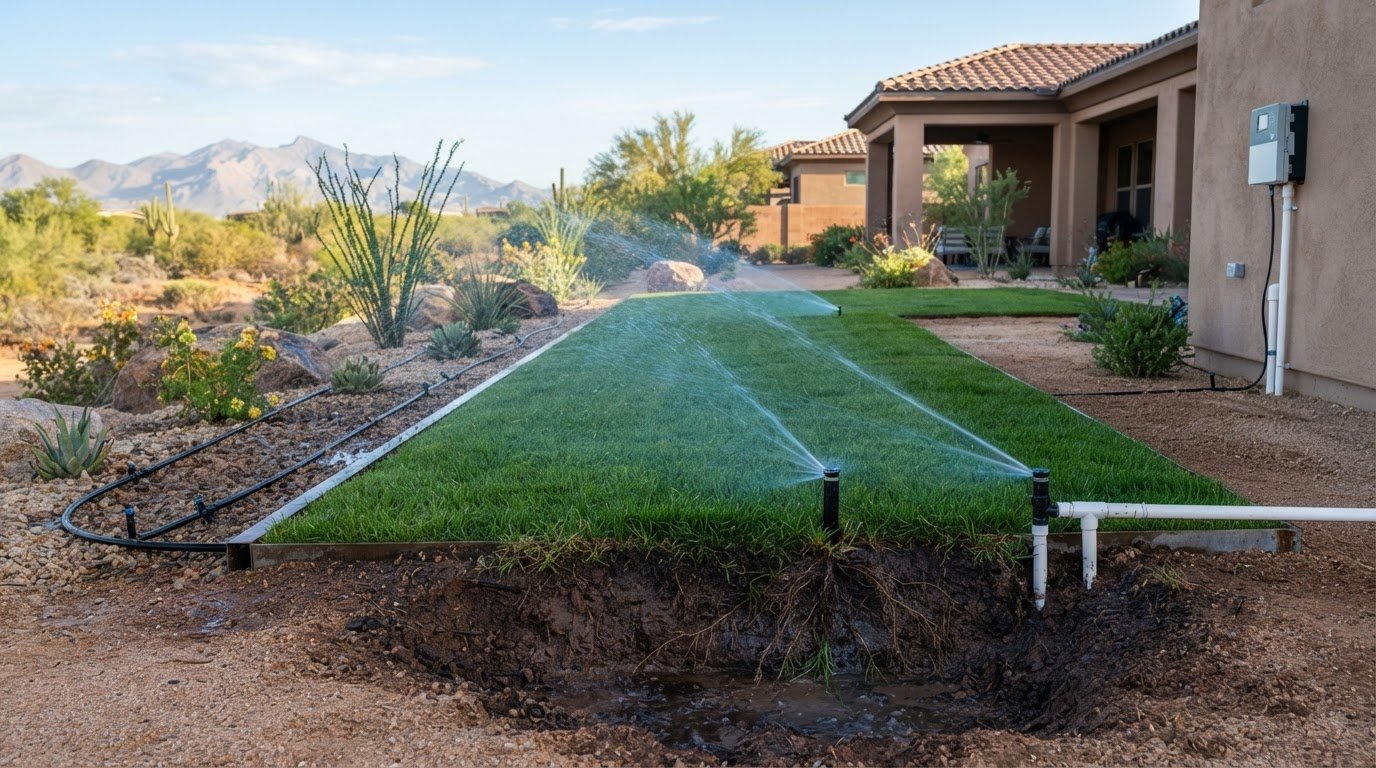
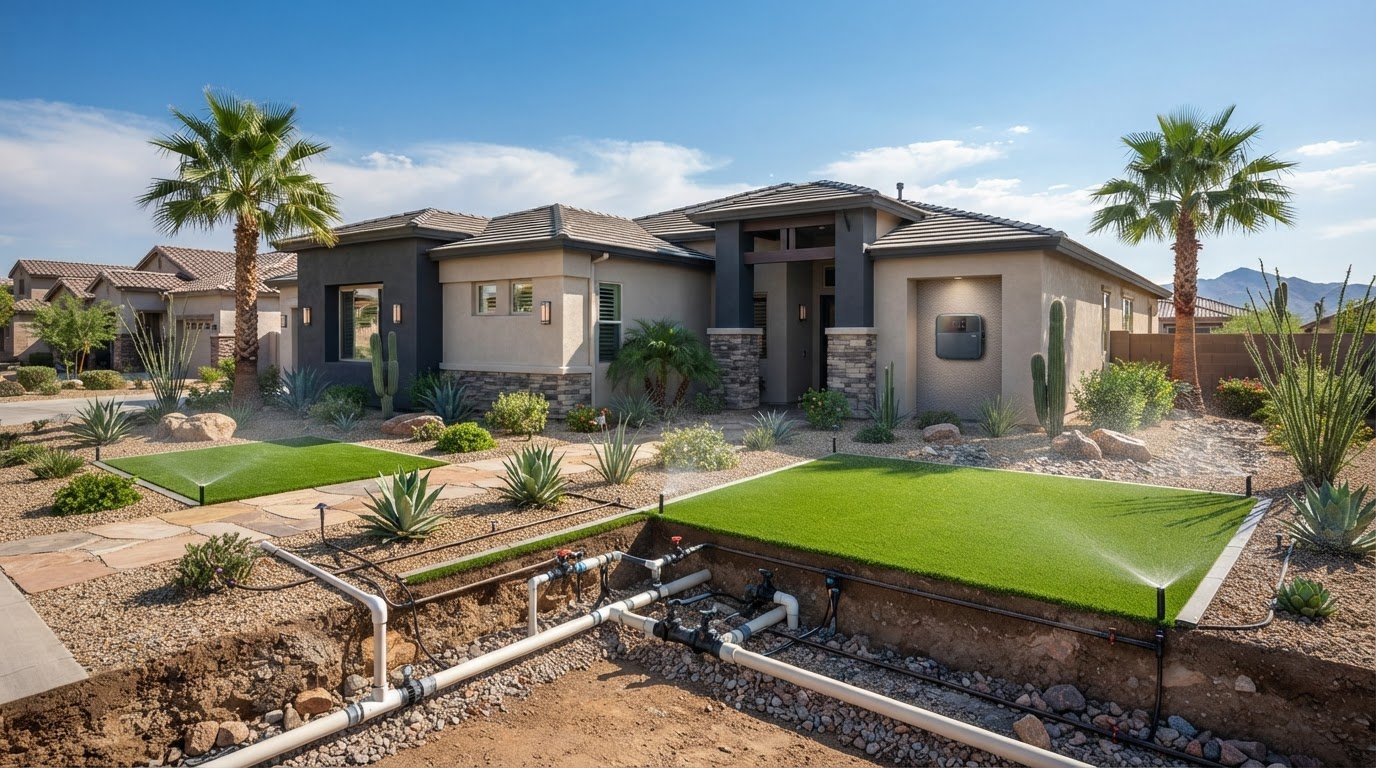
If some zones work while others fail, a broken underground pipe may be reducing pressure. Repair may require exposing the damaged section and replacing it with PVC pipe and couplers. Water flowing underground while a head remains retracted is another sign to investigate.
-
Account for repair cost factors
The repair price depends on the case and is provided after a quote request. The main factors include whether the fault is at one head or underground, how accessible the damaged part is, and which replacement components the repair requires.
Note which zones fail, when pressure drops, and where soil is wet. These observations can help distinguish a problem with one head from a valve, supply, or buried-pipe issue.
Cleaning and repairing stuck heads
Work on one sprinkler head at a time so you can tell whether cleaning restores its movement. Turn off the zone first, clear the area around the riser, and don’t force a head that catches or seems damaged.
- Turn off the irrigation zone and clear the area around the stuck riser. Brush loose soil and grass away from the cap, then check for packed dirt, turf, or a small stone blocking the head. Clearing the area first helps prevent more debris from entering the opening when you test it.
- Press and release the head 3-4 times to flush loose debris. Use steady pressure and let the riser return fully after each push. Watch for a smoother movement with each release. If the head still sticks at the same point, stop rather than forcing it; a scratched riser or damaged internal part may be restricting travel.
- If you can see sand around the riser, press it fully down and release it 4 or 5 times. This repeated movement can help flush grains from the gap around the riser. Keep the cap upright and clear of surrounding soil during the test. If sand remains packed around the head, remove the visible grains before trying again.
- Check the sprinkler opening and cap for grass clippings or other debris. Gently remove visible material, then run the zone and observe the spray pattern. Don’t widen the opening with a sharp object, as changing its shape can affect water distribution. Note whether the head rises smoothly and sprays in the intended direction.
- Compare the cleaned head with another head on the same zone. A head that still catches, stays down, or sprays poorly after cleaning may have a worn or damaged component. Avoid repeated force if its movement remains restricted. For a persistent stuck head that needs diagnosis or repair, request irrigation repair help instead of continuing to press it.
Clearing dirt and debris from pop-up sprinkler heads
Inspect one head at a time, keeping loose soil away from the riser opening. A small amount of water escaping between the riser and cap as it extends is normal.
- Turn off the zone before clearing debris around the sprinkler. Remove grass clippings, loose soil, and small stones by hand, keeping them out of the gap around the riser. With the zone off, it’s easier to see what is obstructing the head.
- With the riser retracted, check for packed dirt or grass that could catch on the moving stem. Gently remove visible debris without pulling or twisting the riser. If the head is beside edging or dense turf, clear the material where it meets the cap.
- Turn on the zone and watch the head rise. A little water may escape between the riser and cap as the stem extends, helping lubricate the seal and wash away dirt and grass. Let the cycle run long enough to see whether the riser reaches full height. Note where water escapes and whether the head moves smoothly.
- After the cycle, check the riser for debris that appeared during extension. Turn off the zone and remove any grass strands or grains caught around the stem. Don’t scrape the riser with a blade or force a tool into the cap opening. Scratches can interfere with movement and turn a small obstruction into a component problem.
- Run the zone again and compare the head’s movement and spray with nearby heads. If it extends freely and waters its usual area, the obstruction may be cleared. If it remains slow, catches at the same point, or won’t rise, stop repeating the cleaning cycle and check for damage.
- Distinguish water that escapes briefly during extension from a persistent leak. Water may help clean the seal area as the riser rises, but leakage that continues after it is fully extended needs closer inspection. Watch the head through its full movement, and note whether debris returns during a later cycle.
- Keep the area around the cap clear after cleaning. Trim grass covering the head and remove loose clippings after mowing. If the head repeatedly catches debris despite a clear perimeter, its condition or placement may be affecting operation. Repeated surface cleaning won’t address a recurring problem.
Damaged sprinkler head components
Before deciding what to replace, check whether the head moves freely and seals properly. Leaks, scratches, and cracks can help identify the problem.
-
Identify damaged sprinkler head components
Run the zone and watch the riser from the moment it starts rising until it fully extends. A little water may escape between the riser and cap during movement, but it should stop once the riser is fully extended. Continued leakage may indicate a damaged seal or scratches on the riser or cap.
Look for a cracked body, broken cap, or damaged riser. A cracked or broken head may seep water while the system is off and generally needs replacement. If the riser is scratched and no longer moves freely, don’t sand it, as sanding can cause excessive blow-by. Also listen for water flowing underground while the head remains retracted, which may indicate a leak or broken component.
Check the spray pattern as well as the head’s movement. Excessive blow-by can waste water around the head and contribute to uneven watering. Note which head leaks, whether it leaks when the zone is off, and whether water continues escaping after full extension. These details can help distinguish a damaged seal from a cracked body or restricted riser.
-
Replace a broken pop-up head
Turn off the irrigation zone and identify the damaged head before removing it. A cracked or broken head generally needs replacement rather than an attempted repair. Use the same brand and model, especially when replacing a head with excessive blow-by, to help maintain consistent watering.
Clear soil and grass from around the head so debris doesn’t fall into the fitting. Carefully remove the damaged head and keep the opening clean while preparing the replacement. Fit the replacement securely, restore the zone, and watch the head through its full movement. Check for leaks after it extends, including water escaping around the cap.
Compare the new head’s spray with nearby heads in the zone. Check that it retracts after the cycle and that the surrounding ground has no persistent seepage. If it still won’t rise or water continues flowing underground, stop cycling the zone and investigate a possible deeper leak or broken component. Replacing heads repeatedly won’t fix a supply or pipe problem.
Diagnosing multiple heads that fail in one zone
Run one sprinkler valve at a time and observe every head in that zone. Several heads failing together may point to a shared valve, pressure, controller, or wiring problem.
- Activate the affected zone and note which heads rise, sputter, or stay retracted. Compare them with heads in a normally operating zone. If only one or two heads fail while the others spray well, start by checking those heads. If several fail together, note the pattern and investigate shared components.
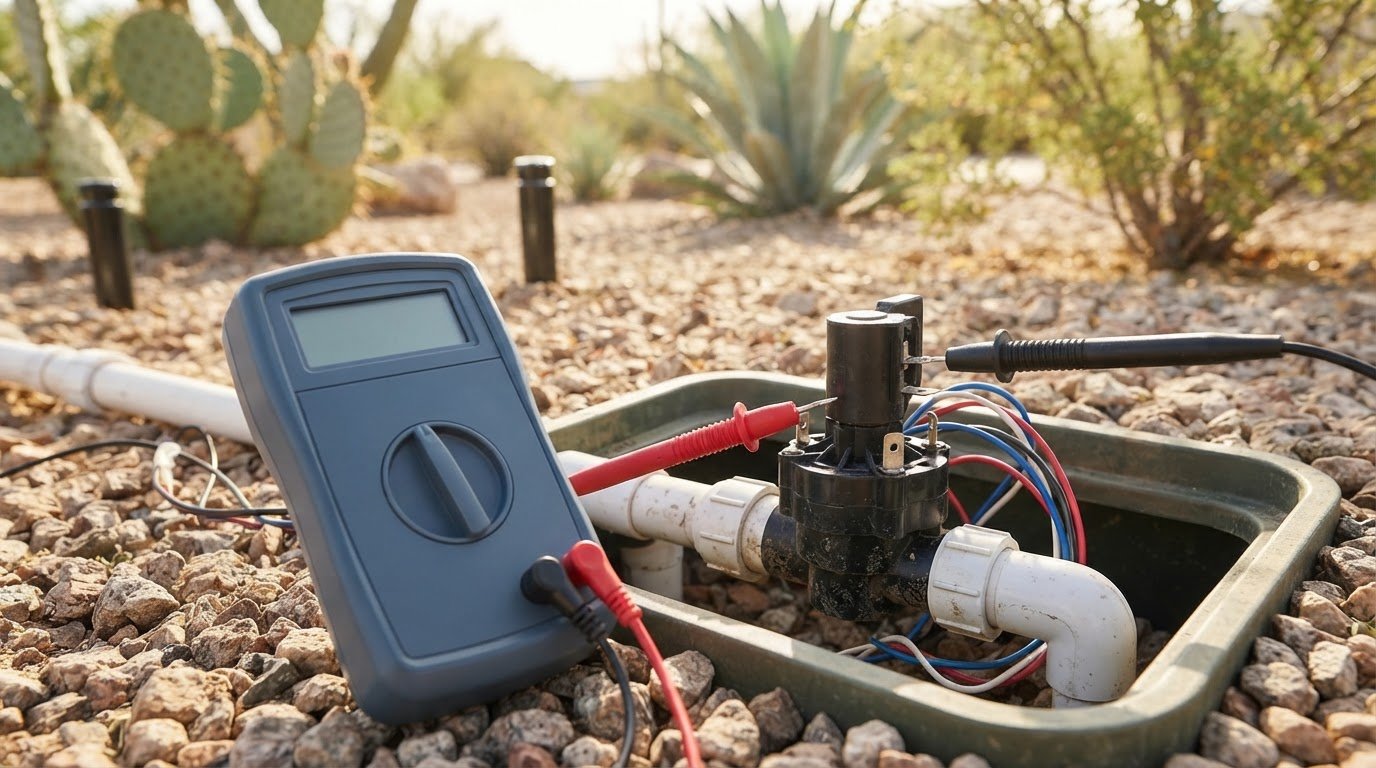
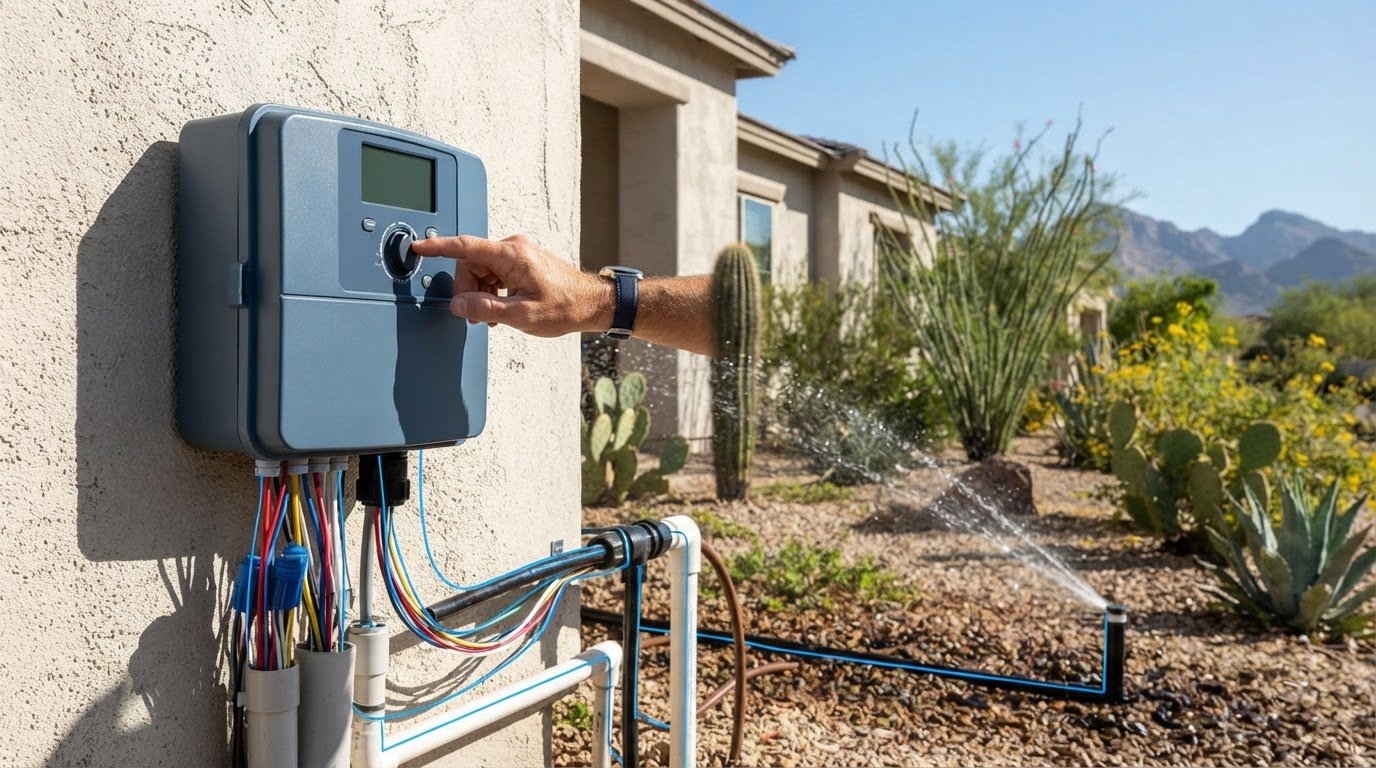
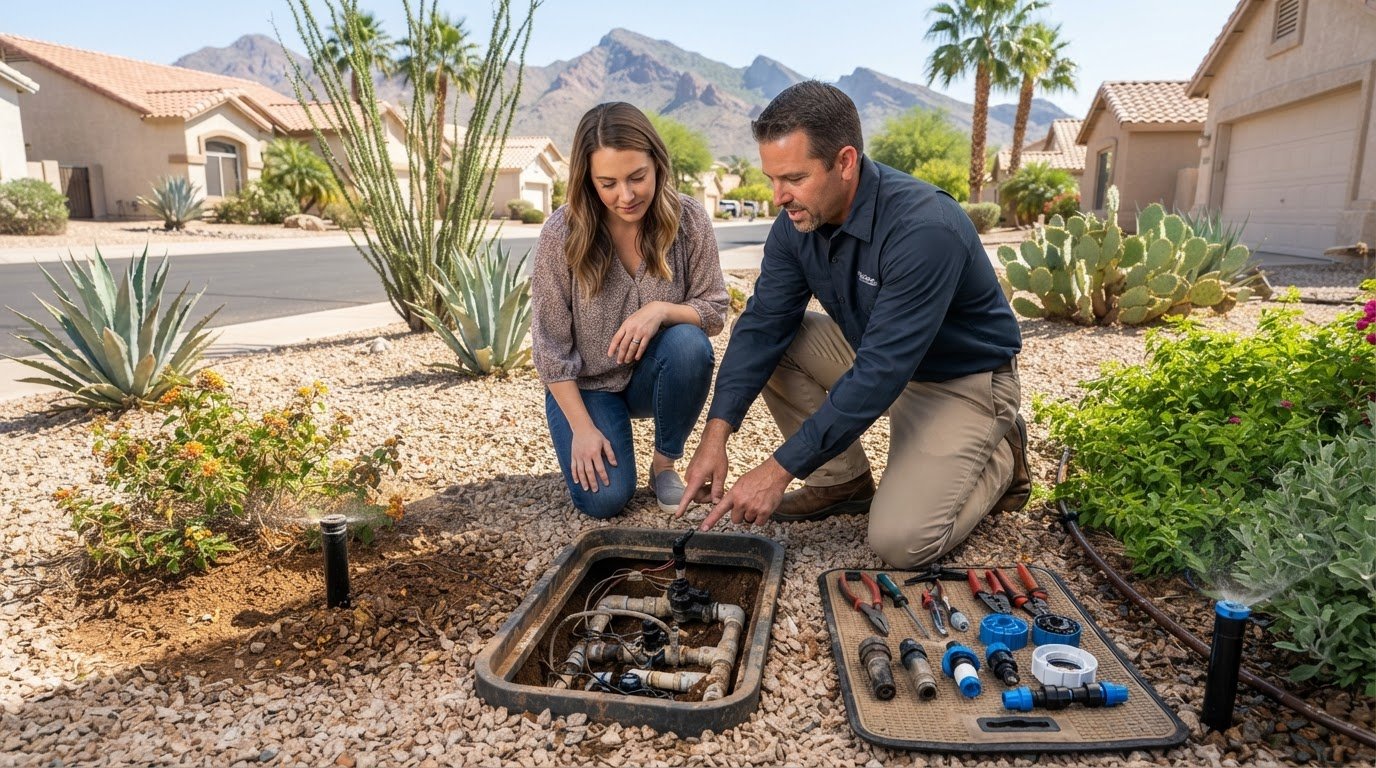
- Operate the zone valve manually at the valve box to help distinguish mechanical from electrical problems. If manual operation brings the heads up, check the controller’s programming and the electrical connection to the valve. If flow remains weak or absent, inspect the valve mechanism and water supply rather than assuming the controller is at fault.
- Check the valve diaphragm for scum or debris that could interfere with movement. Clean visible buildup and see whether the diaphragm springs back freely. If it doesn’t, it may need replacement. Don’t force the parts; a sticking valve can continue restricting water to every head in the zone.
- Check whether the zone has too many heads for its available water, particularly if heads were added during an expansion. To test whether the zone is overloaded, remove one sprinkler and run it again. If the remaining sprinklers then work correctly, the zone may have more heads than it can operate effectively.
- Look for a broken underground pipe if some zones work and others do not. Water escaping underground can reduce pressure before it reaches the affected heads. Check for wet or muddy ground near that zone, and listen for water flow while its heads remain down. For persistent multi-head faults, request help diagnosing the irrigation system.
When several heads in one zone fail to pop up, possible shared causes include a zone valve malfunction, main-line pressure loss, a controller programming issue, or an electrical connection problem. These are possibilities to consider when multiple heads show the same symptoms, not proof of a single cause.
When troubleshooting heads that won’t pop up, clean scum from sprinkler valve diaphragms if present. In this case, the controller sent proper voltage to the valve and the solenoid actuated. Those checks provide information about the controller and valve response, but the other shared causes listed above may still need investigation.
Sonora Sprinkler Inc.: Irrigation Repair
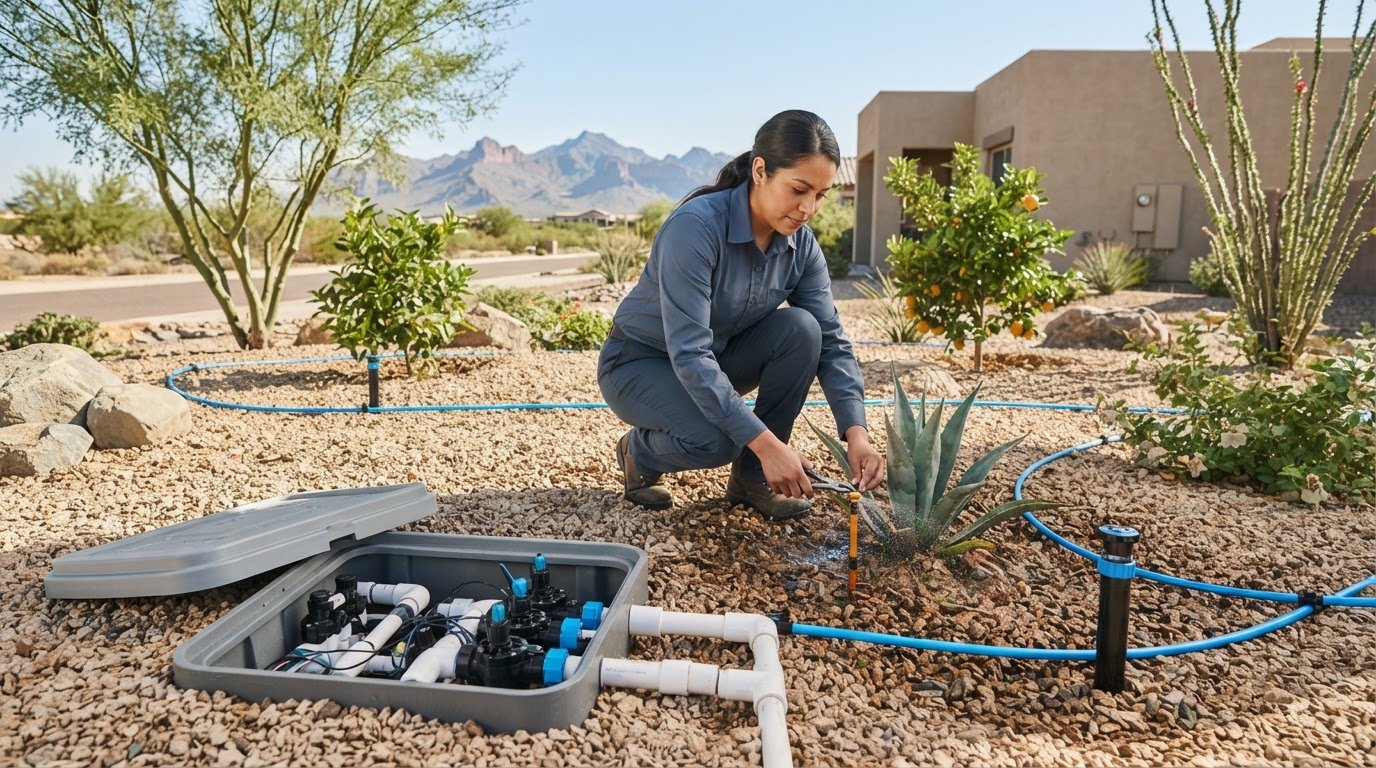
Sonora Sprinkler Inc. repairs residential irrigation systems when cleaning or replacing a sprinkler head doesn’t solve the problem. If several heads in one zone stay down, water continues leaking, or a buried line or valve may be involved, a system diagnosis can identify the needed repair. Avoid repeatedly cycling a zone with persistent leakage or weak flow.
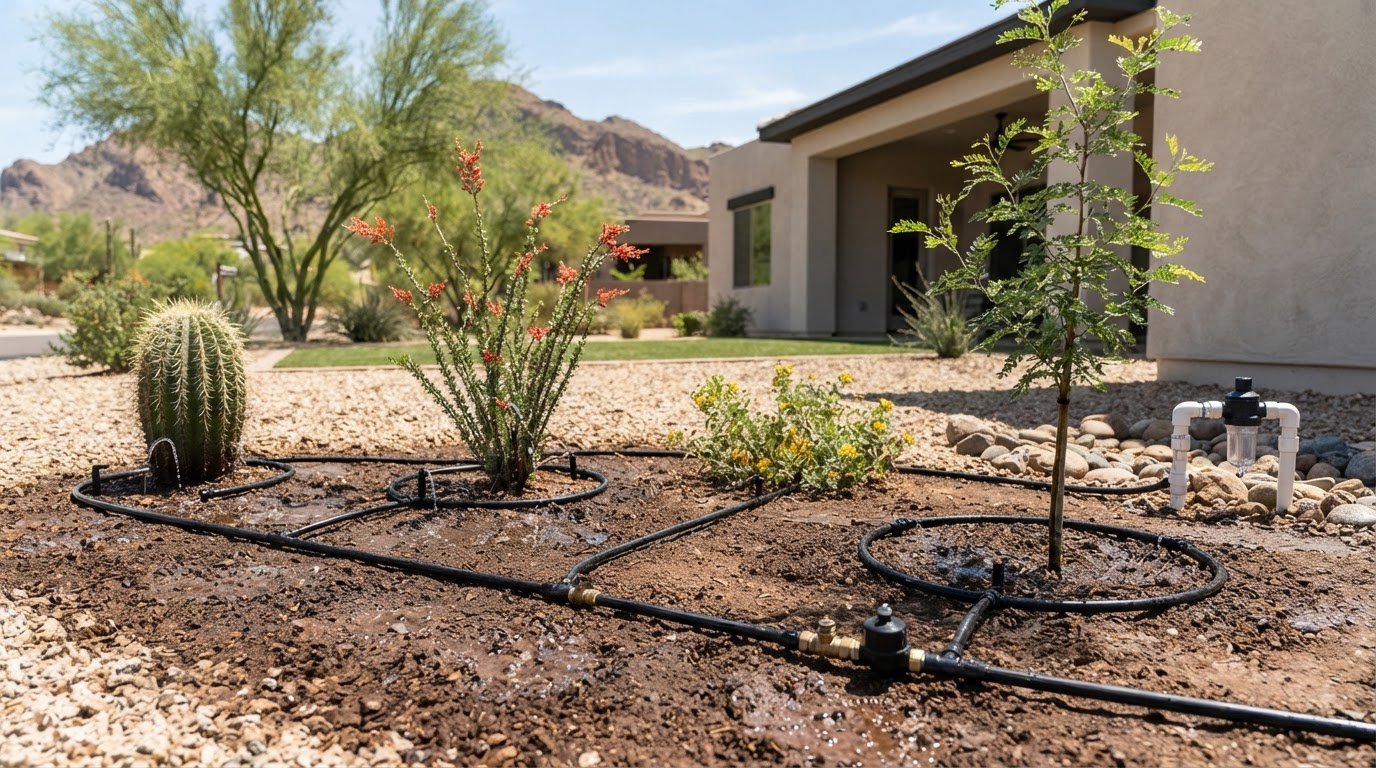
For broader system changes, Sonora Sprinkler Inc. also provides irrigation installation, drip irrigation installation, and custom sprinkler system design. These services can address irrigation needs beyond one malfunctioning pop-up head.
Contact Sonora Sprinkler Inc. to discuss irrigation repair for your system.
Make the Next Irrigation Cycle Count
If sprinkler heads aren’t popping up in Surprise, use the next irrigation cycle to observe the system rather than making repeated adjustments. Note which areas get water, where dry spots remain, and whether the issue returns after cleaning or replacing a head. This record can show how the system behaves across your yard.
These observations can help distinguish a recurring mechanical fault from a watering pattern that needs broader attention. If the same area keeps missing water or several heads in a zone remain unreliable, a focused system assessment can identify the next repair. Addressing the underlying cause helps maintain consistent coverage and preserve your existing landscape.
Sonora Sprinkler Inc. can help with irrigation problems that persist beyond routine cleaning. Contact Sonora Sprinkler Inc. to discuss your irrigation system and take a practical next step toward dependable watering.
Frequently Asked Questions
Why are sprinkler heads not popping up in Surprise, Arizona?
Common causes include debris, worn parts, low water pressure, or a leak affecting the zone. In Surprise, a useful clue is whether the problem changes with watering time: municipal pressure may dip between 5 and 8 AM. If the same head stays down during later cycles, note whether nearby heads work and whether the ground near the problem area stays unusually wet.
How do I troubleshoot sprinkler heads that won't rise or spray?
Run the affected zone and compare each head’s movement and spray. If one head behaves differently, check for visible damage or an obstruction. If several heads perform poorly, investigate a shared pressure, valve, controller, or wiring problem. Note whether the issue began after heads were added or system work was done, as that timing can help narrow down the cause.
How do I check sprinkler zone water pressure and valves?
Run one zone and check water flow at a hose spigot along the main line. Open the irrigation valve fully by turning it counterclockwise, then observe whether the heads rise more completely. Residential pop-up sprinklers generally need 20-30 PSI to operate effectively. If water flow is weak at the spigot and neighboring properties have the same issue, the problem may involve the shared municipal supply.
How do I clean or unclog a pop-up sprinkler head?
Switch off the zone before clearing loose soil or grass around the cap. Remove visible debris by hand, keeping it out of the gap around the riser. Restart the zone and watch the head’s full movement and spray pattern. If it still catches, check for a damaged riser or cap instead of forcing it. Leakage that continues after full extension points beyond a simple clog.
Which sprinkler repair companies serve Surprise, Arizona, and what are the service rates?
Sonora Sprinkler Inc. provides residential irrigation repair in Surprise and Peoria, including diagnosis of sprinkler, wiring, valve, and pipe problems. The repair needed, the fault’s location and accessibility, and the parts involved affect the service rate. No standard rate applies to every system. Contact Sonora Sprinkler Inc. with the affected zone and symptoms to request a quote.
When should I call a professional for sprinkler system problems?
Call Sonora Sprinkler Inc. if a zone keeps failing after basic cleaning, several heads remain down, or you suspect a buried leak, valve fault, or wiring issue. For homeowners dealing with sprinkler heads not popping up in Surprise, recurring dry patches alongside wet ground may signal that water is escaping before it reaches the heads. A system diagnosis can trace the fault before repeated part changes leave the underlying problem unresolved.