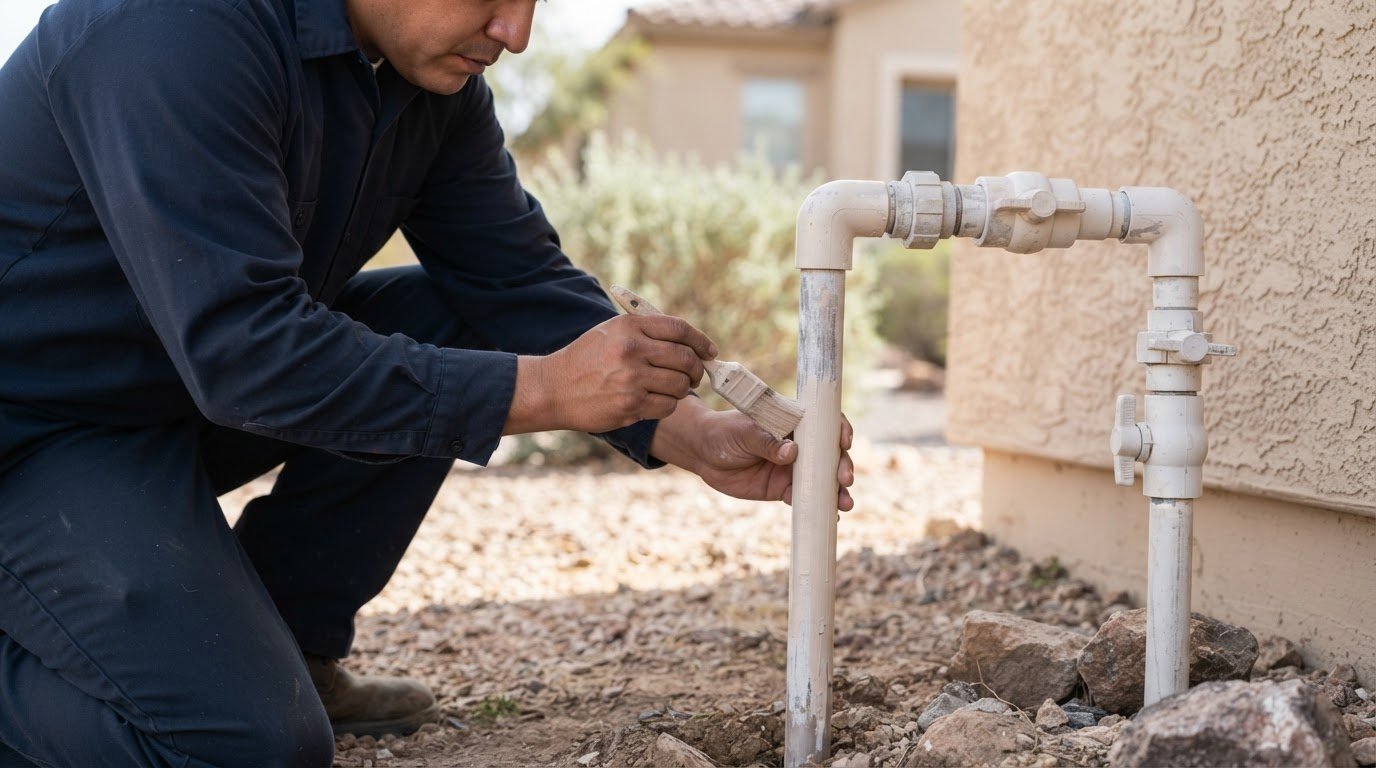
Don’t leave a sprinkler system running when water continues to flow after its scheduled cycle. To fix a sprinkler system that runs constantly, turn the controller off and see whether the water stops. If it doesn’t, shut off the irrigation supply to limit water waste and possible damage.
It’s easy to suspect the controller first, but ongoing flow can also point to a valve that isn’t closing or to low-head drainage. Water draining from the lowest head after a cycle may stop on its own within 30 to 90 minutes, while a stuck-open valve can keep water flowing.
This guide explains how to distinguish common causes, what controller settings and valve symptoms to check, and which steps are reasonable to handle yourself. You’ll also learn when a fault involving wiring, a valve, or a damaged line calls for professional irrigation repair. The goal is to identify the likely cause and choose a safe next step without replacing more of the system than necessary.
Key Takeaways
- Turn the controller off to help determine whether the problem is in the schedule or elsewhere in the system.
- Check how program start times work: one start can run every station in that program, while extra starts can repeat the whole cycle.
- Water draining from the lowest head may stop within 30 to 90 minutes; ongoing flow can point to a valve that isn’t closing.
- If water keeps flowing after the controller is off, shut off the irrigation supply to limit waste and potential damage.
- Use the symptoms to judge whether a basic check may help or whether a valve, wiring, or line issue calls for irrigation repair.
Is the controller always the problem?
Not necessarily. First, switch the controller to OFF and see whether the water stops. If it does, incorrect start times or station run times may explain the extended watering. If water keeps flowing, an electrical or valve problem may be involved. This first check helps narrow down how to fix a sprinkler system that runs constantly.
Checking Programs and Start Times
A program start time begins the programmed stations in sequence, so check the active program’s start times before changing individual zones. Multiple start times can repeat the entire program. For example, five start times ten minutes apart can run the whole program five times, even if you intended one cycle.
Review each program and remove unintended starts. Five zones can run sequentially from one start time, rather than needing a separate start for each zone. If a second watering cycle is intended, it can have another start time, such as 8 p.m. Some controllers may support up to eight start times per day for one program, so unused entries can be easy to overlook.
Program Stacking and Electronic Failures
Program stacking occurs when a controller queues a scheduled start while another program runs, then begins it after the first finishes. This can make watering seem continuous even when the controller is following its schedule. Compare the displayed start times with the station sequence, and check whether another program is queued.
Now confirm the controller’s date and time, then set it to RUN or AUTO rather than OFF when testing its schedule. An incorrect clock can make a valid start appear unexpected. Check the selected schedule too: some controllers allow watering every other day or every third day. Station run times may use one-minute increments and extend to several hours; some controllers also allow seconds.
If one station’s time is unusually long, adjust that setting and observe the next cycle. A controller can run multiple stations from one program start, so a single entry doesn’t mean only one zone will operate. Some models also switch an extra start off by advancing the time button between 11:45 p.m. and 12:00 a.m. Check the display and manual for that control behavior before assuming the extra entry is a fault.
Correct programming doesn’t rule out failed electronics. A failed controller output, incorrect programming, a power surge, or damaged controller electronics can make a zone run longer than intended. If water stops when the controller is set to OFF, check the program and start times first. If the settings look right but the same zone continues running, a failed output may be the cause. To fix a sprinkler system that runs constantly, distinguish a scheduling issue from a controller fault before changing more settings. Water that keeps flowing with the controller off calls for a different diagnosis, such as a valve issue or a line break.
Why Does Water Keep Running After My Sprinkler Zone Shuts Off?
Water that appears after a cycle can come from drainage, a valve that isn’t sealing, or a line leak. Before arranging service, note where the water appears, whether it continues, and whether the ground stays wet between cycles. These observations help distinguish brief drainage from a fault that needs attention.
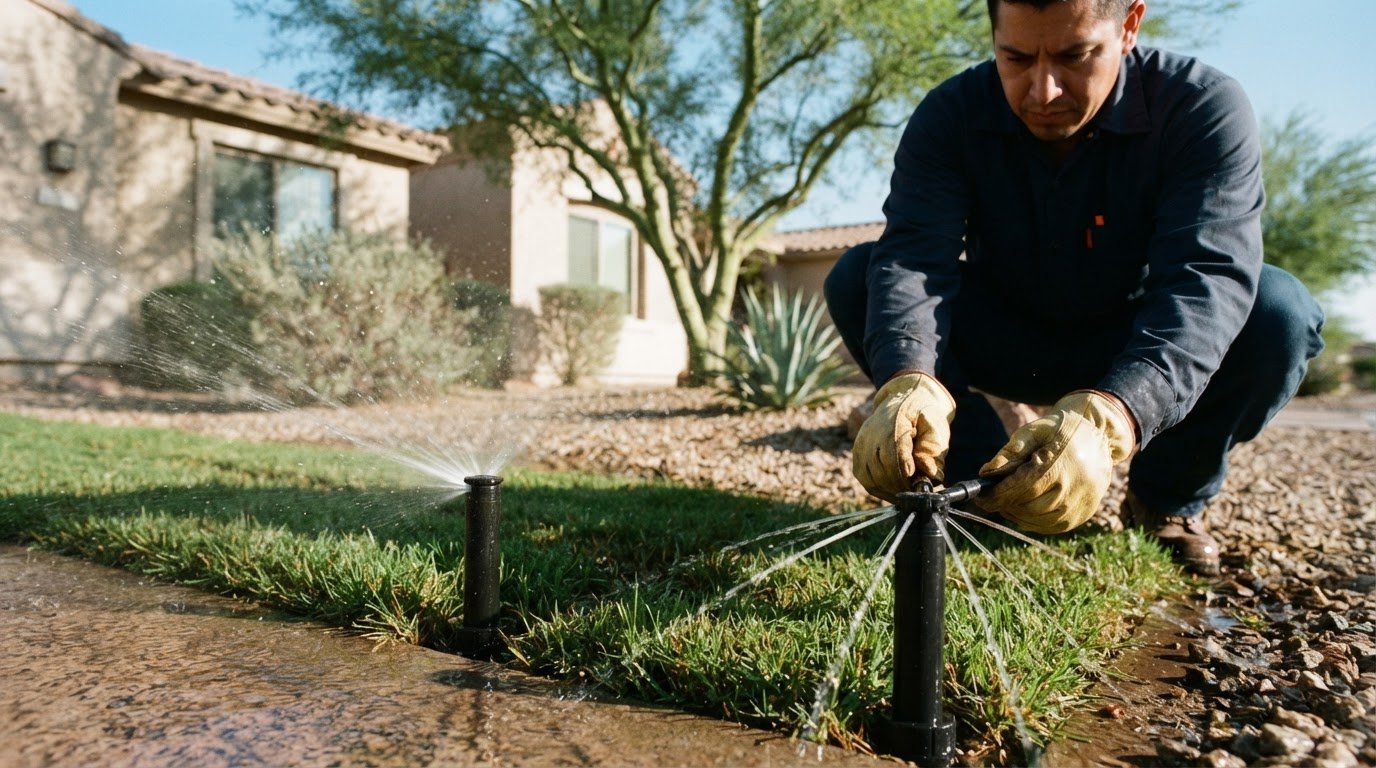
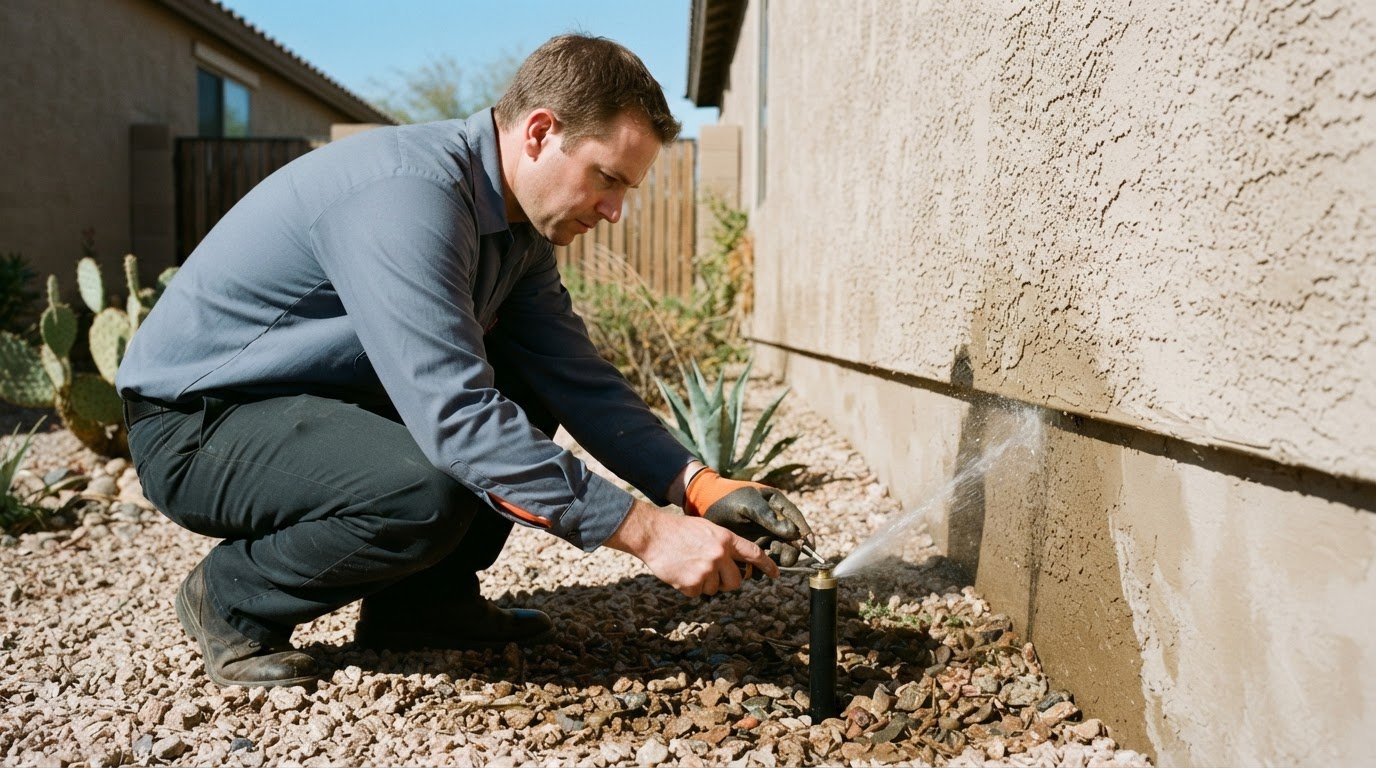
Start by identifying the affected head and the zone that supplies it. Water flowing from one low sprinkler head after the zone stops may be low-head drainage: water left in the zone’s pipes runs downhill and exits at the lowest head. It should stop on its own within 30 to 90 minutes. Water that keeps coming long after that, or repeatedly appears between cycles, can indicate a leaking zone control valve.
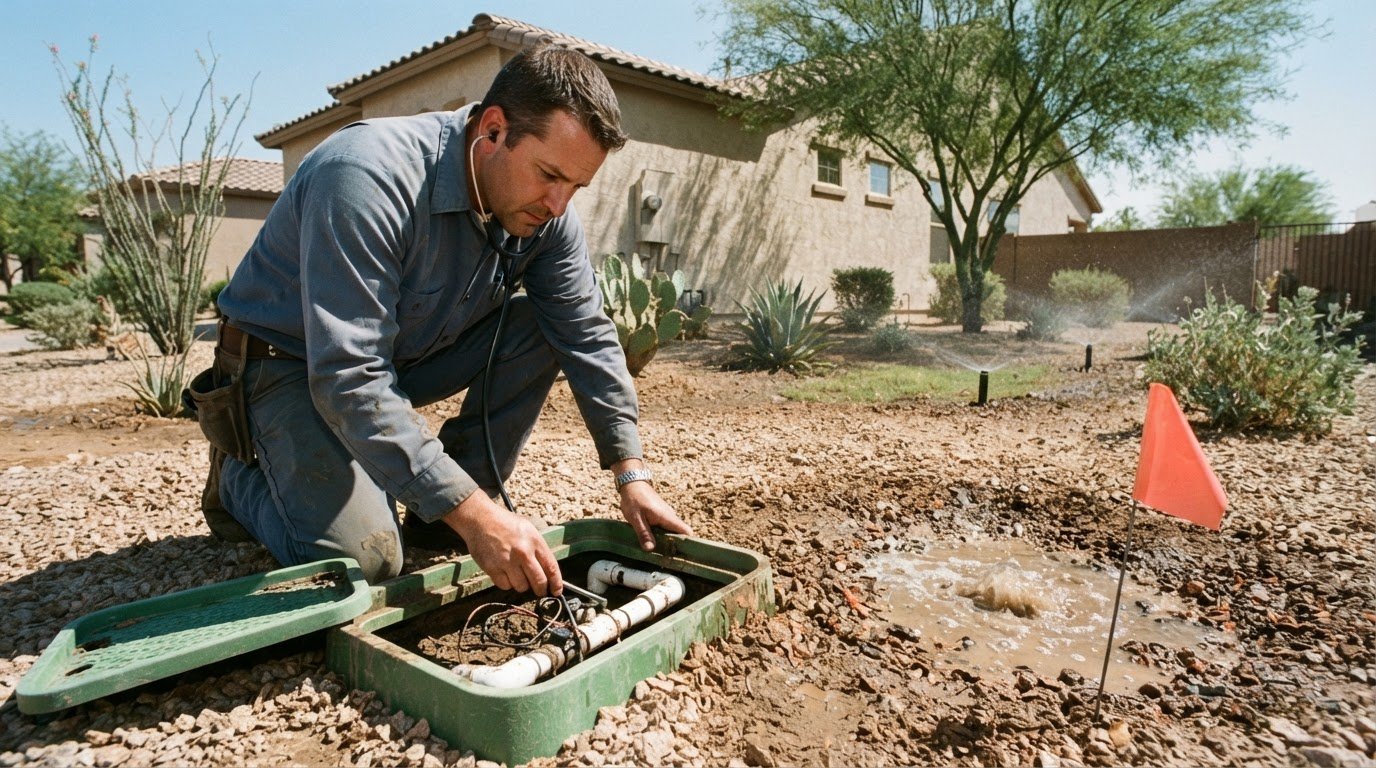
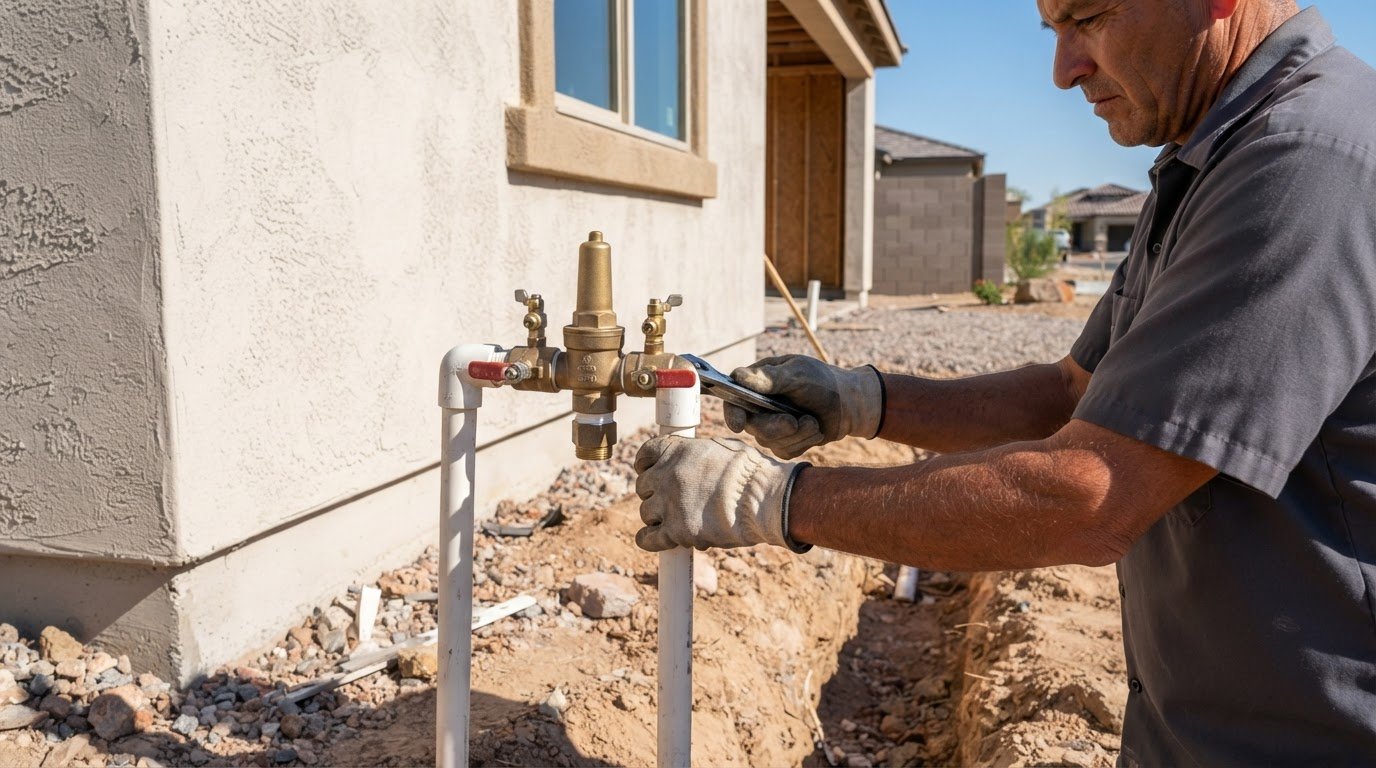
Check the surrounding soil as well as the sprinkler. A saturated patch, bubbling ground, or water emerging away from a head can point to a pipe break. A lateral-line break leaks while its zone is active; a main-line leak can flow whether the system is running or not. Treat continuous flow or an area that stays excessively wet as an immediate issue. Shut off the irrigation supply if flow persists to limit water waste and property damage.
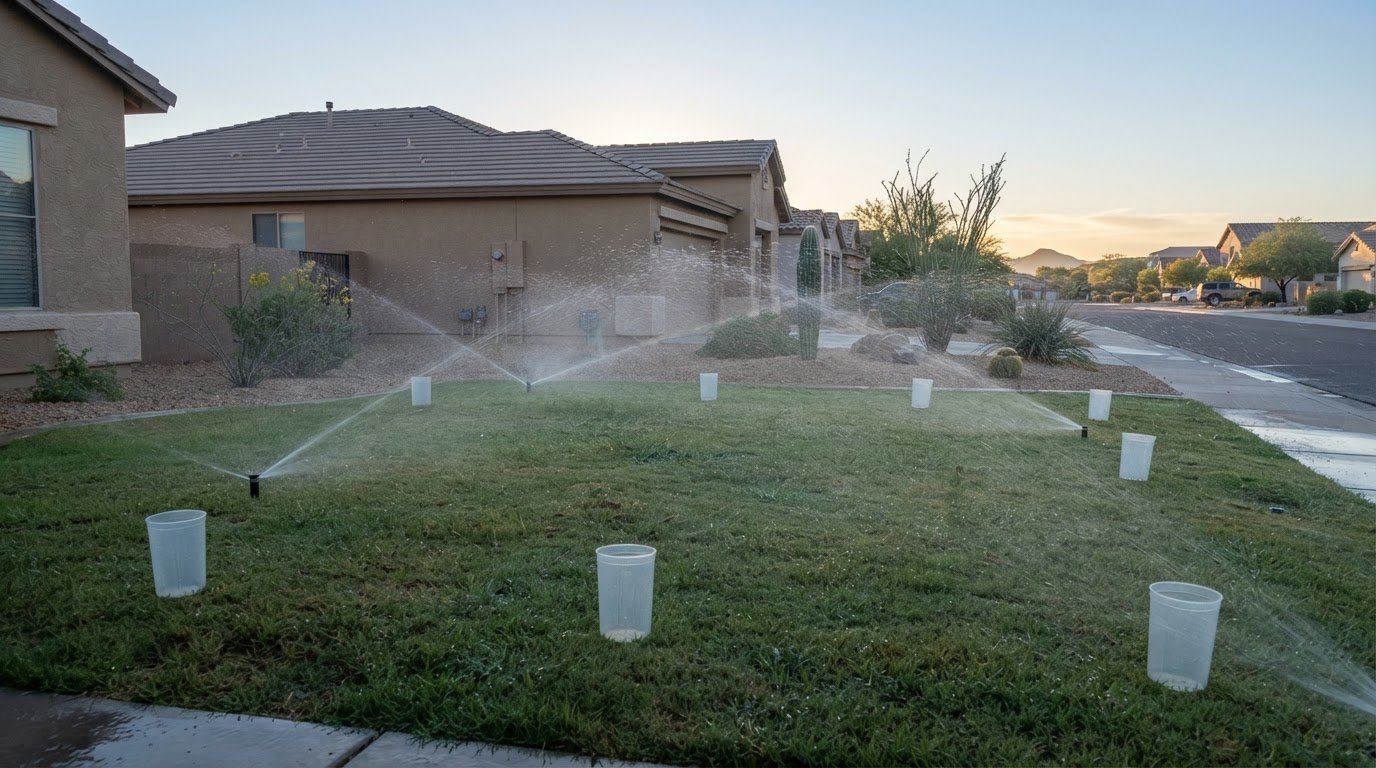
During a normal cycle, note which zone runs, where water exits, and whether flow stops when the zone ends. Record whether water comes from the lowest head or several heads, and whether the soil stays wet between cycles. These details help distinguish drainage from a valve or line problem without dismantling equipment. If water flows through a valve when there’s no electricity, a hydraulic fault may be involved.
Check-Valve Heads and Drain Check Valves
Check-valve sprinkler heads are designed to retain water in the zone after the cycle. A drain check valve serves a similar purpose by preventing water in the line from draining through a low head. These components can reduce low-head drainage where elevation changes leave one head below the others.
They don’t repair a valve that fails to close or a broken pipe. Dirt, debris, hard-water buildup, or a damaged diaphragm can stop a valve from sealing. Incorrect installation can also interfere with shutoff. If flow continues or a wet area expands, don’t treat a check-valve head as the solution. The cause needs diagnosis.
For a persistent leak or recurring wet area, arrange an irrigation system assessment. An accurate account of the zone, location, and flow pattern helps direct attention to the right component.
Distinguishing low-head drainage from a stuck-open valve
Observe a complete sprinkler cycle to see whether water drains briefly or keeps flowing. To identify a leaking valve or irrigation line, note where water emerges and whether it continues after the zone stops. Shut off the irrigation supply if flow persists, and have a professional repair a suspected line break.
Identifying Low-Head Drainage
Low-head drainage is water left in a zone’s pipes flowing downhill and exiting through the lowest sprinkler head after watering ends. It usually stops on its own within 30 to 90 minutes, which helps distinguish drainage from a valve that remains open.
Watch the zone through one watering cycle, then note which head releases water and how long it continues. Drainage typically comes from the lowest head, rather than from several heads across the zone. If flow stops within 30 to 90 minutes and doesn’t resume between cycles, low-head drainage is more likely than a stuck valve.
A stuck-open valve behaves differently: water continues after the controller is off and may persist beyond the drainage period. Turning off the controller won’t close a mechanically stuck valve. Shut off the main irrigation supply to stop the flow. A drain check valve can help prevent low-head drainage, but it won’t repair a valve that fails to seal.
Troubleshooting a Stuck Valve or Solenoid
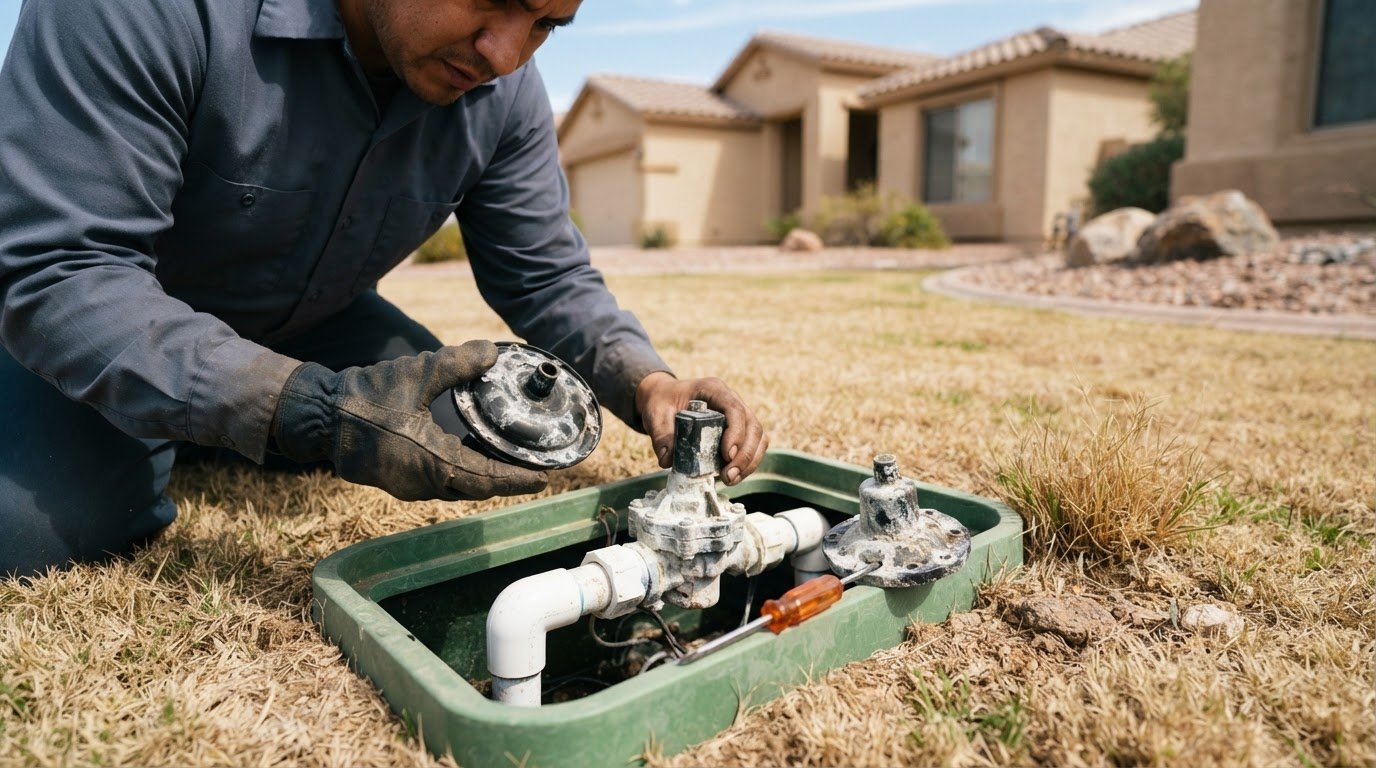
A stuck valve fails to close fully, while a failed solenoid or wiring fault can keep a zone activated. This distinction matters because changing controller settings won’t remove debris or restore a damaged valve diaphragm. Dirt, sand, rocks, pipe fragments, or grass trapped inside the valve can interfere with its seal.
If water still comes from a zone after the controller is off, check the symptoms without assuming the controller is at fault. A solenoid can fail mechanically or electrically and leave a valve partly open. Damaged low-voltage wiring can also send false signals or keep a valve energized. Water passing through valves when the system has no electricity points toward a hydraulic problem.
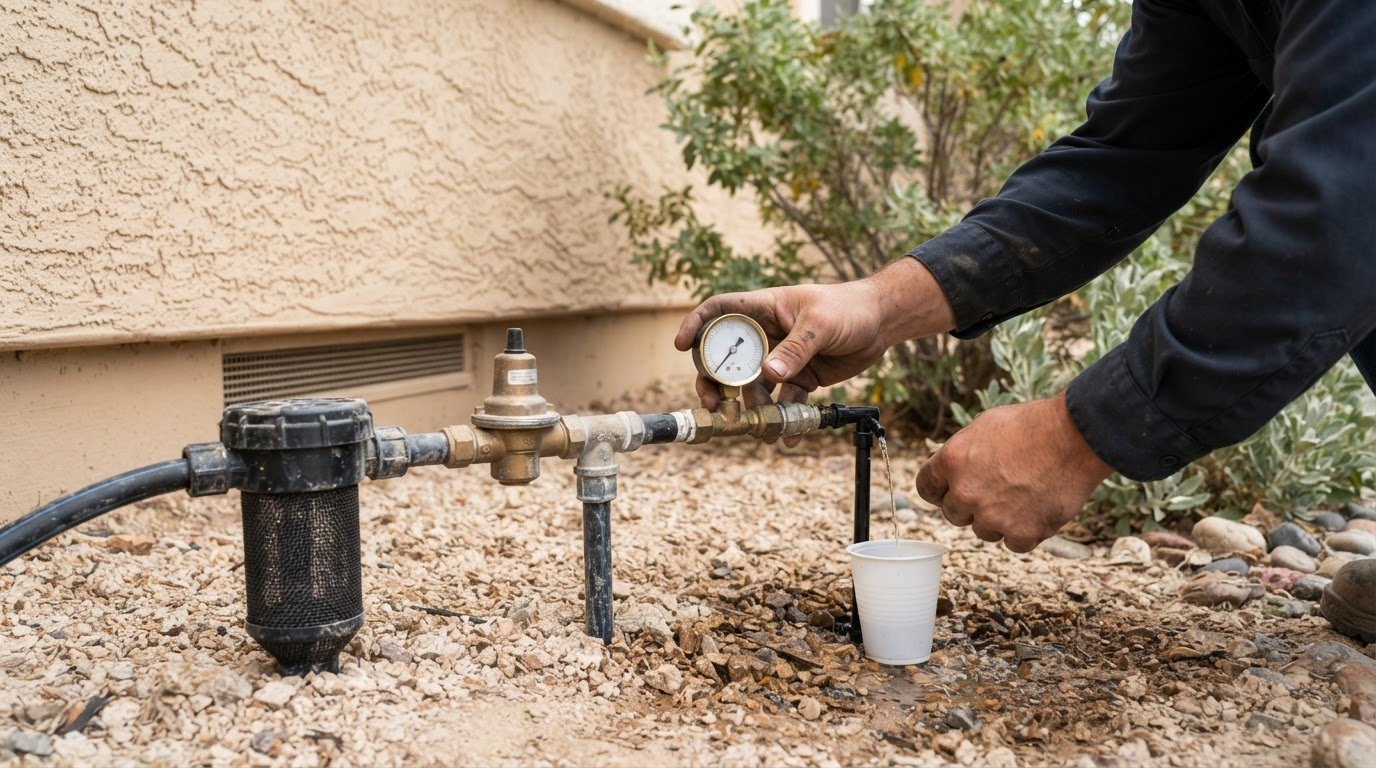
If you suspect debris and the valve has a manual bleed, opening it at full system pressure for three to five seconds can flush material from beneath the diaphragm. Water may discharge during this check, so keep clear of the outlet. If flow continues, the diaphragm is damaged, or the valve won’t close, stop troubleshooting and shut off the supply. A lateral-line break leaks while its zone runs; a main-line break may flow continuously. Both may need professional attention.
DIY repairs versus professional irrigation service
Choose DIY work based on the fault, not just the visible symptom. Many problems that keep a sprinkler system running can be repaired without replacing the entire system. Correcting a schedule is different from opening a pressurized line: one involves controller settings, while the other can affect downstream irrigation components.
Start with low-risk checks that don’t disturb plumbing. Confirm which zone is affected, observe where water appears, and note whether flow continues after the cycle. Correcting an unintended controller setting may be manageable at home. If symptoms point to a valve, solenoid, or wiring fault, the repair may involve components that are harder to isolate from the rest of the system.
Replacing a valve diaphragm may be an option when a valve continues passing water. The cause still matters: debris under the diaphragm, a damaged part, or a solenoid problem can produce similar symptoms. Replacing a component without identifying the fault may leave the zone running. Stop before disassembly if you can’t confidently identify the correct valve or isolate the affected system.
Line breaks are a clear boundary for professional work. A main-line break can leak whether irrigation is operating or not; a lateral-line break leaks while its zone runs. Repairs can introduce contaminants into the pipe, which may clog or permanently damage downstream components. That risk makes main-line and lateral-line repairs a poor choice for trial-and-error DIY work.
Watering rules depend on location. Before operating a repaired system, follow the schedule that applies to your address; don’t assume one schedule covers every area. If continuous flow is causing an expanding wet patch, shut off the irrigation supply rather than repeatedly running the zone to test it.
Use these distinctions to decide what to do next:
- Consider a simple adjustment when the issue is an evident controller setting and no water continues unexpectedly.
- Pause before opening a valve if you can’t identify the component or the cause of its failure.
- Arrange professional repair for a main-line or lateral-line break, persistent valve flow, or suspected wiring damage.
Professional diagnosis is especially useful when symptoms overlap. A wet patch may come from a leaking line, while water at a low head may be drainage. Matching the repair to the cause helps avoid unnecessary replacement and protects the rest of the irrigation system.
How to troubleshoot a stuck sprinkler valve or solenoid?
Start by distinguishing a valve problem from an electrical command. If one zone continues after the controller is off, record which heads still release water and whether the flow is steady. A mechanically stuck valve won’t close just because the controller stops sending a signal.
Check the valve area for clues before opening anything. Dirt, sand, grass, rocks, or pipe fragments can lodge inside a zone control valve and interfere with its seal. A damaged diaphragm may also prevent closure. Note visible debris or damage, but don’t assume that cleaning one part will solve the problem if the valve continues passing water.
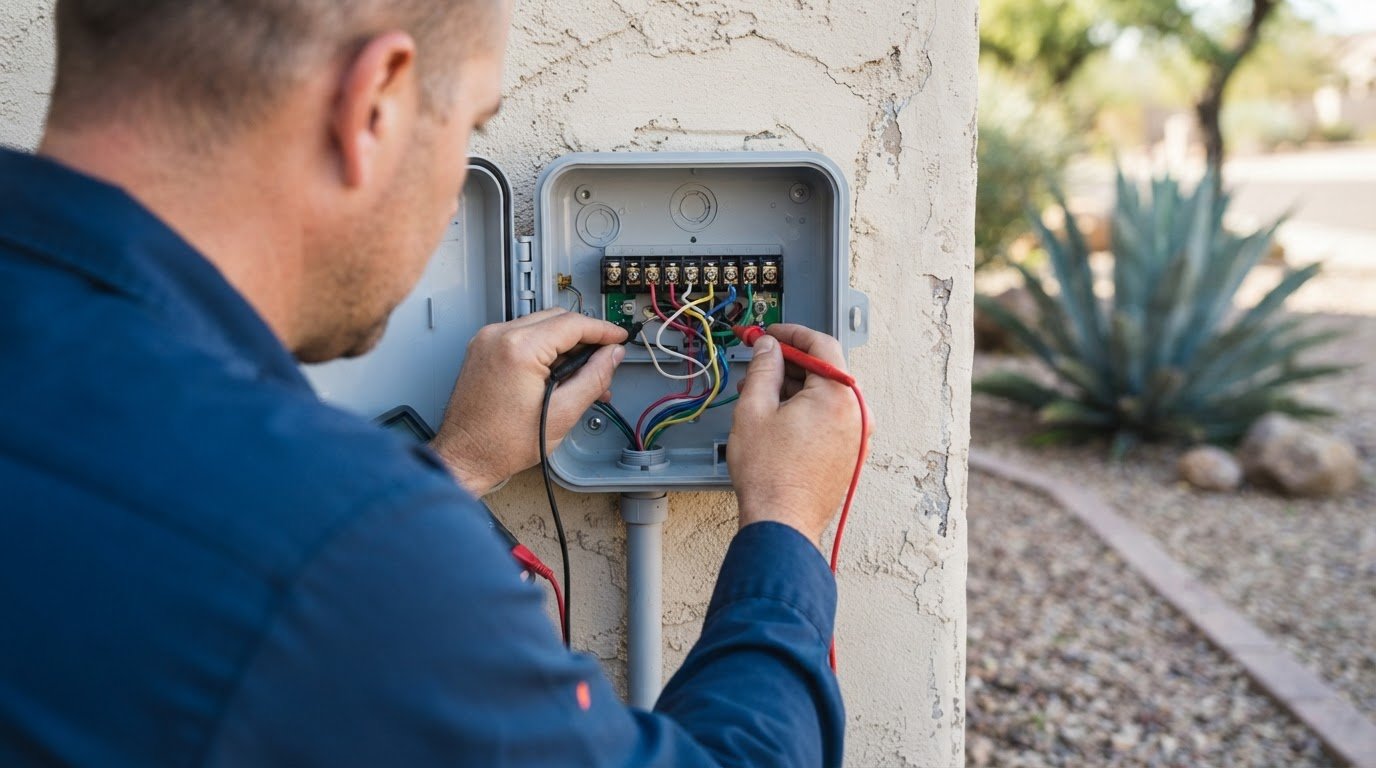
The solenoid is another possible cause. A solenoid that fails mechanically or electrically can leave its valve partly open. Damaged low-voltage irrigation wiring can also send false signals or keep a valve energized. Look for visible wire damage and note whether the problem affects one zone or several. One affected zone helps focus the diagnosis; multiple unexpected zones can point to a shared controller or wiring issue.
Use this sequence to narrow down the cause without replacing parts at random:
- Turn the controller off. If water continues through the affected zone, the problem isn’t explained by an active schedule alone.
- Shut off the irrigation supply if flow persists. This limits continued water loss while the valve is assessed.
- Identify the matching valve and zone. Compare the zone that runs with the valve and wiring connected to it.
- Look for visible damage or debris. Record what you see before deciding whether the valve needs cleaning, a diaphragm replacement, or further diagnosis.
A valve that passes water can sometimes be cleared if debris is trapped beneath its diaphragm, but recurring flow may indicate a damaged part. Replacing a diaphragm helps only when that component is the cause. If the solenoid has failed or the wiring is damaged, changing the diaphragm won’t address the electrical fault. Likewise, replacing the solenoid without diagnosing the wiring can leave the zone behaving unpredictably.
Don’t keep cycling a zone that continues to leak. Shut off its water supply and leave the valve closed until the source is identified. If the valve remains open, the wiring shows damage, or the cause is unclear, schedule irrigation valve and wiring diagnostics. A focused inspection can distinguish debris, diaphragm failure, solenoid trouble, and wiring faults before parts are replaced.
Sonora Sprinkler: Custom Sprinkler System Design
Sonora Sprinkler Inc. provides custom sprinkler system design and residential irrigation repair for persistent flow problems. Turn to professional repair when a valve continues leaking, wiring faults are difficult to isolate, or a line break may affect other components. A targeted repair can address the failing part without assuming the whole system needs replacement.
For recurring issues across several zones, custom sprinkler system design can address how the system is laid out and operates in Arizona’s desert environment. Drip irrigation installation is also available when it suits the project.
Contact Sonora Sprinkler Inc. to discuss your irrigation concern.
Make Your Next Irrigation Decision With Confidence
Turn the symptoms into a clear repair brief. Note which zone is affected, when the flow occurs, and what you observed during operation. These details give the technician a practical starting point and help focus the assessment on how the system is behaving.
To fix a sprinkler system that runs constantly, let the cause guide the repair. Avoid replacing parts simply because they seem likely to have failed. A considered diagnosis can help protect the rest of the irrigation system and keep the repair focused on the issue.
Sonora Sprinkler Inc. handles irrigation concerns through repair, installation, and drip irrigation work. If you’re ready to discuss the symptoms and next steps, contact Sonora Sprinkler Inc. A clear description of what you’ve noticed can help start the conversation, and you can move forward with a practical plan for your property.
Frequently Asked Questions
Can I leave the sprinkler system running until someone arrives?
No. If water keeps flowing outside its scheduled cycle, turn off the irrigation supply rather than leaving it running while you wait. Continuous flow can waste water and contribute to wet soil, erosion, or property damage. If you can’t locate the irrigation shutoff, avoid repeatedly restarting the system to test it. Note the affected area and whether water continues, then share those observations when arranging repair.
Can a sprinkler valve fix itself?
Usually not. A valve that sticks or fails to close can continue leaking and may get worse over time. Debris caught inside can keep the valve from sealing, and a damaged diaphragm may also need attention. Don’t rely on a temporary pause in flow as proof that the valve has recovered. If the same zone leaks again, keep the irrigation supply off and arrange a diagnosis.
What Causes a Valve to Stick Open?
A valve can stick open when dirt, sand, grass, rocks, or pipe fragments prevent its internal seal from closing. Hard-water buildup or a damaged diaphragm can create similar symptoms. A failed solenoid, wiring problem, or incorrect valve installation can also interfere with shutoff. Because these causes need different repairs, note whether one zone or several behave unexpectedly before deciding which component needs inspection.
Why does a sprinkler system keep running continuously?
Continuous watering can result from an unintended controller schedule, a failed controller output, a stuck valve, a solenoid or wiring fault, or a leak. The location and timing help narrow down the cause. For example, a wet patch that appears only while one zone operates differs from flow that continues when irrigation is off. Record what the controller displays and where water appears before changing settings.
How to stop a sprinkler system that won't shut off?
Set the controller to OFF first. If water continues, shut off the irrigation supply to stop the flow. Don’t force a valve handle or dismantle pressurized equipment if you’re unsure how it operates. Keep people away from saturated ground, especially where water is undermining soil near a path or structure. Leave the affected zone off until the source is identified and the system can be repaired.
How to troubleshoot a sprinkler controller that keeps watering?
Check the controller’s displayed date, time, selected program, and active station duration. Look for extra start times or a queued program that could explain an unexpected cycle. If the settings appear correct but the same zone runs beyond its schedule, avoid repeatedly resetting the controller. A failed output, damaged electronics, or wiring fault may need diagnosis. Write down the program and zone behavior before adjusting settings again.
When should you call a professional sprinkler repair service?
Arrange professional irrigation repair if water keeps flowing after the controller is off, a valve won’t close, wiring appears damaged, or you suspect a main-line or lateral-line break. Line repairs can introduce contaminants that clog or damage downstream components. Sonora Sprinkler provides residential irrigation repair and diagnostics for homeowners in Surprise and Peoria. Note the affected zone and visible symptoms when describing the problem.
Can a continuously running sprinkler system cause water damage or high water bills?
Yes. Ongoing flow wastes water and can leave soil excessively wet, contribute to erosion, or damage property. An unexplained increase in a water bill can also signal a hidden irrigation leak, particularly when accompanied by soggy or unusually lush spots. Don’t wait for the next billing cycle if water is visibly escaping. Shut off the irrigation supply and arrange an inspection to locate the source.