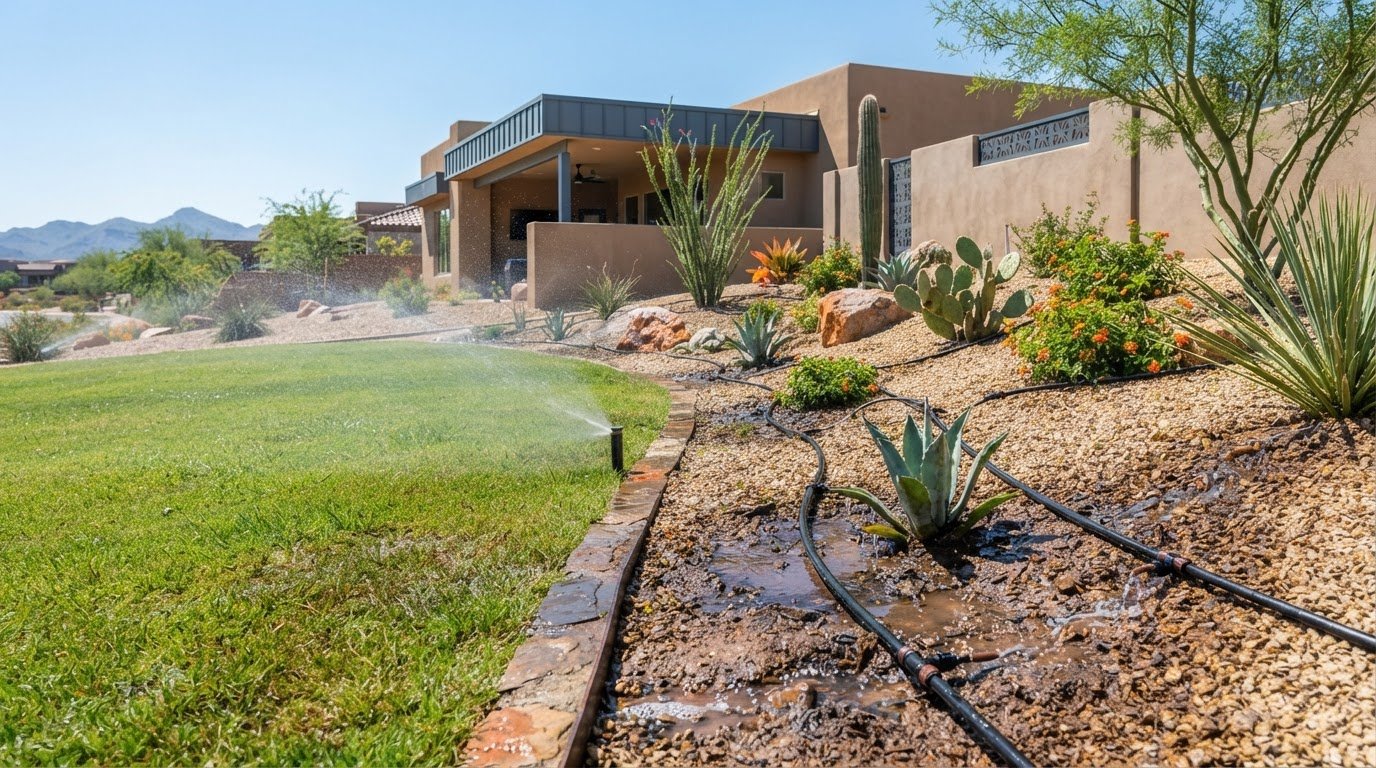
An irrigation schedule that runs at the wrong time, skips a zone, or won’t start can point to a controller issue. Other possible causes include a weak battery, damaged wiring, a sensor signal, incorrect programming, or a valve fault. Irrigation controller troubleshooting in Peoria starts by identifying what is interrupting the schedule before deciding whether repair or replacement makes sense.
It’s frustrating when a system doesn’t water as expected, especially in Arizona’s dry climate. This guide explains how controller wiring, batteries, moisture sensors, timers, and programming affect operation, and which symptoms can help narrow down the cause. You’ll also learn how diagnosis can distinguish a controller problem from a valve or sprinkler-system issue, and when repair, replacement, or an upgrade may be the practical next step.
Key Takeaways
- Separate controller symptoms from wiring, sensor, battery, valve, and sprinkler problems before deciding what needs repair.
- Review programming and seasonal settings when a system runs at unexpected times or waters for too long.
- Use zone-by-zone diagnosis to help pinpoint whether a failure to start comes from the controller, electrical connections, or a valve.
- Consider repair, replacement, or an upgrade based on the controller’s condition and the underlying system issue; a smart controller won’t fix leaks or broken parts.
- Learn which Peoria rebate conditions may matter if you’re considering a standalone smart irrigation controller.
Controller wiring, batteries, moisture sensors, and programming
A schedule can fail because of a controller setting, sensor signal, or electrical fault. In Peoria, adjust clock-based schedules as seasons and weather change, and avoid watering when conditions make it unnecessary. The U.S. Environmental Protection Agency recommends adjusting clock-based irrigation timers to seasonal weather.
Controller Wiring Tracing and Repair
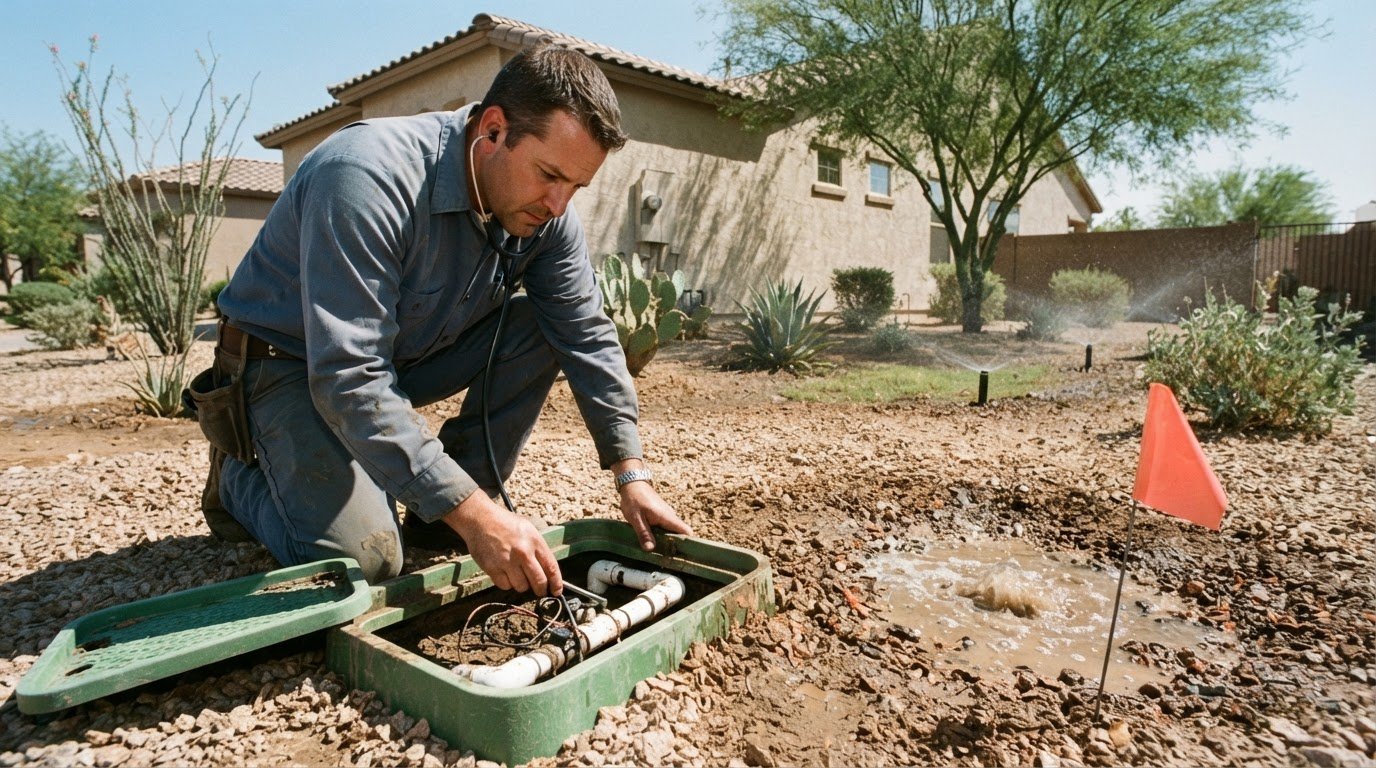
Wiring faults can leave one zone inactive while others keep running. A technician traces the affected zone’s wire from the controller to its valve, checking for loose connections, damaged insulation, corrosion, or a cut wire. If one zone fails while the controller display works normally, tracing that zone’s wiring helps narrow down the fault. The technician repairs the damaged connection or conductor, then tests the zone again.
Wiring Continuity and Short Checks
A continuity test checks whether the electrical path between the controller and a valve solenoid is intact. A broken wire can interrupt activation, while a short can disrupt a zone or affect controller operation. Technicians can test wiring continuity, measure voltage at valve solenoids, and locate shorts that affect activation. Comparing the affected zone with a working one helps distinguish a wiring fault from a broader controller problem.
Fuse, Transformer, and Power Problems
If the controller display is blank or several zones fail together, diagnosis starts with the power supply, fuse, and transformer. A technician checks whether power reaches the controller and whether its fuse and transformer work properly. A blown fuse may be a symptom, not the underlying cause, so the connected wiring and valves also need attention. Replacing a fuse without finding a recurring short can leave the original fault unresolved.
Depending on the controller, batteries can preserve the clock or programmed settings during a power interruption. A depleted battery may cause the displayed time or schedule to reset. If watering starts at an unexpected hour after an outage, compare the controller clock with the actual time before changing zone run times. This helps distinguish a clock reset from a wiring or valve issue.
Moisture sensors can pause watering when readings indicate sufficient moisture. If the controller skips a scheduled cycle after rain, the sensor may be responding as intended, or its wiring and settings may need inspection. A technician can compare the sensor connection and controller response with the schedule to identify the cause.
Programming affects both run times and start times. Review the controller’s clock, active days, start times, and zone durations separately. Cycle-soak programming divides watering into intervals, giving soil time to absorb water between applications and helping limit surface pooling. This can support efficient irrigation where a long, continuous cycle causes runoff.
Sprinkler valve and timer problems
A controller can show a normal schedule while one sprinkler zone stays dry or keeps running. The cause may be the valve, its solenoid, the connecting pipe, or a timer setting. Comparing the affected zone with a working one helps narrow down the cause before replacing parts.
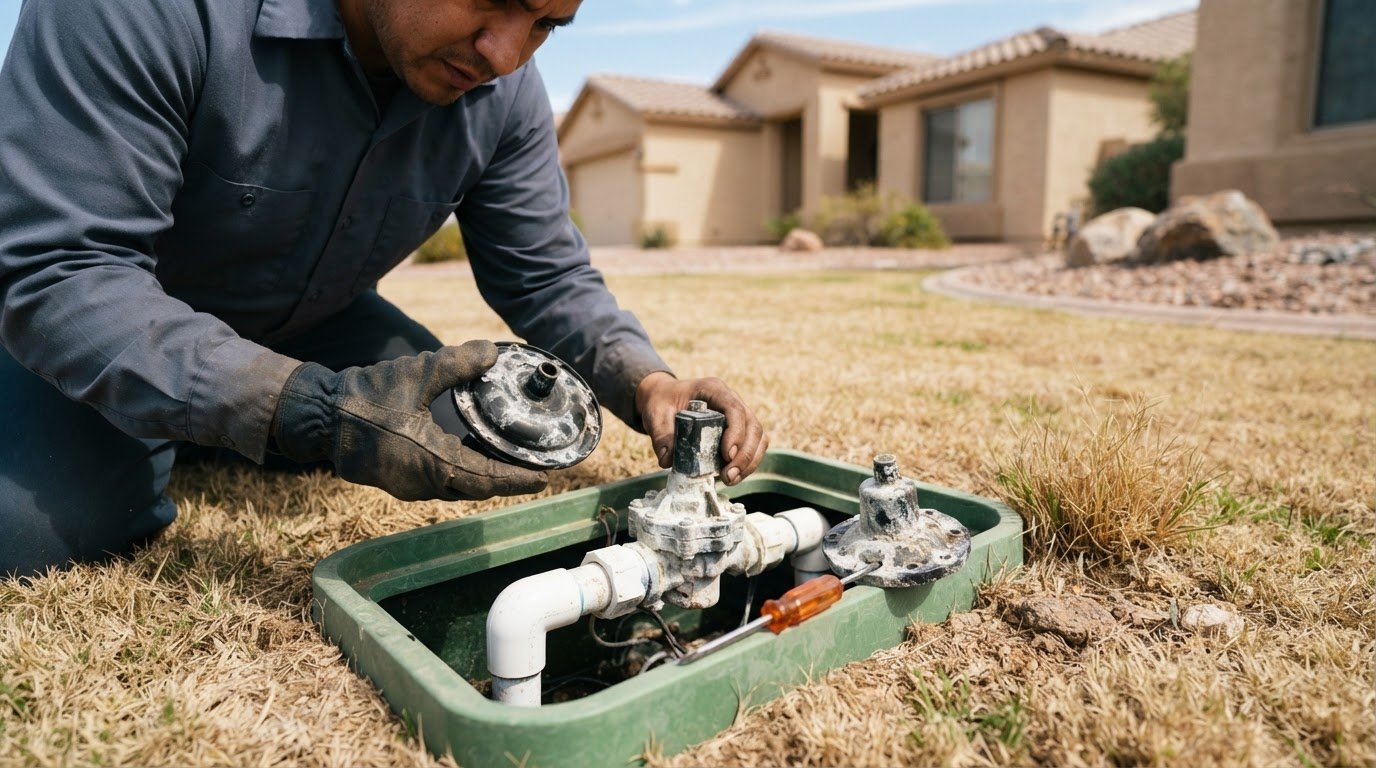
Each zone depends on its valve opening when the controller sends an activation signal. A technician can measure voltage at the valve solenoid during that command. If voltage reaches the solenoid but the valve does not open, the valve may need inspection. If the signal does not arrive, diagnosis shifts to the circuit or controller output.
A broken solenoid, debris in the valve, or a valve that does not close fully can cause different symptoms. A zone that never starts points to an activation problem; water that continues after the scheduled cycle may indicate a valve that is not closing properly. Checking the valve response alongside the controller command helps distinguish these issues.
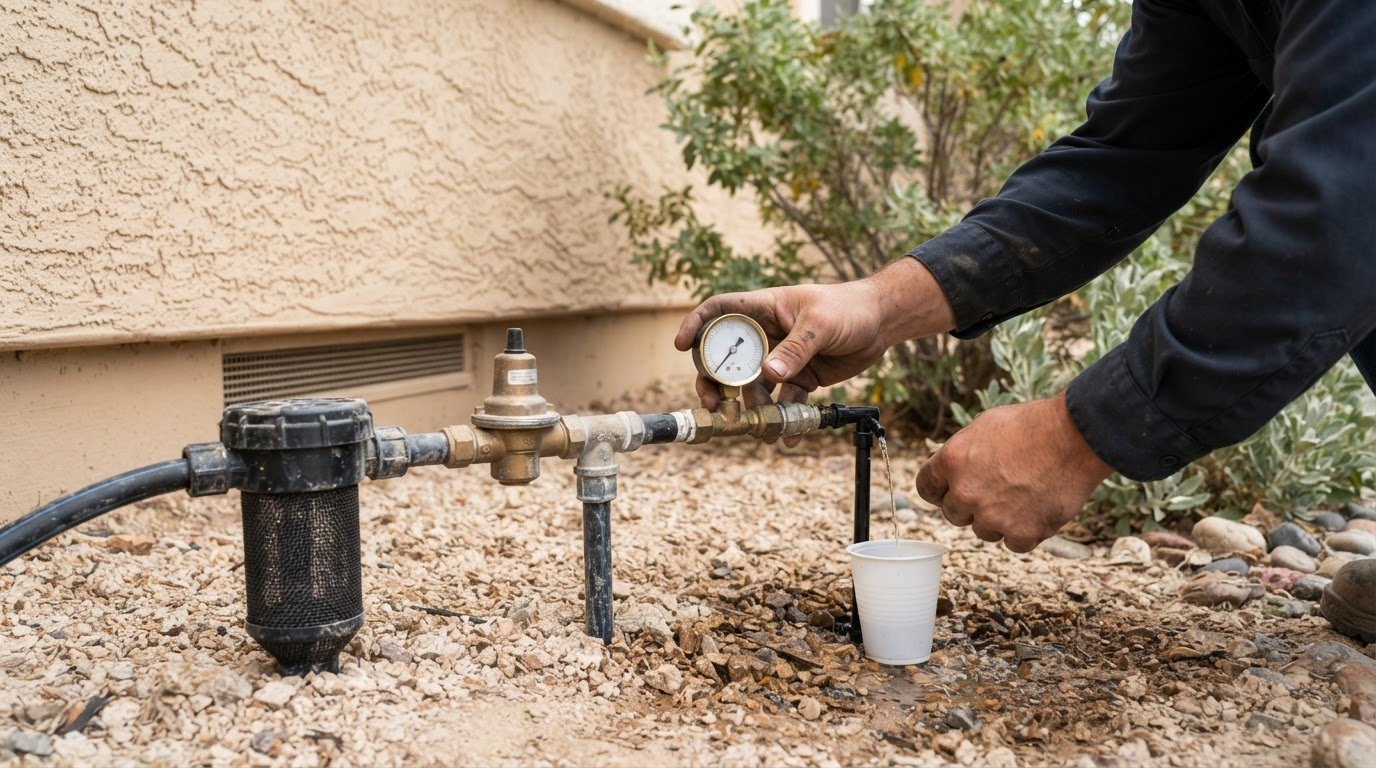
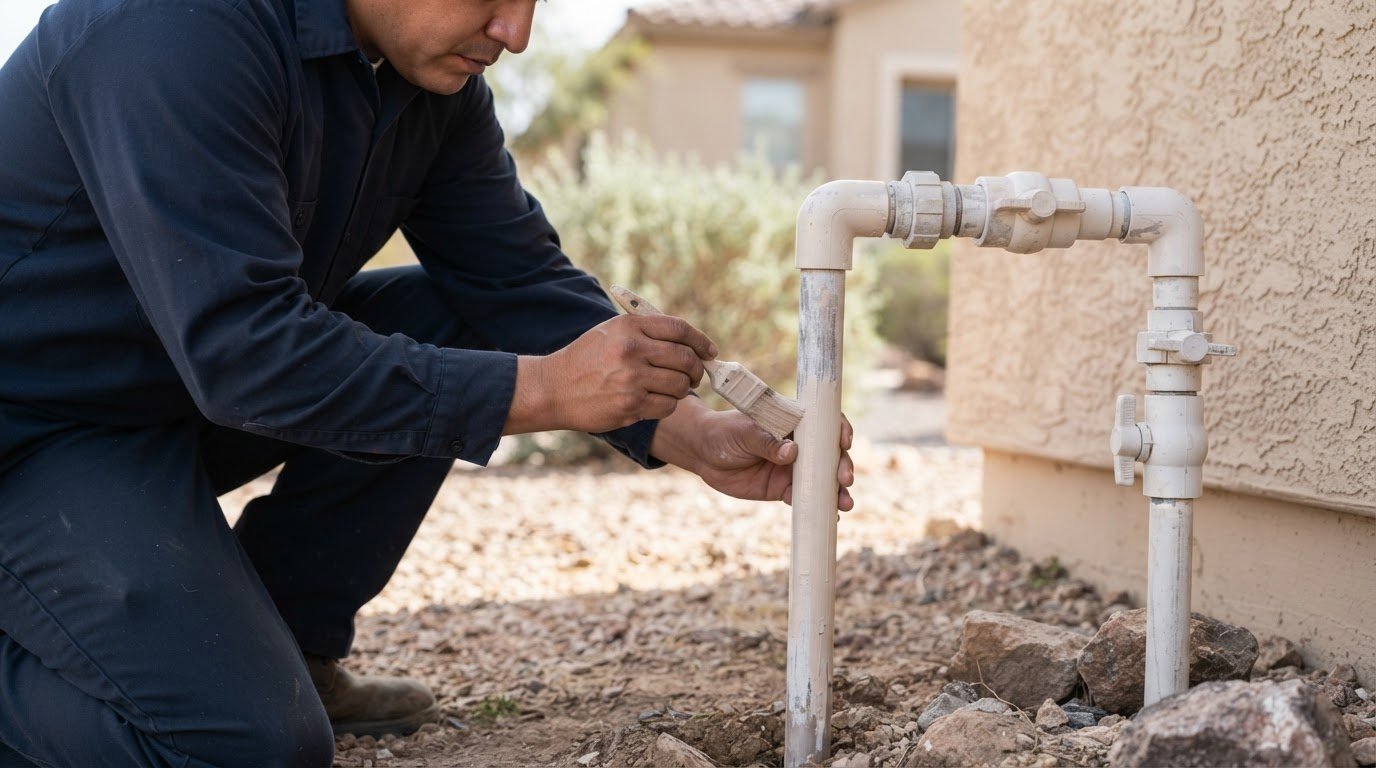
Pipe problems can look like valve faults. A damaged pipe may leave a zone with weak or uneven sprinkler output, while a leak can create wet ground near a valve box or along the pipe route. During diagnosis, a technician compares pressure and sprinkler performance across zones, then traces visible water loss toward the affected component. Replacing a valve alone will not fix a damaged pipe.
Timer settings can create symptoms that resemble mechanical failure. Review the controller’s clock, start times, active days, and zone durations separately. An incorrect clock can shift every zone’s watering time, while an unintended second start time can make the system run again later. A zone set to a very short duration may seem inactive even when its valve opens.
A focused diagnostic sequence connects the command to the result:
- Run the affected zone from the controller and note whether the valve activates.
- Compare its sprinkler output with a zone that operates normally.
- Measure voltage at the solenoid during the activation command.
- Inspect the valve and nearby pipe for a failure that matches the symptom.
- Review the timer settings if multiple zones run at unexpected times.
These checks help separate a timer issue from a valve, solenoid, or pipe fault. If a zone remains stuck open or fails to activate after its settings are reviewed, request a valve system diagnosis to identify the component disrupting operation.
Troubleshooting systems that run at odd times or fail to turn on
A system that starts unexpectedly, skips a cycle, or runs too long may have a clock, wiring, valve, or leak problem. Compare the controller’s displayed time with the actual time, then note whether the issue affects one zone or the whole system. One affected zone points toward a localized fault; several zones behaving alike suggest a shared control or power issue.
Peoria homeowners should set watering schedules according to current local water-use requirements and their property’s needs. One schedule may not suit every zone, particularly when soil or plantings differ. Avoid unnecessary cycles, and use shorter intervals if water pools instead of soaking into the ground. Take care when troubleshooting: disturbing wiring or changing settings without recording the original program can create further problems. Observe a test cycle and stop it if water continues flowing after the zone should close.
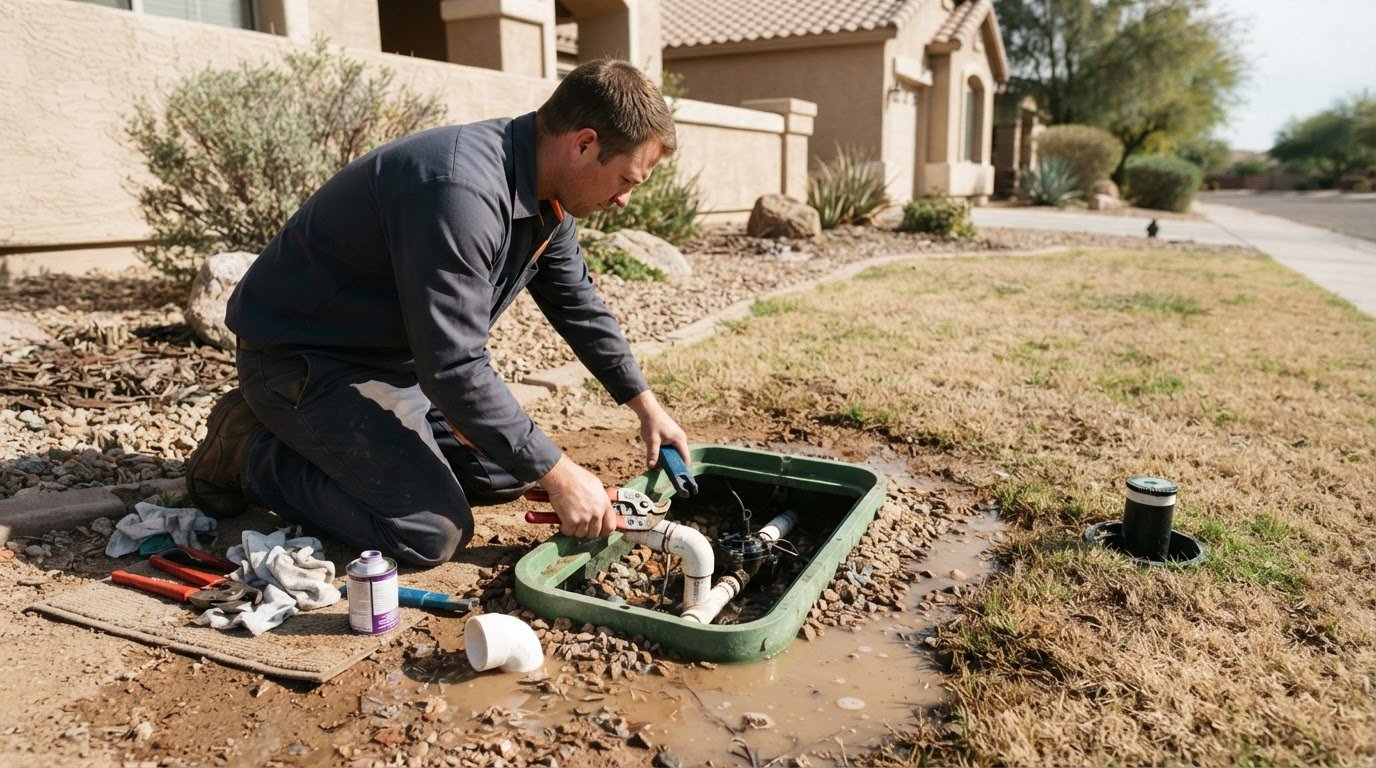
Look for visible signs that help distinguish a programming issue from system damage. A sudden water-bill increase without a change in water use may indicate a hidden irrigation leak. One leak or misaligned sprinkler head can waste hundreds of gallons of water each month. Wet patches near a valve box, water bubbling from soil, or a persistently saturated area can also point to a leak or broken pipe.
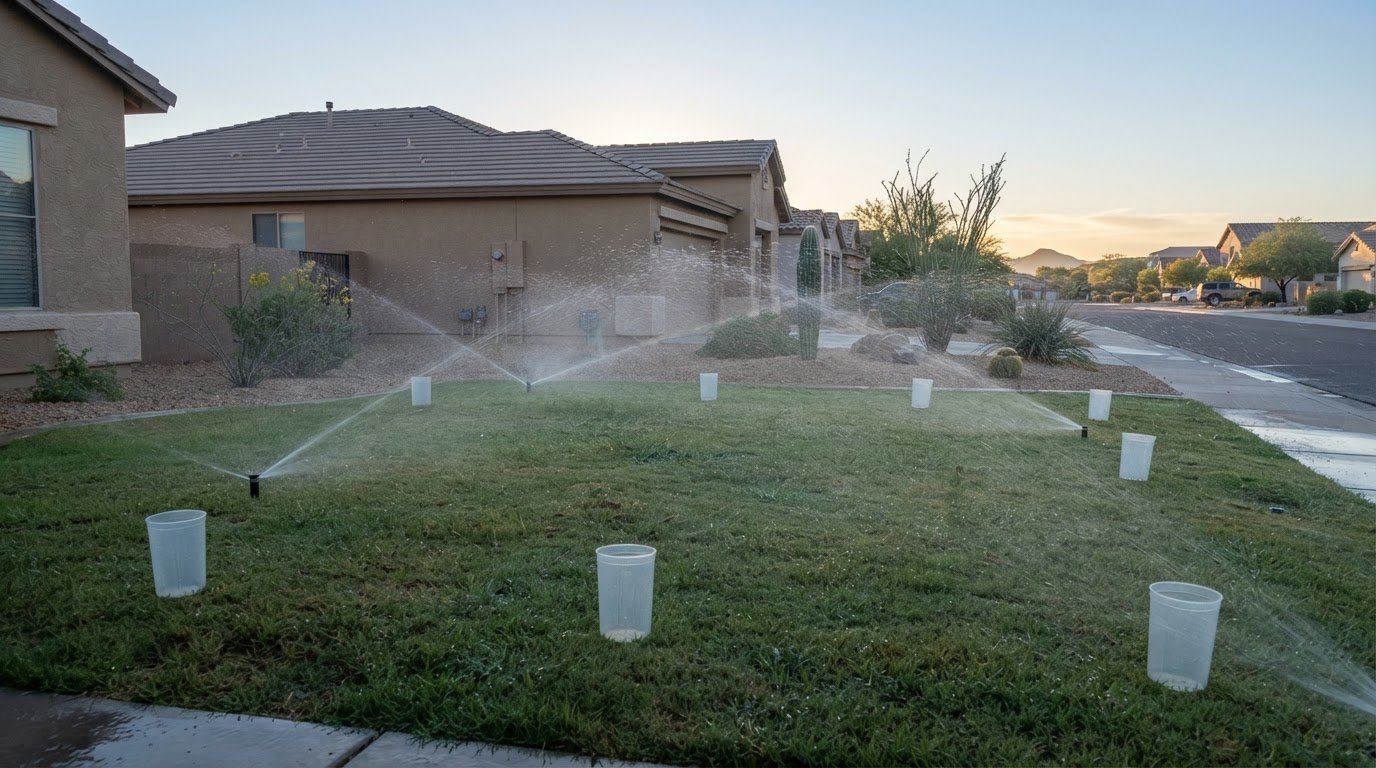
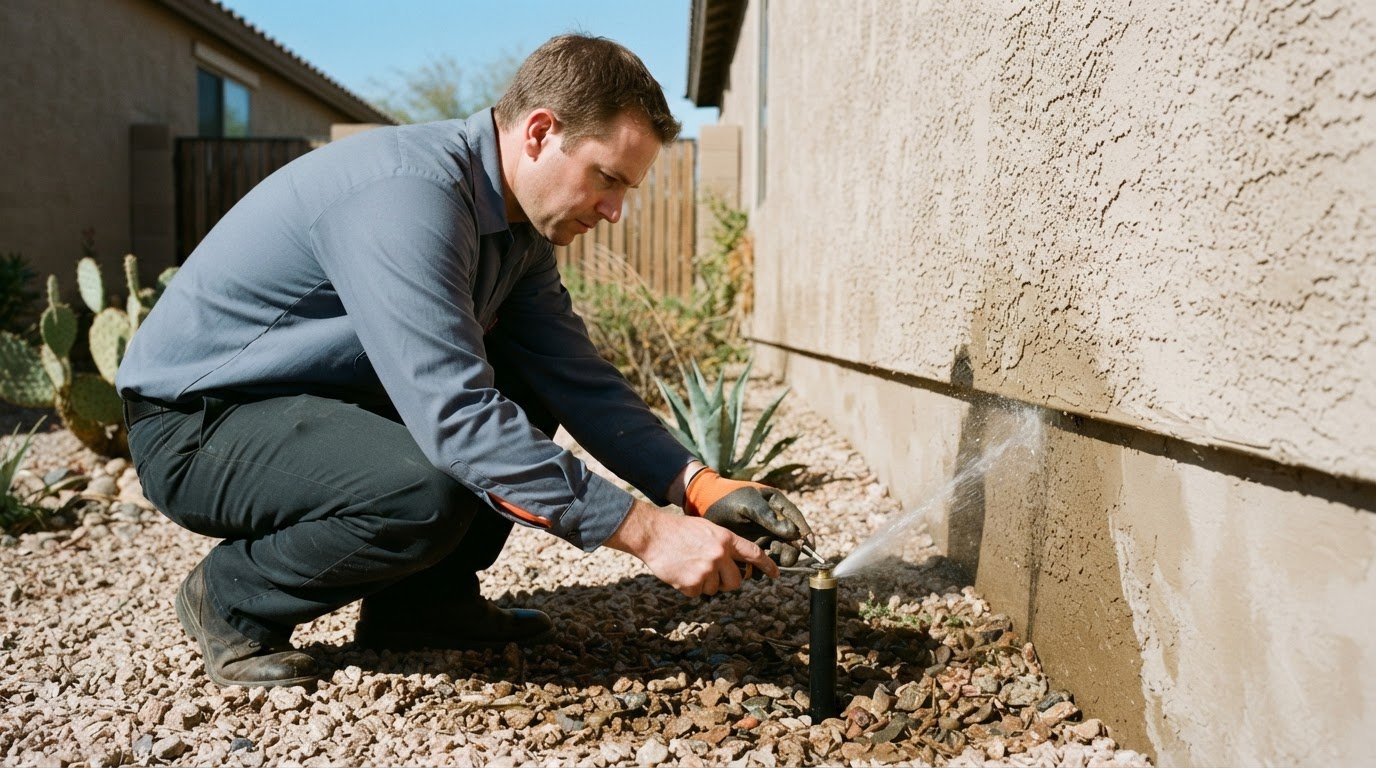
During a test, note whether each zone starts, sprays evenly, and shuts off when its programmed run ends. Dry areas, weak spray, water continuing after shutdown, or repeated missed cycles are signs the irrigation system needs attention. A controller may be issuing the correct command while a valve, pipe, or sprinkler component prevents the zone from working properly. A yearly inspection is recommended to maintain system efficiency and help prevent costly repairs.
Drip systems need a different visual check from spray zones. Look for emitters that have stopped delivering water, loose tubing, or wet spots that could indicate a damaged line. A clogged or disconnected emitter can leave one plant dry while nearby plants receive water. Drip irrigation installation or repair can address damaged tubing and help match water delivery to planted areas.
Use this sequence to narrow down an unexpected run or a zone that stays off:
- Record the displayed time, active days, and start times before changing settings.
- Run the affected zone and watch its valve, emitters, and sprinkler output.
- Note whether water stops when the controller ends the test.
- Compare the affected area with a working zone for wet ground or uneven coverage.
- Arrange diagnosis when a leak, damaged pipe, or repeated failure persists.
Sprinkler controller repair, replacement, and upgrades
Repair is appropriate when diagnosis identifies a fixable fault, such as a damaged connection or failed controller component. Replacement may make sense when the controller no longer operates reliably or cannot support the property’s required schedule. An upgrade changes how the system is controlled, but it will not fix a separate leak, broken valve, or inefficient sprinkler layout.
Start with the symptom and how widely it affects the system. If one zone fails while others respond, the problem may be beyond the controller, such as in that zone’s wiring or valve. If the display, clock, or schedule repeatedly fails across the system, diagnosis should include the controller and its power supply. This helps avoid replacing a working controller when a repair elsewhere could solve the problem.
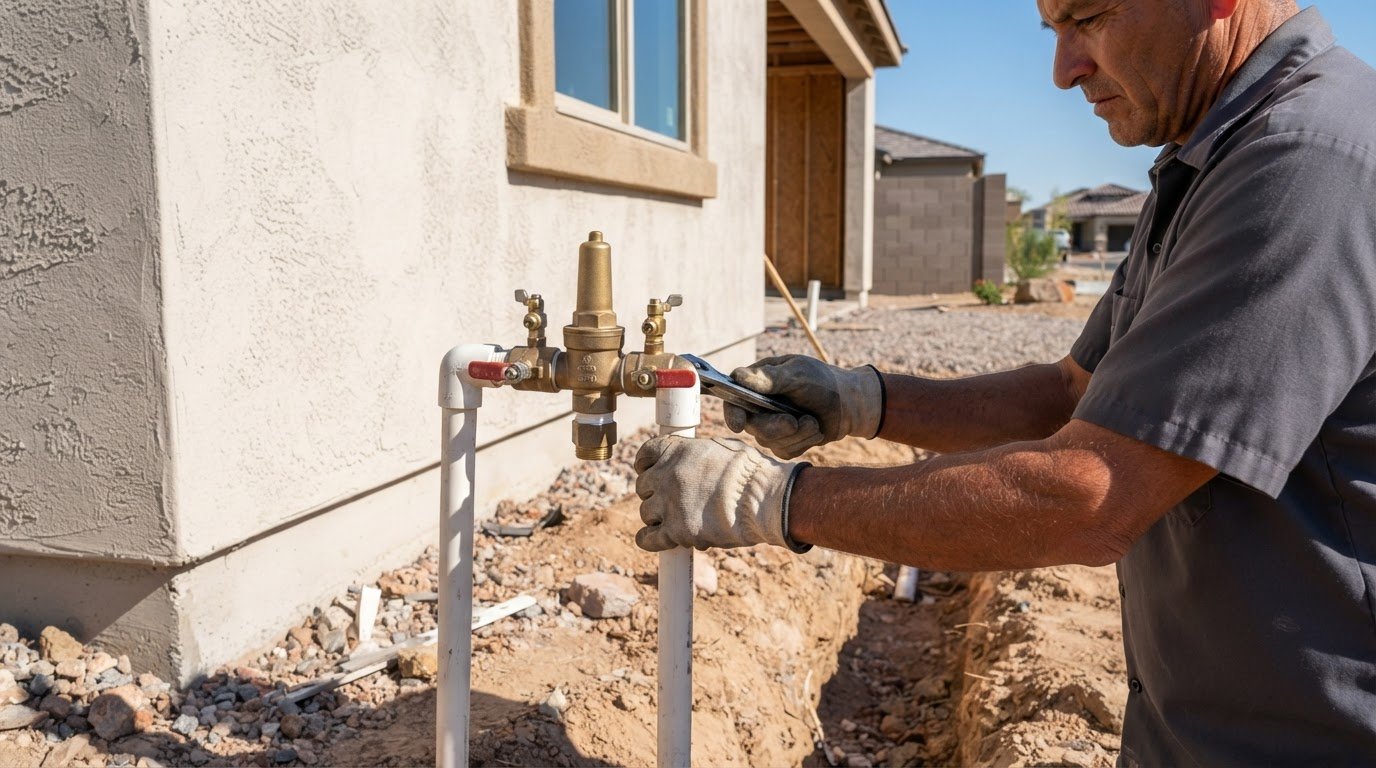
A smart controller may suit a property where weather-responsive scheduling is useful. WaterSense-labeled standalone smart irrigation controllers can automatically adjust to conditions such as wind, rain, temperature, moisture, and evapotranspiration. The City of Peoria notes that smart controllers do not fix irrigation problems such as leaks, broken parts, or inefficient design. Address those underlying issues separately before expecting a new controller to improve operation.
The controller must connect to the Internet and operate in smart mode. The City limits rebates each fiscal year and awards them in application order. Purchases and installation must be completed within one year after submitting an application.
Other rebate conditions affect the choice and timing of an upgrade. A household may receive no more than one controller rebate every seven years. The rebate excludes taxes and installation costs, and cannot exceed the amount paid. Applicants need an itemized purchase receipt showing the amount paid, pre-tax subtotal, purchase date, and business. A contractor invoice does not qualify as that receipt. The City may change, update, or suspend its rebate program during the year.
Use this practical sequence to weigh the options:
- Identify whether the fault affects one zone or the full controller.
- Repair wiring, valve, or system damage before replacing a controller unnecessarily.
- Consider replacement when controller failures persist after related faults are addressed.
- Choose an upgrade for its scheduling capabilities, not as a substitute for fixing leaks or broken components.
- Review Peoria rebate eligibility and required purchase documentation before planning an installation.
How can I diagnose wiring, fuse, transformer, and power problems in a sprinkler controller?
Start by identifying whether the controller is completely unpowered or only one zone fails. A blank display points to a power supply issue, while a working display with one inactive zone suggests a localized circuit fault. Note the display status and affected zones before diagnosis begins.
For a blank controller, a technician checks the power source, transformer, connections, and fuse in sequence. The transformer supplies power to the controller, so a fault there can interrupt operation across multiple zones. An open fuse can also stop controller functions. Replacing it without finding why it opened can leave the underlying electrical problem unresolved.
Next, a technician tests the controller’s output while activating an individual zone. Measuring voltage at the corresponding valve solenoid helps determine whether the controller signal reaches the field wiring. If the signal is present at the controller but absent at the valve, the wiring path needs closer inspection. If the signal reaches the solenoid but the valve does not respond, diagnosis shifts to the valve or solenoid.
Continuity testing checks whether a wire forms an unbroken path between the controller and valve. A failed reading can indicate a break or poor connection. A short can disrupt activation or cause a fuse to open. The technician isolates the affected circuit and traces its wire route, checking connections and damaged insulation. Comparing the faulty zone with a functioning one helps pinpoint where readings differ.
These tests involve electrical connections and should be performed by a trained technician using suitable test equipment. Avoid opening or probing an energized controller. Homeowners can safely record symptoms, such as a dark display, a reset clock, or one zone that fails, without touching wiring. That information helps focus diagnosis on the power supply, controller output, or field circuit.
Diagnosis should follow the symptom, not assume the controller needs replacement. If the display is blank, testing begins at the power supply. If several zones fail together, the technician checks shared controller functions and wiring. If one zone fails, its output, wire path, and solenoid receive closer attention. Each test narrows down the cause before repair decisions are made.
After a repair, the technician can run affected zones and confirm that controller commands reach their valves. A successful display restart alone doesn’t prove the wiring fault is resolved; the zone must respond and stop correctly. For precise irrigation wiring and electrical diagnostics, contact the team to arrange an inspection.
Sonora Sprinkler Inc.
Sonora Sprinkler Inc. helps homeowners in Peoria identify irrigation faults and choose a practical next step. When a controller schedule fails, a zone stays dry, or water continues running, diagnosis can distinguish a controller issue from a valve, pipe, or sprinkler-system problem. That clarity helps direct repairs to the source instead of replacing parts without addressing the cause.
For a damaged system, Irrigation Repair can address faults that affect reliable operation. If the existing layout no longer suits the property, Custom Sprinkler System Design can help plan a more appropriate system. Drip Irrigation Installation is another option for delivering water to planted areas through drip lines. The right approach depends on the diagnosed problem and the property’s irrigation needs.
To discuss an irrigation problem or repair, contact Sonora Sprinkler Inc.
Keep Your Irrigation Ready for the Season Ahead
For irrigation controller troubleshooting in Peoria, the most useful next step is a diagnosis based on how the property is actually watered. A controller setting may need adjustment, but a recurring fault can point to a system issue that needs attention before schedules are changed again. Basing the decision on the cause helps avoid replacing working equipment or overlooking a problem elsewhere in the irrigation system.
Before arranging service, note what you’ve observed: whether the problem affects one zone or several, whether water continues after a cycle, and whether the controller display behaves normally. These details can help focus the diagnosis. The goal is a system that delivers water where it’s needed and follows a schedule suited to the property.
If your controller or irrigation system isn’t operating as expected, contact Sonora Sprinkler Inc. to discuss the next step. A clear diagnosis can help you move forward with confidence.
Frequently Asked Questions
How do I troubleshoot an irrigation controller that won’t turn on or display anything?
First, check whether the controller’s power connection is secure and whether its display remains blank after a normal restart. If the display recently went dark after an outage, note whether the clock or stored settings also reset. Avoid opening the controller or handling internal wiring. For irrigation controller troubleshooting in Peoria, a technician can test the power supply and controller safely when basic external checks don’t restore the display.
Why is my sprinkler controller not starting scheduled watering cycles?
A schedule may be saved but inactive, assigned to different watering days, or set to a start time that has already passed. Check the displayed clock and confirm the intended program is enabled. Also look for a sensor pause indicator, which may show that rain or moisture input is holding irrigation. If the display shows that a cycle should be active but watering doesn’t begin, the fault may involve the controller output or another system component.
How do I fix a zone that won’t run or keeps running with an irrigation controller?
Run the zone manually from the controller and observe whether it starts and stops with the command. If it won’t start, compare its response with a working zone. If it keeps running, switch the system off at the controller and close the irrigation supply if accessible. A technician can test the zone’s signal and inspect its valve. Repeated failure or continued flow calls for diagnosis, not repeated schedule changes.
How do I reset or reprogram common irrigation controller brands?
Reset steps depend on the controller’s brand and model, so identify the model from its label before changing settings. Record the existing watering days, start times, and zone durations first. Follow the controller’s reset sequence, then re-enter the schedule and check the clock and active program. Don’t assume a reset preserves saved settings. If the display buttons or menus don’t respond as expected, stop before changing additional settings.
How do rain sensors and soil moisture sensors affect irrigation controller operation?
Rain sensors can suspend a scheduled cycle after rainfall, while soil moisture sensors can signal that watering should pause because the soil is already moist. Check the controller display for a sensor or pause indicator when a cycle is skipped. If the property remains dry despite normal schedules, a technician can compare the sensor signal with controller operation. A sensor interruption differs from a zone that receives a command but fails to water.
What does irrigation controller repair cost in Peoria, Arizona, and when should I hire a technician?
The cost depends on the diagnosis, including whether the fault involves the controller, wiring, transformer, valve, or another system component, and whether repair or replacement is needed. Have a technician diagnose recurring faults, electrical issues, or water that won’t stop flowing. Sonora Sprinkler Inc. provides residential irrigation repair and wiring diagnostics in Peoria. Contact the company to arrange service.