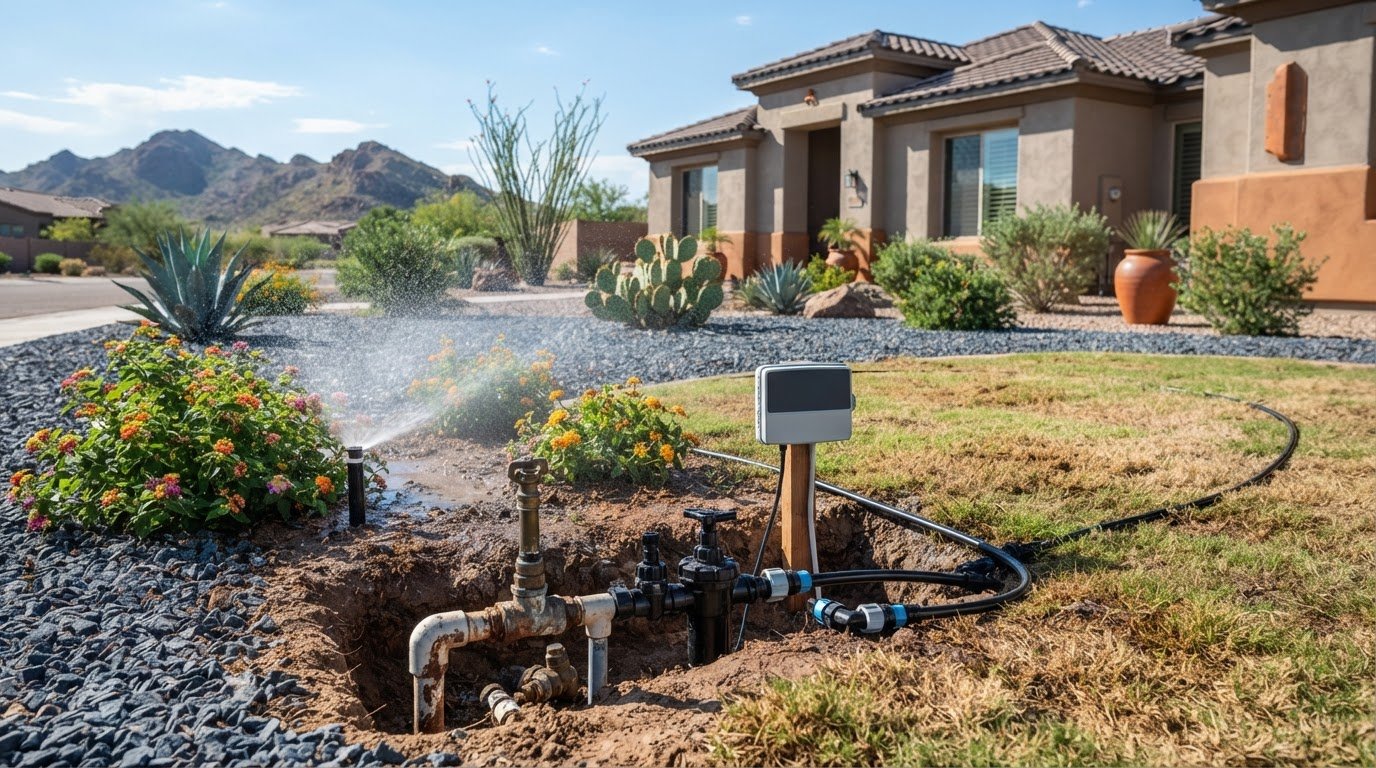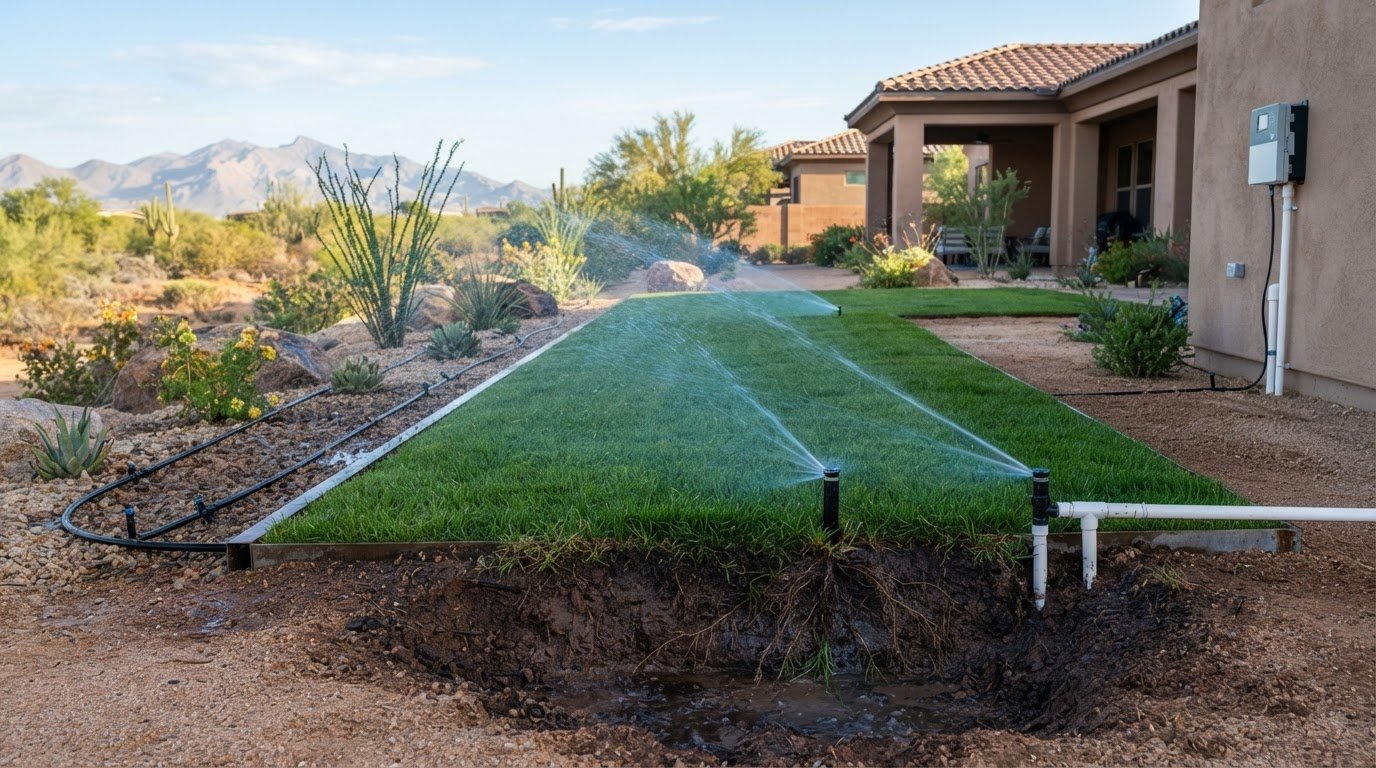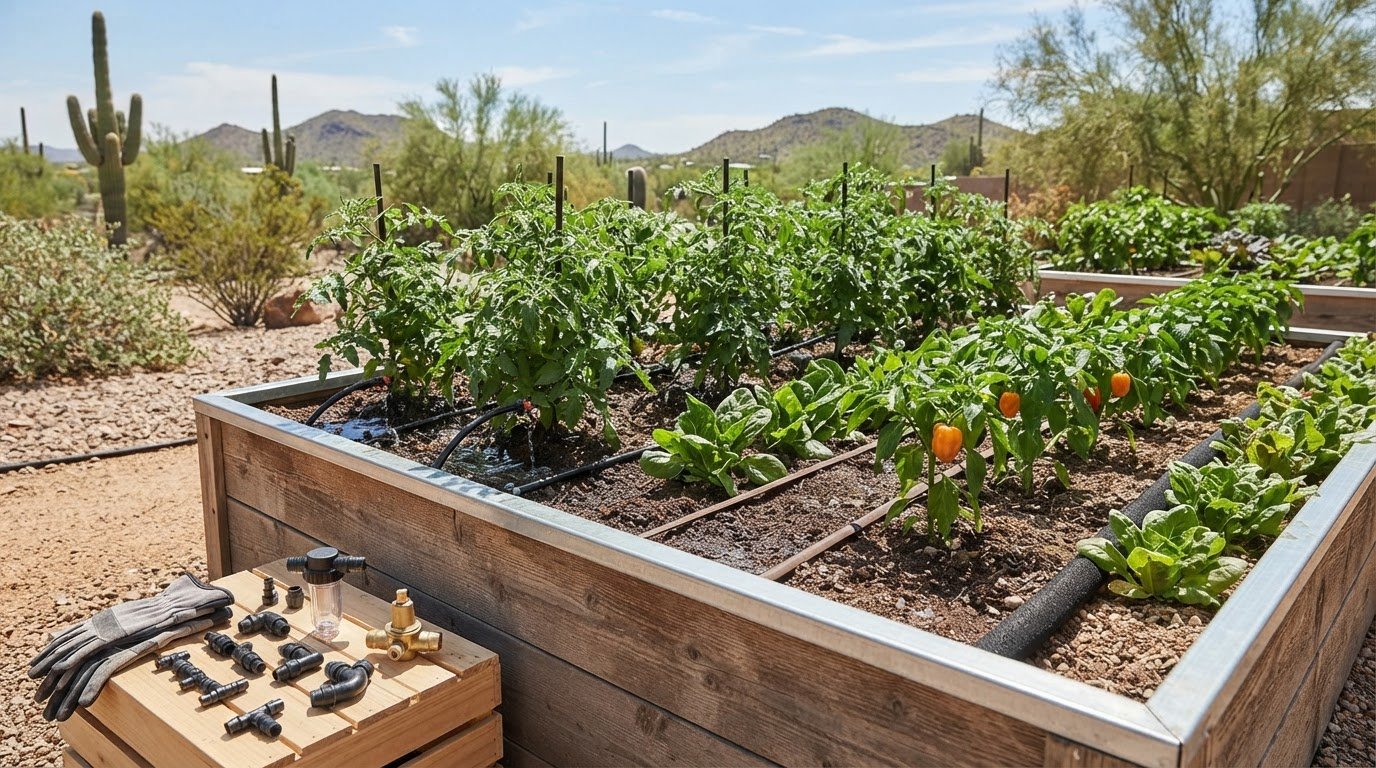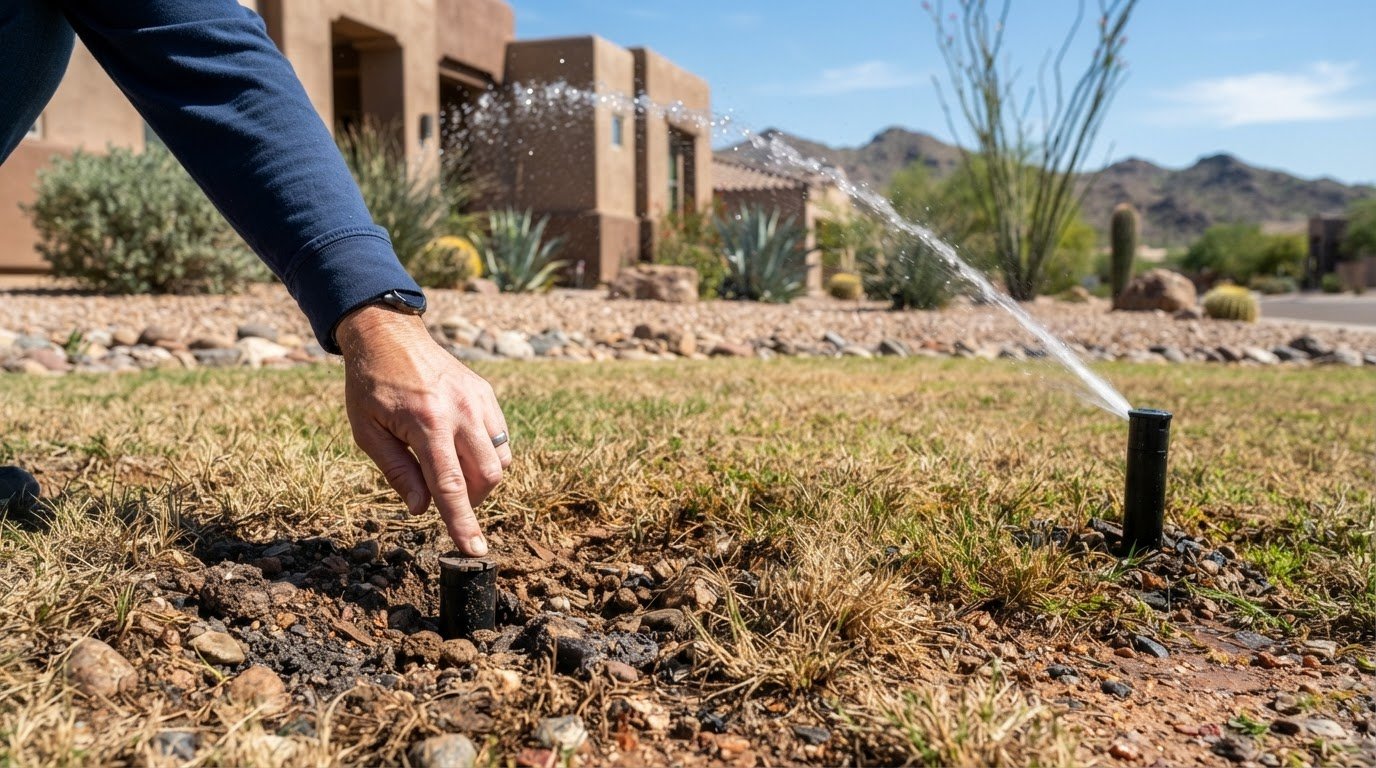
A sprinkler isn’t automatically the wrong choice for a slope. For an irrigation system for a sloped yard in Peoria, match the method to the planting: dripline or soaker hoses apply water slowly near plants, while sprinklers cover turf and broader areas. On steeper grades, slow, targeted watering can help limit runoff.
Consider the slope alongside plant type and sun exposure. A planting bed and a sunny lawn may need different watering approaches, and the layout should account for how water moves across the ground, not just which equipment you choose.
This guide explains how to compare drip and sprinkler irrigation, separate zones by plant needs and exposure, and place lateral lines along contours. You’ll also learn when cycle-and-soak watering can help prevent water from running downhill before it reaches the root zone.
Key Takeaways
- Choose sprinklers for turf and broader coverage, and consider drip or soaker hoses where water needs to reach plants slowly and directly.
- Break watering into shorter cycles to give sloped soil time to absorb water and reduce runoff.
- Separate irrigation zones by plant needs and sun exposure, since south- and west-facing slopes dry faster.
- Plan dripline placement and lateral lines around the slope’s contours to distribute water more evenly across planted areas.
- Use signs such as pooling, runoff, or uneven plant growth to identify where your watering layout may need adjustment.
How slopes affect water absorption and runoff
On a slope, water can move downhill before the soil absorbs it. Check how quickly the soil absorbs water and where runoff occurs, then adjust the schedule and sprinkler layout.
-
Assess Water Absorption on the Slope
Apply water briefly to a representative patch, then inspect the soil surface and root zone. Note whether water disappears into the ground or begins moving downhill before soaking in. Sloped lawns may absorb water more slowly, so extending a single watering cycle can increase runoff.
After watering, compare the upper, middle, and lower parts of the slope. If the upper soil remains dry while lower areas become wet, water isn’t being distributed evenly. Use these observations to identify where shorter cycles or adjusted coverage may help.
-
Identify Runoff Along the Slope
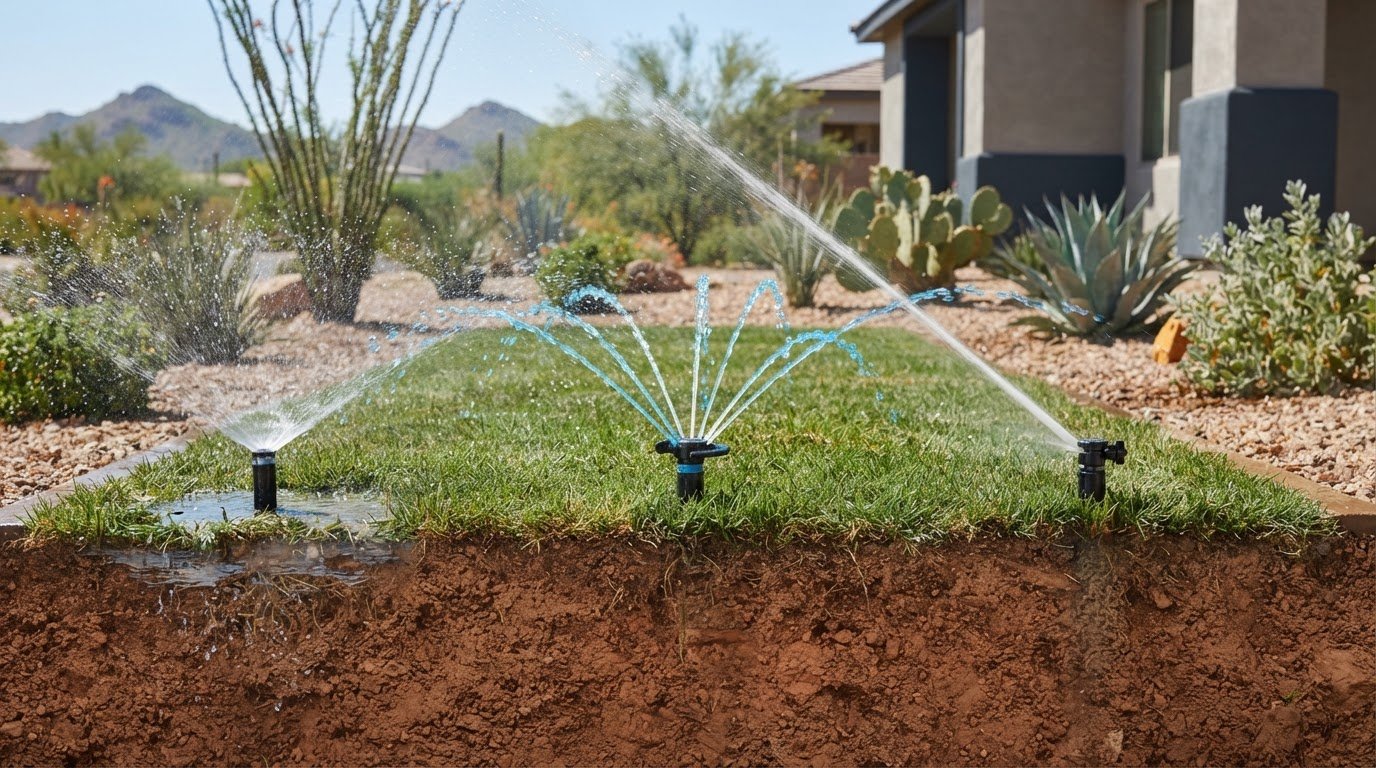
Run a watering cycle and watch the ground below each sprinkler head. Flowing water, pooling, or soil washing downhill indicates that water is arriving faster than the slope absorbs it. Check paths, bed edges, and low points, where runoff is easiest to spot.
Break a long cycle into two or three shorter cycles instead of applying water continuously. For example, three 5-minute cycles can replace one 15-minute cycle. A 30 to 60 minute pause between shorter cycles allows more time for water to absorb before the next cycle begins.
- Choose a slower application rate.
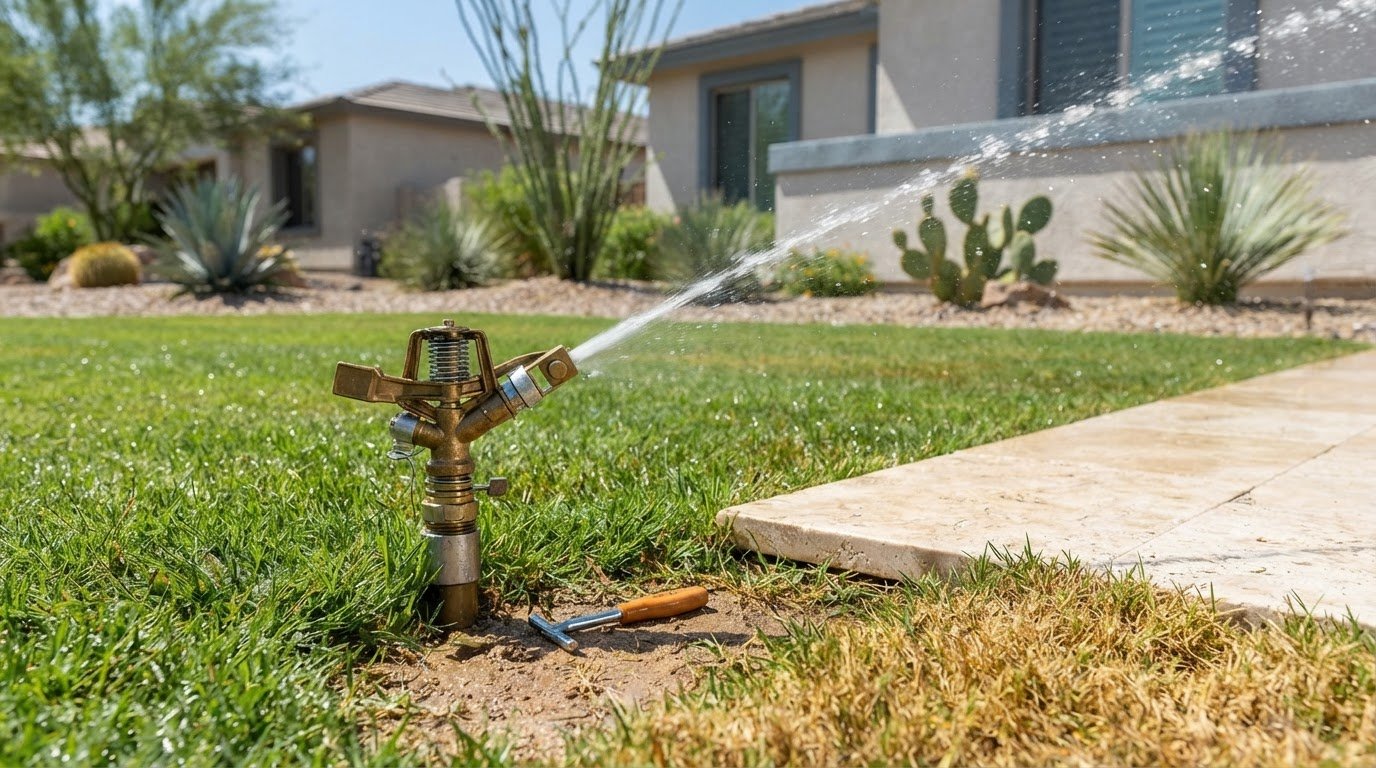
When selecting coverage for sloped turf, compare rotor heads with high-output spray heads. Rotors with a low precipitation rate are better suited to slopes because they apply water more slowly. High-output sprays can deliver water faster than the ground absorbs it, increasing runoff risk.
Use the slope’s shape to guide head placement and adjustment. Adjustable-arc rotors can shape coverage to the area’s footprint, helping avoid overspray beyond lawn edges. For a 2:1 slope, properly adjusted sprinkler throw reaches about 80 percent of its radius above the head and 120 percent below it.
- Set the timer for shorter runs.
Choose a controller program with multiple start times so you can water in repeated cycles instead of one prolonged run. Schedule each start time for a shorter run, then allow the soil to absorb water between runs.
Observe the slope during each cycle and adjust the run pattern if water starts flowing downhill. A timer can’t correct poorly aimed heads, so check the spray pattern as well as the schedule. Match each setting to the area being watered.
- Improve the soil’s ability to absorb water.
Check for compacted areas where water pools or runs across the surface. Aerating compacted slopes opens channels for water to penetrate the soil. Topdressing with organic matter can help the soil hold water between waterings.
For grades too steep or expensive to regrade, retaining walls or terracing can divide a long slope into flatter sections. After making changes, reassess absorption in each section and use what you observe to refine cycle timing, sprinkler coverage, and the watering pattern.
Separating zones by plant needs and site exposure
Map each planting area before assigning irrigation zones. In a Peoria xeriscape, sun exposure and plant water needs can vary across a single sloped yard.
- Map the planting areas. Sketch turf, shrubs, trees, and planted beds as separate areas. Mark each area’s position on the slope and note changes in ground cover. A lawn above a shrub bed may need a different application method and schedule. This map helps prevent one timer setting from treating different plantings as if they had identical needs.
- Group plants by watering needs. Keep plants with similar water requirements together in an irrigation zone. For example, don’t place drought-tolerant plants in the same zone as turf that needs broader, more frequent coverage. Plan separate xeriscape irrigation zones for different planting areas. Separate schedules let each group receive water suited to its planting type.
- Record the direction each slope faces. Identify south- and west-facing areas, and mark north- and east-facing areas separately. South- and west-facing slopes dry faster because they receive more direct sun. For example, a west-facing shrub bed may dry sooner than a shaded bed nearby. Keep these areas in separate zones when their drying patterns or plant needs differ.
- Check shade and exposure within each mapped area. Note where a wall, tree, or structure shades only part of a slope. A sunny edge and shaded interior may dry at different rates, even within one planting bed. Compare soil and plant conditions in each spot after irrigation. If one part stays wet while another dries, adjust the zone boundaries or schedule.
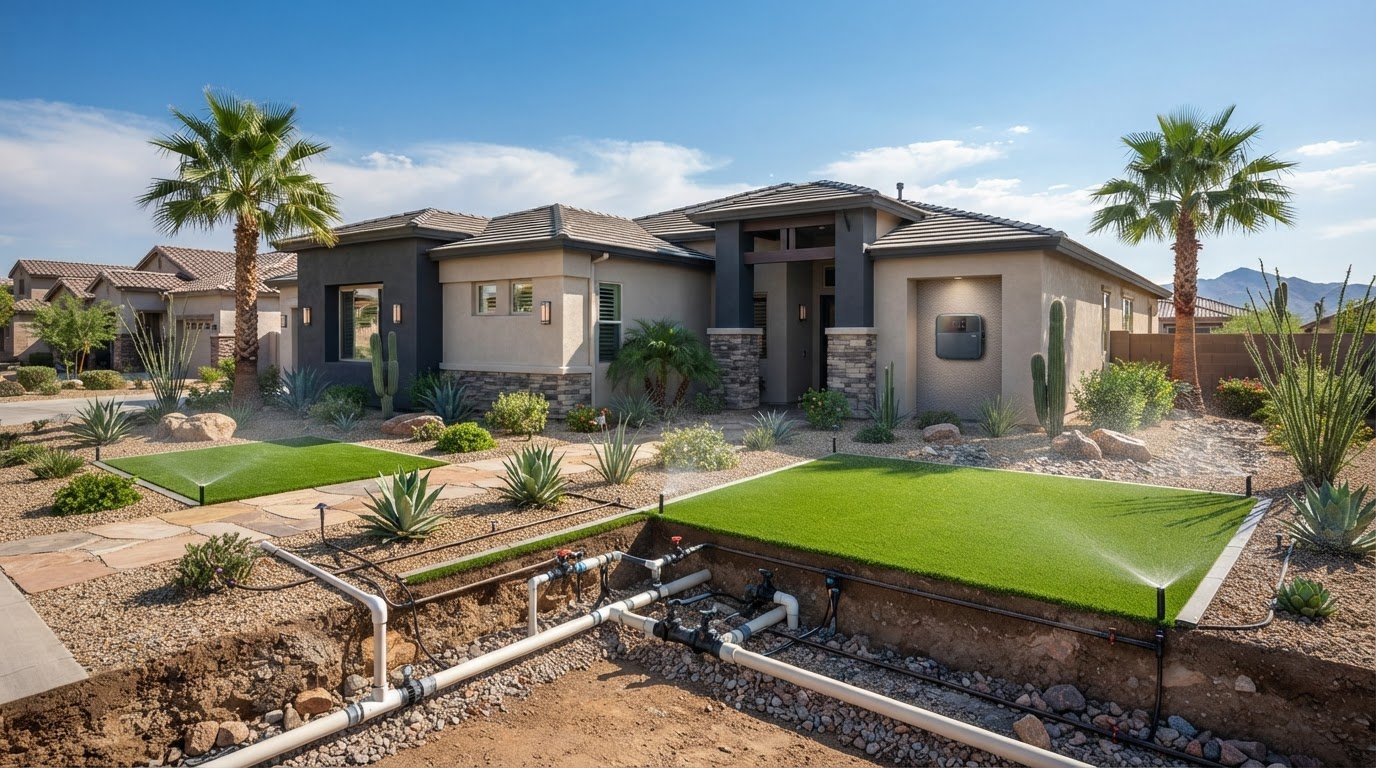
- Match each zone to its coverage method. Use sprinklers for turf and broad areas that need distributed coverage. Direct drip irrigation toward planted beds where water should reach plants near the soil. Keep different methods separate so one run time doesn’t overwater one area while leaving another short. For example, a lawn and nearby shrubs can use different zones on the same slope.
- Review the zones after watering. Walk each mapped area and look for uneven results, such as dry plants beside damp soil or wet ground near a sunny edge. Revisit the boundary, exposure notes, and plant grouping before changing the schedule. If you want help planning a layout around these differences, discuss your irrigation zone layout.
Drip irrigation and soaker hoses
Choose the delivery method based on the planting and grade. Dripline and soaker hoses suit planted areas, while turf usually needs broader sprinkler coverage.
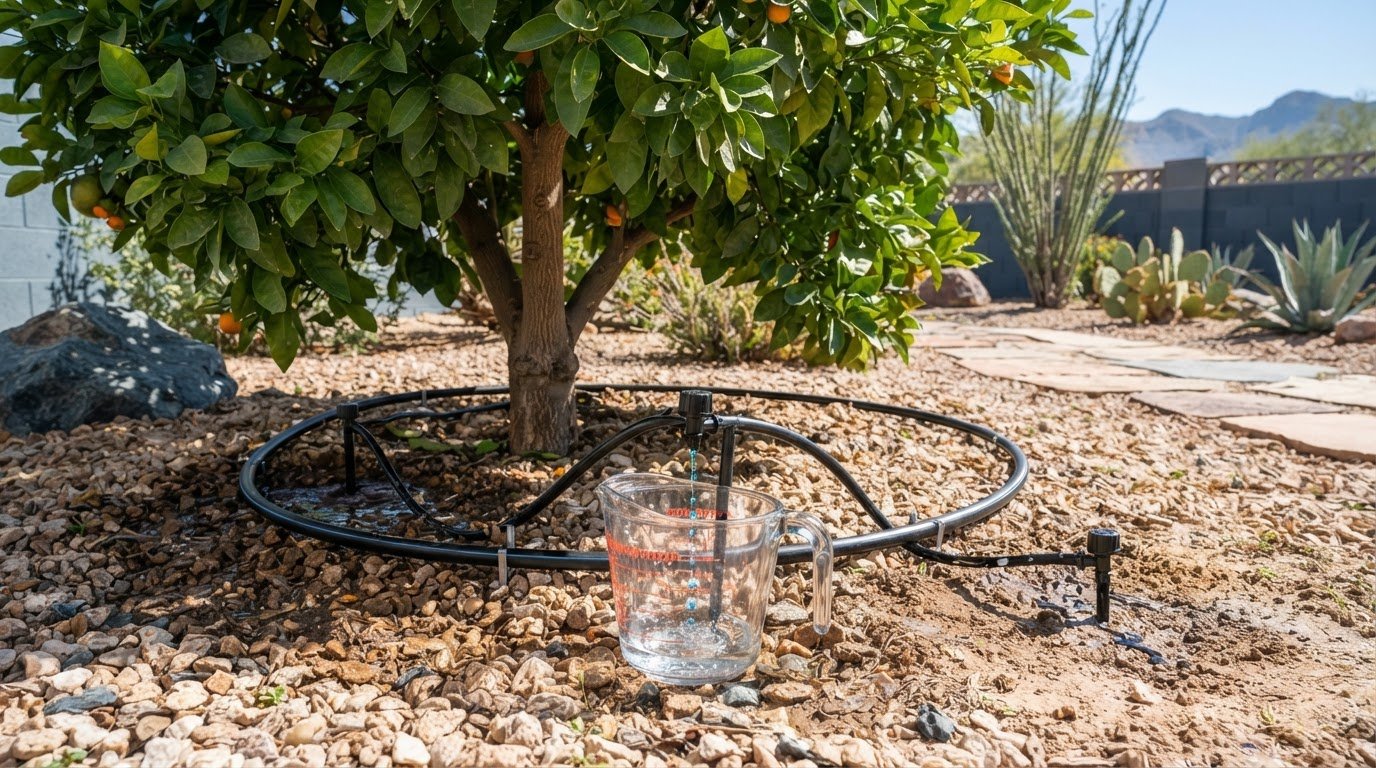
- Match the method to the area. In a steep planted bed, dripline or soaker hoses can apply water slowly and directly at the soil surface. This can help where water might otherwise move downhill quickly. For turf or another area needing broad, distributed coverage, sprinklers may fit better. There isn’t one best method for every slope: planting type and grade guide the choice.
- Choose between dripline and soaker hose. Drip irrigation carries water through lines and emitters positioned to serve a planting area. It suits beds where water should reach individual plants or rows. A soaker hose releases water along its length at the soil surface. Consider the bed’s shape and plant arrangement: a defined row may suit a single line, while a broader planting may need a layout serving several areas.
- Lay out the watering path before installation. Mark plant locations and plan the line to follow the bed’s shape. Place emitters where they can reach the intended plants, rather than directing water onto bare ground or beyond the bed edge. On a sloped ground-cover bed, consider how the line serves both upper and lower plants. Observe the area during operation and adjust placement if water misses part of the planting.
- Understand pressure regulation’s role. Pressure regulation can help maintain more consistent drip delivery, but it can’t prevent overspray on its own. Dripline and soaker hoses apply water at the soil surface; overspray is more relevant to sprinkler coverage. Emitter placement, line routing, and the watering method determine where water lands. For sprinklers, assess the spray pattern and head direction separately from the drip system’s pressure setting.
- Choose sprinkler heads and review local requirements. For sloped turf, low-precipitation-rate rotors are better suited than high-output spray heads that apply water faster than the ground absorbs it. Peoria permit and code obligations depend on the project, while rebates depend on active program terms. Don’t assume every residential irrigation project has identical requirements or rebate eligibility. A carefully planned drip and sprinkler layout can account for planting, slope, and coverage needs.
Dripline irrigation for sloped ground cover
Common maintenance problems include clogged emitters, leaks, and lines that shift or become damaged. Check for dry patches and unusually wet spots across the ground cover, as either can signal uneven water delivery.
- Map the ground-cover planting.
Mark where plants form a continuous mat and where bare soil, rocks, or paths interrupt it. For example, a bed of low-growing plants beside gravel may need dripline only beneath the planted area. This map helps keep water near the roots instead of sending it onto paths or unplanted slopes.
Note where the ground cover thickens or thins. Dense growth may hide tubing, while an open edge makes the line easier to inspect. Keep the planned route accessible enough to find damage later.
- Place the line to serve the root area.
Run dripline through the planting so emitters deliver water near the ground-cover roots. Avoid routing it across bare gaps where it won’t serve plants. For a bed with irregular edges, follow the planted shape rather than extending tubing beyond the growth area.
Check both the upper and lower edges of the planting. A line that serves only the center may leave perimeter plants dry. Adjust its position to cover the ground-cover area.
- Keep the tubing visible during setup.
Secure the line so it stays in place as ground cover grows around it. Don’t bury or cover emitters with soil, mulch, or plant debris. If dense foliage hides the line, mark its route so routine work doesn’t damage it.
Inspect exposed sections after yard work or soil movement. A kink, pulled connection, or cut line can interrupt delivery to plants farther along the route. Restore the line’s path and check the affected section while the water is running.
- Test coverage across the planting.
Run the system and inspect plants at the top, middle, and bottom of the bed. Look for dry leaves or soil beside emitters that appear wet. These contrasts can reveal a clogged outlet, a damaged section, or line placement that misses part of the root area.
Compare several plants along the same line rather than judging a single spot. If one section remains dry, examine it before changing the whole schedule. This keeps adjustments focused on the observed problem.
- Inspect for leaks and blockages.
Look for water escaping at connections, soft or saturated soil, and emitters delivering unevenly. Clear visible debris from the outlet area and check whether water reaches the nearby ground cover. Repair damaged tubing so a leak doesn’t leave plants farther along the line short of water.
Repeat the inspection after trimming or clearing the bed. Ground-cover maintenance can expose tubing or disturb connections, especially along planted edges. A brief visual check can catch problems before dry patches spread.
Installing lateral lines across slope contours
Plan each lateral route around the slope’s shape before placing tubing or pipe. Lines that follow the contours can serve planting bands across the hillside.
- Mark the slope’s contour paths.
Walk across the hillside and identify routes that stay at a similar elevation. Use visible landmarks, such as a planting-bed edge or level terrace, to guide each path. Mark where the ground changes direction or steepness. This helps align the planned lateral lines with planted areas instead of sending them straight downhill.
For example, mark one route across a curved ground-cover bed and another across the bed below it. Follow the actual terrain rather than an imagined straight line.
- Divide long planting areas into workable runs.
Decide where one lateral should end and the next should begin. A long bed that bends around a slope may need separate runs to follow its shape. Mark the transitions before installation, especially where a path, wall, or change in planting interrupts the route.
Keep each run focused on the plants it serves. If a lateral crosses from a ground-cover bed into a shrub area, separate the sections so their placement can suit each planting layout.
- Set out the route before securing the line.
Lay tubing along the marked contour and inspect it from above and below. Check that it follows the planted band without crossing bare soil or extending beyond the bed edge. Adjust bends around rocks, paths, and plant clusters before securing the line.
A route that looks aligned from one end may drift downhill around a curve. Walk its full length and compare the tubing with the contour marks before continuing.
- Check how water reaches each run.
Operate the system and inspect the beginning, middle, and end of each lateral. Look for dry sections, saturated spots, or water escaping at connections. Compare adjacent runs too. If one contour band receives visibly different coverage, inspect its route and connections before changing the entire watering schedule.
Pay attention where the slope changes. A line that serves an even section may need a route adjustment near a steeper transition.
- Review the finished layout after installation.
Confirm that every marked planting band has a line serving it and that paths remain clear. Check exposed connections and sections near maintenance areas. Revisit the layout after trimming or soil work, since disturbance can pull a lateral away from its contour.
For a sloped yard with curved beds or several planting bands, request help planning contour-based irrigation.
Sonora Sprinkler Inc.: Irrigation Repair
Sonora Sprinkler Inc. repairs irrigation systems when leaks, uneven coverage, or recurring dry patches affect a sloped yard. Repairs can address problems that keep water from reaching the intended planting areas. If the layout itself needs to change, irrigation installation and custom sprinkler system design can align coverage with the slope and plant zones. For planted beds, drip irrigation installation provides a direct watering option.
Consider repair when a lateral line leaks, sprinkler coverage misses part of a slope, or irrigation no longer serves the yard’s planting layout. Contact Sonora Sprinkler Inc. to discuss your irrigation needs.
Plan the Next Adjustment for Your Yard
Treat your irrigation layout as a working part of the yard, not a fixed setting. As plants fill in and shade shifts, note changes in coverage or signs of escaping water, then use those observations to guide adjustments. This keeps decisions grounded in how the slope and planting perform. For an irrigation system for a sloped yard in Peoria, a clear plan can also help distinguish a repair need from a layout that needs redesign.
Sonora Sprinkler Inc. provides irrigation repair, irrigation installation, and drip irrigation installation for residential systems. Whether you’re addressing a damaged line or planning a new watering layout, the next step depends on the problem you’ve observed and the areas you need to serve.
Contact Sonora Sprinkler Inc. to discuss irrigation help and move toward a setup that suits your property.
Frequently Asked Questions
Drip or Sprinkler Irrigation for a Peoria Xeriscape?
Use drip irrigation for planted beds and sprinklers for turf or broad areas that need distributed coverage. An irrigation system for a sloped yard in Peoria may use both methods when a xeriscape combines shrubs and lawn. For example, separate the lawn from the shrub bed so each area receives water suited to its planting. A mixed yard doesn’t need one delivery method everywhere.
How Do Slopes Affect Watering Needs for a Lawn?
A sloped lawn may need more total water than a flat lawn because some water runs downhill before soaking in. Judge watering by the root zone, not surface wetness alone. If the upper lawn stays dry while water collects below, adjust the application pattern. Check several points across the slope to identify uneven watering before changing the whole schedule.
How Do You Fix a Sloping Lawn Long-Term Instead of Just Adjusting Watering?
Address the terrain when the grade makes stable watering difficult. Where regrading is too steep or expensive, retaining walls or terracing can divide a long slope into flatter sections. This changes the shape of the area instead of relying only on timer adjustments. Consider how each level connects to existing paths, planting beds, and lawn areas.
Which Peoria Property Conditions Affect the Layout?
Start by considering slope shape, planting type, soil condition, and sun exposure. In Peoria, south- and west-facing beds receive more direct sun and dry faster than north- or east-facing areas. Also note compacted soil, curved bed edges, and nearby paths. These conditions affect where lines or sprinkler heads can serve plants without sending water beyond the intended area.
How Do Drip Irrigation and Sprinklers Compare for Sloped Lawns?
Drip irrigation directs water near plants through lines and emitters, making it suitable for beds and ground cover rather than open lawn. Sprinklers distribute water across an area, so they’re more suitable for turf. In a yard with both, use each method where it fits the planting. Separate zones let lawns and planted areas follow different watering patterns.
How Can I Prevent Runoff and Erosion When Watering a Sloped Yard?
Watch the ground during irrigation and shorten a run if water starts moving across the surface. Check where it gathers, such as the lower edge of a bed or beside a path. Keep sprinkler coverage within the planted area and avoid directing spray onto bare soil. If runoff continues, inspect head placement and the watering pattern.
How Should Irrigation Zones Be Designed for Different Slope Areas?
Group areas by plant type and sun exposure, then separate sections that dry at different rates. For example, keep turf apart from a shrub bed and distinguish a sunny slope from a shaded one. Map planting boundaries and grade changes before assigning zones. This lets each section use a suitable delivery method and schedule, rather than forcing one setting on the whole property.
What Watering Schedule Is Recommended for a Sloped Yard in Peoria, Arizona?
Use cycle-and-soak watering instead of one long, continuous run. For an irrigation system for a sloped yard in Peoria, schedule shorter runs with pauses so water has time to enter the soil, then check for runoff or dry patches. Timing depends on the slope, planting, and soil absorption. Observe the yard while watering and adjust the schedule to the areas that need more or less water.