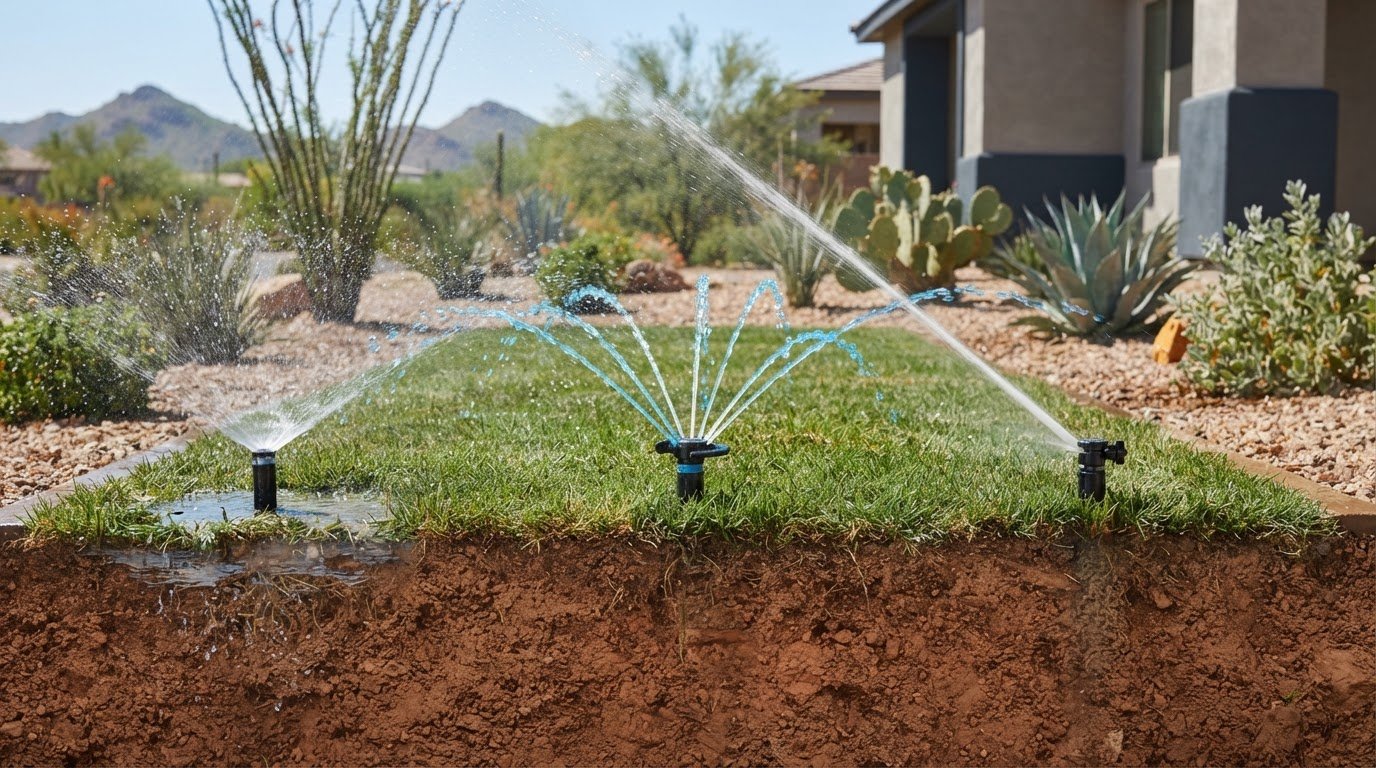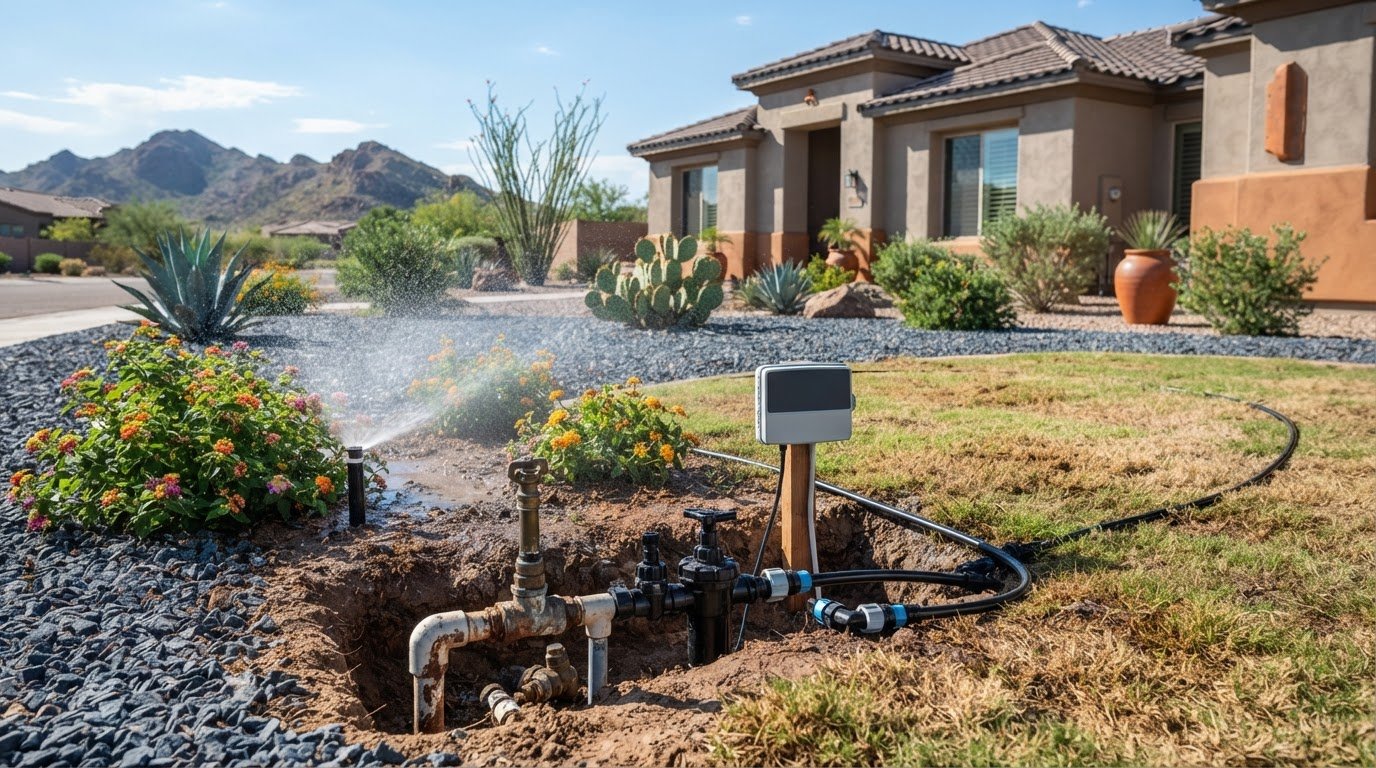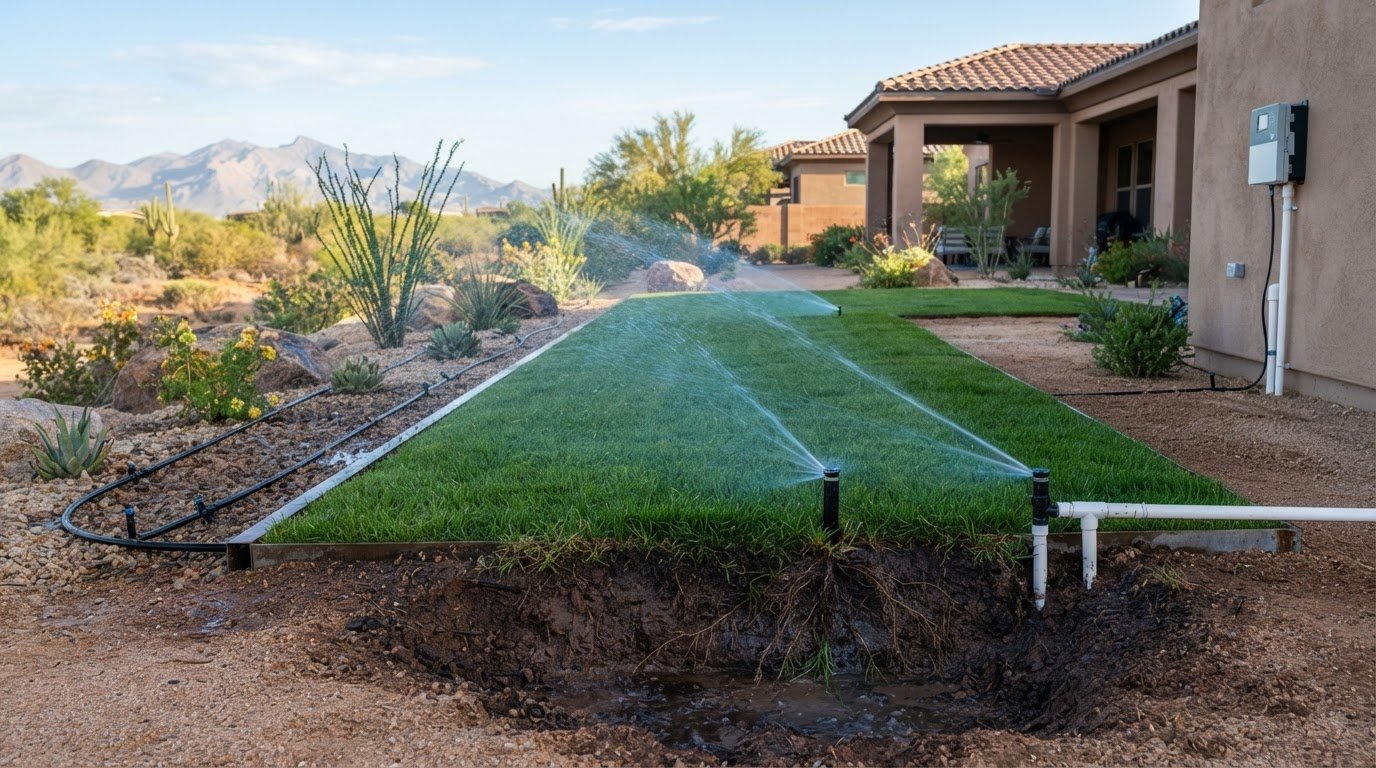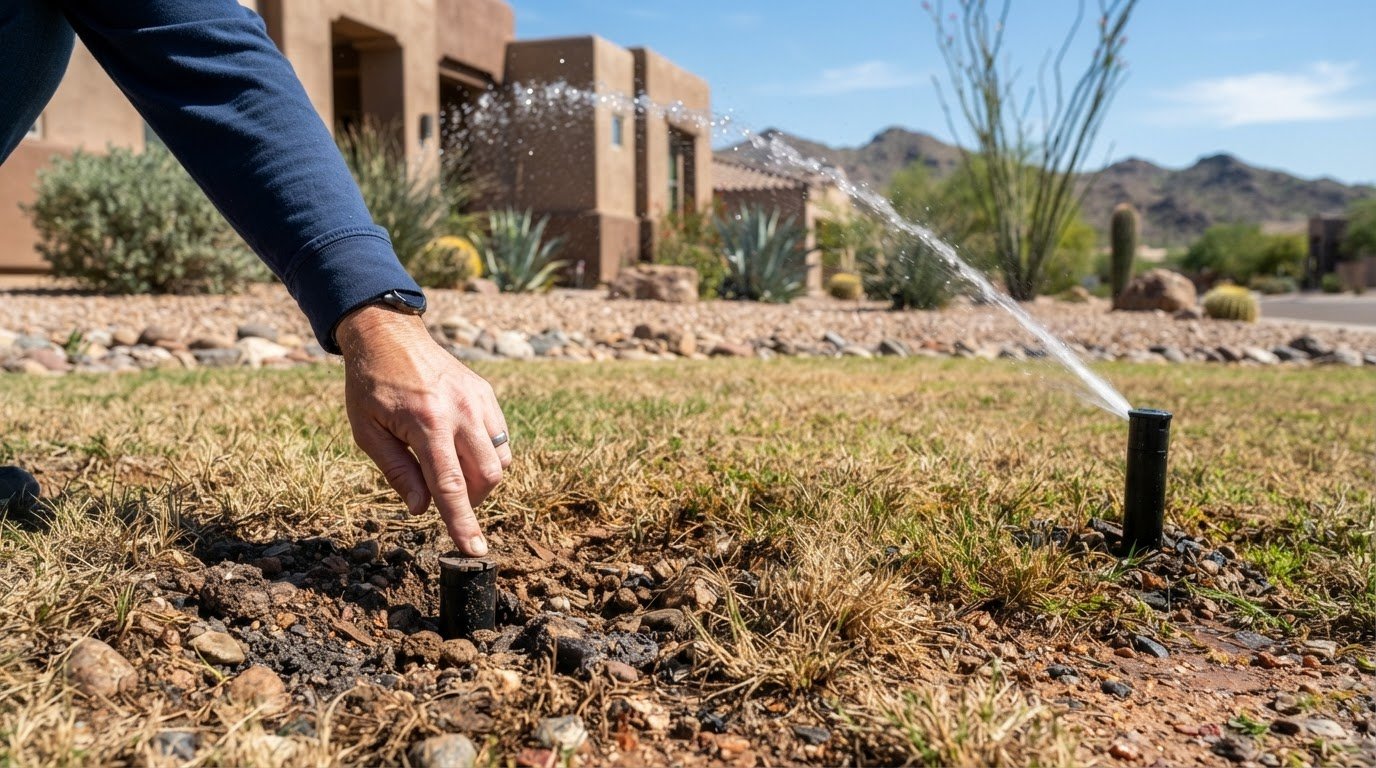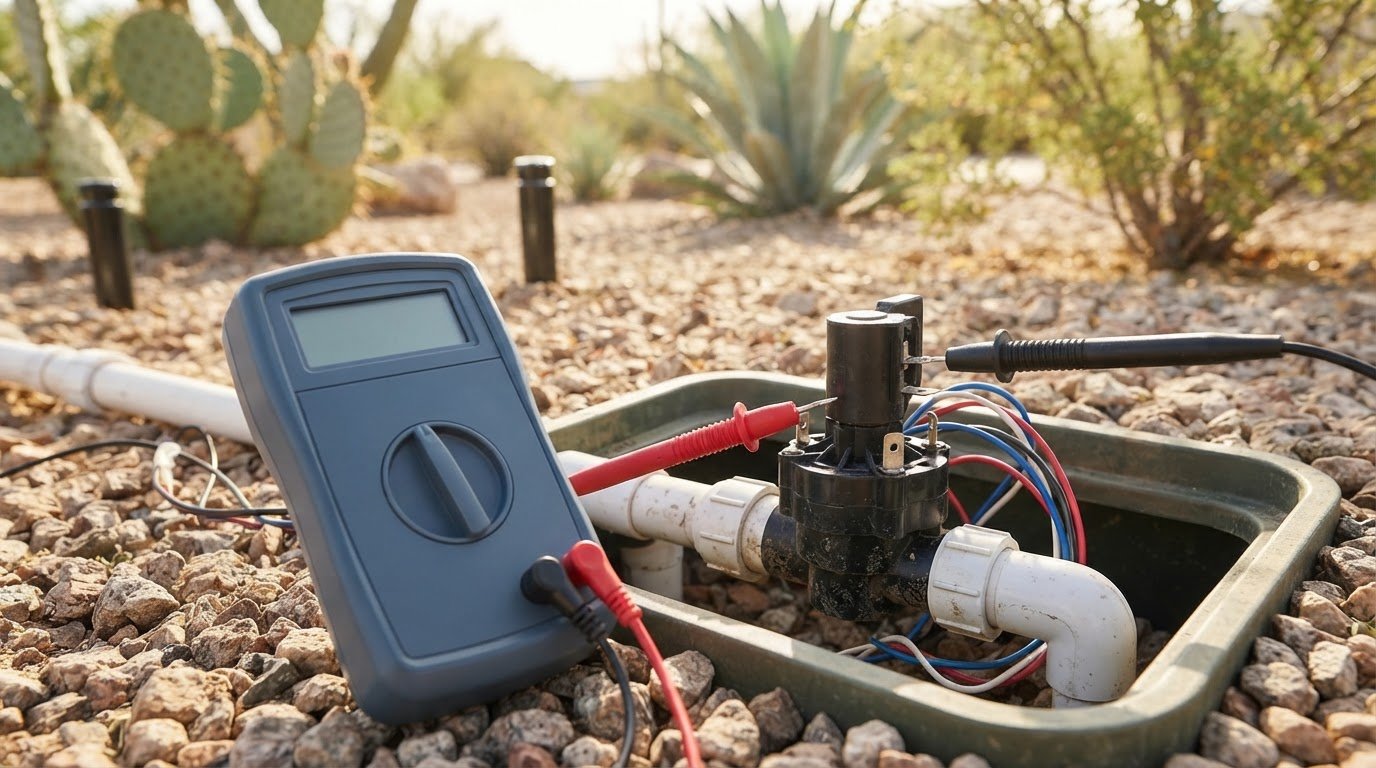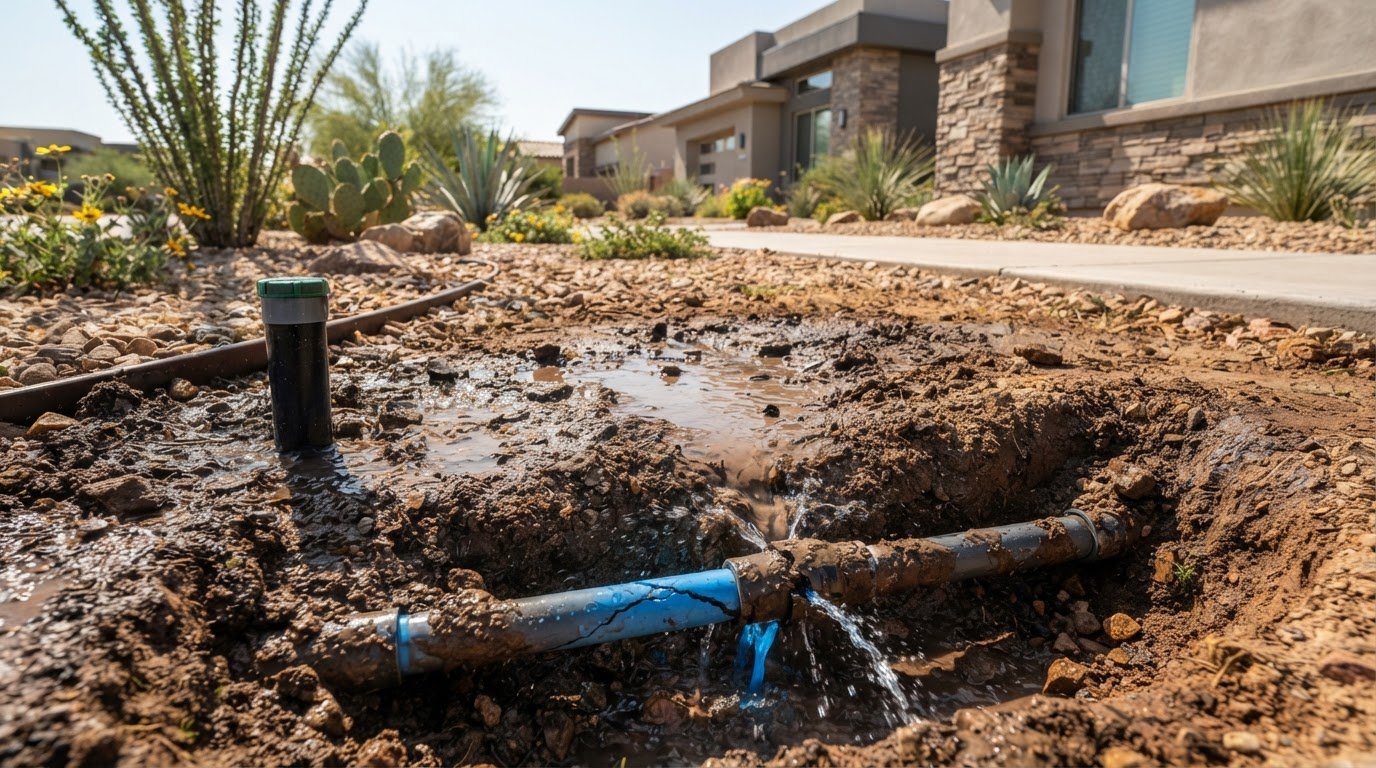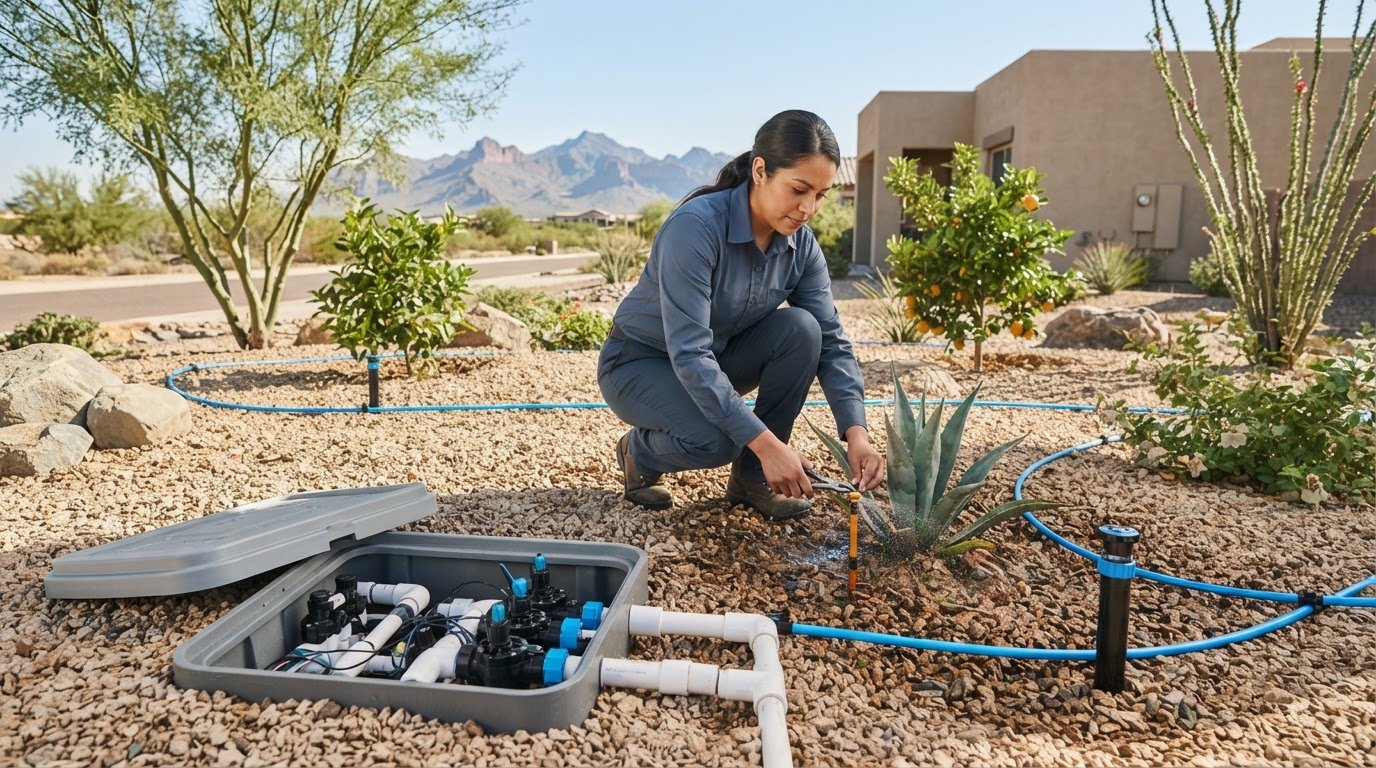
A sprinkler head that needs adjusting may actually need cleaning or replacement. To learn how to adjust sprinkler heads for full coverage, check the spray pattern first, then make small changes to the head’s arc and distance. On an impact head, the trip collars set the arc; turning the diffuser screw clockwise shortens the spray, while turning it counterclockwise extends it. Change one head at a time so you can see the effect of each adjustment.
Dry patches, overspray, or a stream that no longer reaches its usual distance can make the settings seem like the problem. But adjusting a clogged nozzle or damaged head won’t fix the underlying issue. This guide explains how to check coverage, adjust impact-head trip collars and diffuser screws, and recognize when a head needs cleaning or replacement.
You’ll also learn to spot obstructions and uneven spray, test adjustments, and recognize when the issue goes beyond a simple setting. The goal is even, well-directed watering without spraying paths or other hard surfaces.
Key Takeaways
- Identify the head type before adjusting it, since spray arcs and distance controls differ between stationary, rotor, and impact heads.
- Make small, reversible changes one head at a time, then run the zone to see whether the spray reaches the intended areas.
- Use matching straight-sided containers across the lawn to spot uneven watering instead of increasing run time to compensate.
- Look for leaning heads, turf, new landscaping, and wind when spray misses grass or lands on hardscape.
- Clean a clogged nozzle, but replace a head that leaks, sprays unevenly, fails to pop up, or no longer rotates correctly.
Need Help Adjusting Your Sprinkler Heads?
Fixed spray heads change arc through an adjustable nozzle or nozzle replacement; rotors use arc controls. Watering restrictions can vary by location. Before handling a head, turn off its zone and follow the manufacturer’s instructions. Make small, reversible changes, and never force a rotor adjuster past its stop.
-
Record the Original Spray Pattern
Run the zone and note where each spray head starts and stops, and where its water lands. Record the arc, reach, and any spray hitting sidewalks before changing settings. For a rotor, watch its full sweep and mark the start and stop points. Keep notes for each head and adjust one at a time, so you can tell which change affects coverage.
-
Adjust Stationary Spray Arcs and Nozzles
Identify whether the stationary head has an adjustable-pattern nozzle or a fixed-pattern nozzle. Adjustable-pattern heads can be set from about 0 to 360 degrees; turning the nozzle fully left creates a 360-degree pattern. Fixed-pattern nozzles need replacement to change the arc. Adjustment controls vary by sprinkler head and nozzle, so follow the manufacturer's instructions and make small, reversible changes. Select a pattern that waters grass without reaching sidewalks.
For most pop-up spray heads, turn the center screw clockwise to reduce distance and counterclockwise to increase it. Adjust in small increments, then run the zone to check the new reach. A quarter turn can change spray distance by a foot or two, so avoid large turns that send water beyond the lawn edge.
-
Adjust Rotor Arcs and Spray Reach
Set the rotor’s arc to match the lawn edge, then adjust its radius for the needed distance. On a rotor with a pattern adjustment screw, clockwise turns increase the pattern, while counterclockwise turns decrease it. Hunter rotors can typically be adjusted from 40 degrees to a full 360 degrees. Reset the rotor’s start position while it runs, but stop turning at the adjuster’s limit.
Rotor radius controls vary by model. Hunter rotor radius screws are on top of the head; Rain Bird rotor radius screws are usually on the side. Check the manufacturer’s instructions to identify the correct screw. Shorten the reach if spray crosses a walkway; increase it only if part of the intended lawn remains dry.
-
Troubleshoot Misaligned Spray Patterns
Compare the running spray with your notes and check the head’s position. A head installed at an angle can send a correctly set arc in the wrong direction. Check that it stands straight, then recheck the arc before changing the nozzle. A head buried under turf may spray into the grass instead of across it, so clear the opening and observe the stream again.
Check for new growth or other obstructions blocking the stream. If the nozzle cannot water turf without spraying hardscape, its pattern or location may need to change. Make one adjustment, run the zone, and compare the result with the original pattern. Repeat with small changes until the spray covers the intended area without unnecessary overspray.
Adjusting impact-head trip collars and diffuser screws
Impact-head trip collars set the arc, while the diffuser screw changes spray distance. Wind can carry fine spray beyond its intended edge, low pressure can weaken coverage, and water can run downhill after landing on a slope.
-
Identify Head Types and Adjustment Tools
Watch the sprinkler head while its zone runs to identify the mechanism. An impact head sweeps repeatedly with a distinct tapping sound; a rotor turns through a controlled sweep, while a spray head releases a fan-shaped pattern. Use the correct tool for the adjustment point: a screwdriver that fits the screw, or the manufacturer’s adjustment tool when specified. Don’t use a tool that slips or forces the mechanism.
Keep the head straight and clear of debris before changing settings. Shut off the affected zone before touching the head, then consult the manufacturer’s instructions. Adjustment points differ by model, so identify the trip lever, collars, and diffuser screw before turning anything.
-
Check Coverage and Site Conditions
Run the zone and watch each impact head through its sweep. Head-to-head coverage means each area of grass receives water from at least two different angles. Note where a stream falls short or crosses the lawn boundary. Wind can push fine spray farther than intended, while weak pressure may leave several heads in one zone dribbling.
Check for a slope and see whether water runs downhill after landing. Don’t assume every dry patch is an arc problem: a weak supply, line leak, or partly closed valve can affect multiple heads. Address the cause before changing collars, or an adjustment may hide a wider coverage issue.
- Set the trip collars.
With the affected zone off, locate the collars that define the impact head’s turning limits. Adjust them to set the left and right endpoints for the lawn edge, following the model’s instructions. To make the head run full-circle, flip its trip lever up. Keep sidewalks and other hardscape outside the intended spray pattern.
Turn the zone back on and watch a complete sweep. If the head starts or stops at the wrong point, shut off the zone and adjust the collar slightly. Don’t force a collar or lever past its stop. Test again before changing another head, so each adjustment has a clear, observable effect.
- Adjust the diffuser screw and assess the head.
Turn the impact-head diffuser screw clockwise to reduce watering distance and counterclockwise to increase reach. Make a small change, run the zone, and compare the stream with the intended lawn boundary. If spray remains weak, check the nozzle for debris rather than continuing to turn the screw.
Sprinkler heads have no fixed replacement schedule. A protected head may last 5-10 years or longer, but replace one that leaks, sprays unevenly, won’t pop up, or no longer rotates correctly. If pressure problems affect several heads or adjustments don’t restore coverage, contact Sonora Sprinkler Inc. about the irrigation issue.
How Do You Fix Common Sprinkler Head Problems?
Run each irrigation zone and inspect its pattern before changing settings. Note where coverage is uneven, then check whether the cause is a head, a zone, or its controller.
-
Check Dry and Overly Wet Areas
Place identical, straight-sided cups across one zone, including dry and saturated patches. Run the zone for 10 to 15 minutes, then compare the collected water. Less water in one cup points to uneven delivery; a cup with more water identifies an area receiving excess spray. Record each location before adjusting spray heads.
After a small adjustment, run the zone for thirty seconds and inspect the area. Fine-tune only if the spray still misses grass or leaves a concentrated wet patch. Increasing run time won’t fix poor coverage; it can add water to areas that are already wet. Compare cups after the same measured run for a useful assessment.
- Watch each rotor through a complete sweep, and observe spray heads from startup to shutoff. Note whether a head starts late, stops early, or continues after the controller ends its command. These observations help distinguish a coverage issue from a timing or control problem. Test in similar, relatively calm, dry conditions so wind or changing conditions don’t distort the comparison.
If one head misses an area, inspect its pattern. If several heads in the same zone appear weak, consider a shared supply or piping issue rather than adjusting each nozzle separately. A clogged filter, line leak, or too many heads on one zone can contribute to weak or dribbling pressure. Look for a zone-wide pattern before changing individual settings.
-
Perform Annual Coverage Checks
Check coverage once a year, ideally at the start of spring, before relying on the system regularly. Run every zone and note dry areas, overly wet areas, heads that don’t pop up, and rotors that fail to complete their sweep. Compare the spray with your saved pattern notes, and make adjustments only where the observed coverage has changed.
Use catch cups for a measured comparison when the lawn looks uneven. Place them throughout the zone, run it for 10 to 15 minutes, and compare the amounts. Recheck any changed setting during a short test run. This annual inspection can also reveal new obstructions, such as growth blocking a previously clear spray path.
- Check the controller if water continues after its command ends. A zone that keeps spraying may have a valve or control problem, not a nozzle problem. If heads in another zone run at the same time, review the program for duplicate start times. Compare what you observe at the heads with the controller’s active schedule before adjusting hardware.
Use the pattern of symptoms to identify the next step. One uneven head suggests a local spray issue; several weak heads together point to the zone’s supply, valve, or piping. Don’t compensate for low pressure by extending watering time. After addressing the cause, retest and compare wet and dry areas using cups placed across the same zone.
Identifying dry spots, overspray, and obstructions
Run each zone and trace where the water lands, from lawn edges to sidewalks. Determine whether the stream is blocked or misdirected, or whether the nozzle needs adjustment.
-
Diagnose Coverage Problems
Walk the zone while it runs and note each dry patch, wet area, and stream crossing hardscape. A head leaning toward a walkway may send much of its water onto concrete. Look for new growth blocking a stream that previously crossed open turf, and note whether wind carries fine spray beyond its intended edge.
To compare water delivery, place identical, straight-sided containers across the zone and compare the water they collect over a measured run. Uneven amounts can help locate a coverage gap. Record which head serves each area before changing settings, so the next test can help isolate the cause.
-
Correct Dry Areas and Overspray
Start with the head nearest the dry or overly wet patch, then check its direction and position. Clear turf from a buried head’s opening, because grass can intercept its spray. If a leaning head directs water onto a sidewalk, correct its alignment and retest before changing other heads.
If spray reaches grass and hardscape together, adjust the pattern or use a nozzle suited to the area. If no setting waters the lawn without overspray, the head may need a different nozzle or location. Turn off the system before removing or replacing a nozzle.
- Change one head at a time and make small, reversible adjustments. If a head sprays beyond the lawn, reduce its arc or distance using the appropriate controls. For a dry edge, direct the spray toward the uncovered turf without sending it across a path. Don’t force a rotor adjuster past its stop.
- Run the zone again after each change and compare the spray with your notes. Check whether the stream reaches the dry area and stops before the sidewalk. Wind can distort fine spray, so test in relatively calm conditions; watering early in the morning can reduce wind-driven overspray.
- Walk the zone two or three times if needed, correcting only the remaining gaps or overspray. If a head cannot reach the grass without soaking hardscape, changing its location may work better than repeated arc adjustments. Recheck neighboring heads, too, since their spray patterns work together across the lawn.
Distinguishing adjustment problems from cleaning or replacement needs
Replace a head that leaks, sprays unevenly, won’t pop up, or no longer rotates correctly. If a nozzle’s reach has decreased, check for debris and clean it before adjusting settings.
- Compare the symptom with the adjustment.
Run the affected zone and observe whether the head’s direction, arc, or spray distance is wrong. If the head moves normally but points beyond the lawn, an adjustment may correct the pattern. If spray remains weak or uneven despite a suitable setting, check the nozzle and filter instead of continually turning the adjuster.
Sprinkler heads don’t have a fixed replacement schedule. A head may last 5-10 years or longer when protected from mower damage and hard-water buildup, but its condition matters more than age alone. Treat a stripped adjustment screw as a damaged part that may need replacing.
- Inspect and clean a weak nozzle.
Turn off the affected zone, then shut off the irrigation water supply before removing the nozzle. Check the nozzle and filter for debris or buildup, and clean them without damaging the openings. Reinstall the nozzle securely, then run the zone to see whether its reach and spray pattern improve.
To flush a head, remove its nozzle and run the zone for ten seconds. Keep clear of the open head while water moves through it, then turn off the zone and reinstall the nozzle. If the filter or nozzle remains clogged after cleaning, or the reach still falls short, replace the nozzle and reassess the spray.
- Check for leaks after reassembly.
If water leaks around the nozzle after adjustment or replacement, check that it’s screwed in properly and that its seal is intact. Replace a worn or damaged seal. A leak at this connection is different from a spray-arc problem, so don’t try to fix it by changing the pattern.
Run the zone again after seating the nozzle and seal. Watch the connection as well as the spray. A consistent stream from the nozzle and a dry connection indicate the leak has stopped. If leakage continues, inspect the connection again rather than tightening it with excessive force.
- Replace a head that cannot function correctly.
A head that leaks, sprays unevenly, won’t pop up, or no longer rotates correctly has a mechanical problem, not just a setting issue. Replace it if cleaning and correct adjustment cannot restore normal operation. Match the replacement nozzle and head pattern to the area the sprinkler needs to water.
If several heads remain weak, don’t assume every head needs replacing. Check for shared irrigation problems, such as a line leak, clogged filter, or too many heads on one zone. For help diagnosing persistent head or zone problems, request irrigation repair.
Sonora Sprinkler Inc.: Irrigation Repair
Sonora Sprinkler Inc. provides irrigation repair when adjustments don’t resolve persistent coverage problems, such as leaking heads, weak pressure, or rotors that won’t turn correctly. Repair can address a faulty sprinkler component or help identify whether the issue involves the wider irrigation system.
If several heads leave dry areas despite correct settings, the system layout may need attention. Custom sprinkler system design can address coverage needs across the lawn, while irrigation installation suits a system that needs to be put in place. For targeted watering, drip irrigation installation may suit planted areas rather than turf.
Describe the symptoms and affected zone when you contact Sonora Sprinkler Inc. about irrigation repair.
Keep Your Irrigation Tuned to the Lawn
As your property changes, revisit how water moves across it. New growth, shifted soil, or a head knocked out of alignment can change how a zone waters, even after earlier adjustments worked well. Keep a brief record of settings and observations to use as a reference when coverage changes. The best way to approach how to adjust sprinkler heads for full coverage is to treat each change as a test: observe the result, note what improved, and avoid changing several settings at once.
Persistent trouble may point beyond the sprinkler head itself. A system that keeps producing dry patches, leaks, or uneven pressure can benefit from a closer irrigation assessment. Sonora Sprinkler Inc. can help address irrigation issues and determine whether repair or a broader system change fits the problem. Contact Sonora Sprinkler Inc. to discuss your irrigation concerns, and take the next step toward dependable lawn watering.
Frequently Asked Questions
How do I adjust the spray pattern on my sprinklers?
Knowing how to adjust sprinkler heads for full coverage starts with identifying the head type, since spray nozzles, rotors, and impact sprinklers use different controls. For a Hunter nozzle, the arc screw changes the watering angle, while the radius screw changes reach. On an impact head, trip collars set its turning limits. Make a small change and observe the result. If the setting seems right but coverage remains uneven, check for debris or a blocked stream.
How do I change the spray pattern from full circle to half circle?
Set an adjustable head’s arc to cover the lawn side rather than allowing a full circle. On an impact sprinkler, lower the trip lever and position the trip collars to limit its turning range. A fixed-pattern spray nozzle can’t have its arc adjusted at the head, so replace it with a suitable pattern. Test the changed pattern while the zone runs, especially near sidewalks or planted borders.
Quick Diagnosis: Adjustment, Cleaning, or Replacement?
Adjust a head when it operates normally but its direction, arc, or distance misses the target. Clean it when a previously effective nozzle has reduced reach and debris or a clogged filter may be restricting flow. Replace a head that leaks, sprays unevenly, won’t pop up, or no longer rotates correctly. If several heads are weak together, investigate a shared supply or piping issue before replacing individual heads.
What Tools Do You Need?
Use a screwdriver that fits the adjustment screw, and keep the head’s manufacturer instructions nearby. Some Hunter radius screws require a different screwdriver or Hunter adjustment tool, so match the tool to the model instead of forcing a poor fit. For coverage checks, place identical, straight-sided containers around the zone. Shut off the affected zone before touching a head, and turn off the water supply before removing a nozzle or replacing a head.
Why is my sprinkler watering the sidewalk instead of the lawn?
A head may lean toward a sidewalk, have an arc extending beyond the lawn, or sit where its nozzle can’t reach turf without overspray. Check that the head is straight and that grass or new growth isn’t blocking the stream. Adjust its direction or pattern if the controls allow it. If no setting keeps water on the lawn, the head may need a different nozzle or location.
How do I adjust sprinkler head spray direction and arc?
A reliable way to learn how to adjust sprinkler heads for full coverage is to identify the adjustment mechanism before turning anything. Turn an adjustable nozzle’s arc control in small increments, then check the pattern and follow the manufacturer’s instructions. Rotor controls vary by model, so follow its instructions and stop at the adjuster’s limit. If the head sits at an angle, correct its alignment too.
How do I increase or decrease sprinkler spray distance?
On most pop-up spray heads, turn the center screw clockwise to shorten the spray distance and counterclockwise to extend it. Hunter nozzles use a radius adjustment screw, which may need a different tool from the arc screw. For impact heads, turn the diffuser screw clockwise to reduce reach and counterclockwise to increase it. Make small changes, then run the zone to see whether the stream reaches its intended area.
How far apart should sprinkler heads be for head-to-head coverage?
Position heads so each sprinkler’s spray reaches near the next head, allowing neighboring streams to cover the same area. The right spacing depends on each head’s actual reach and pattern, not a universal distance. Check the layout while the system runs, since wind can move fine spray and weak pressure can reduce reach. In Surprise and Peoria, assess the working pattern in calm conditions before changing head locations.