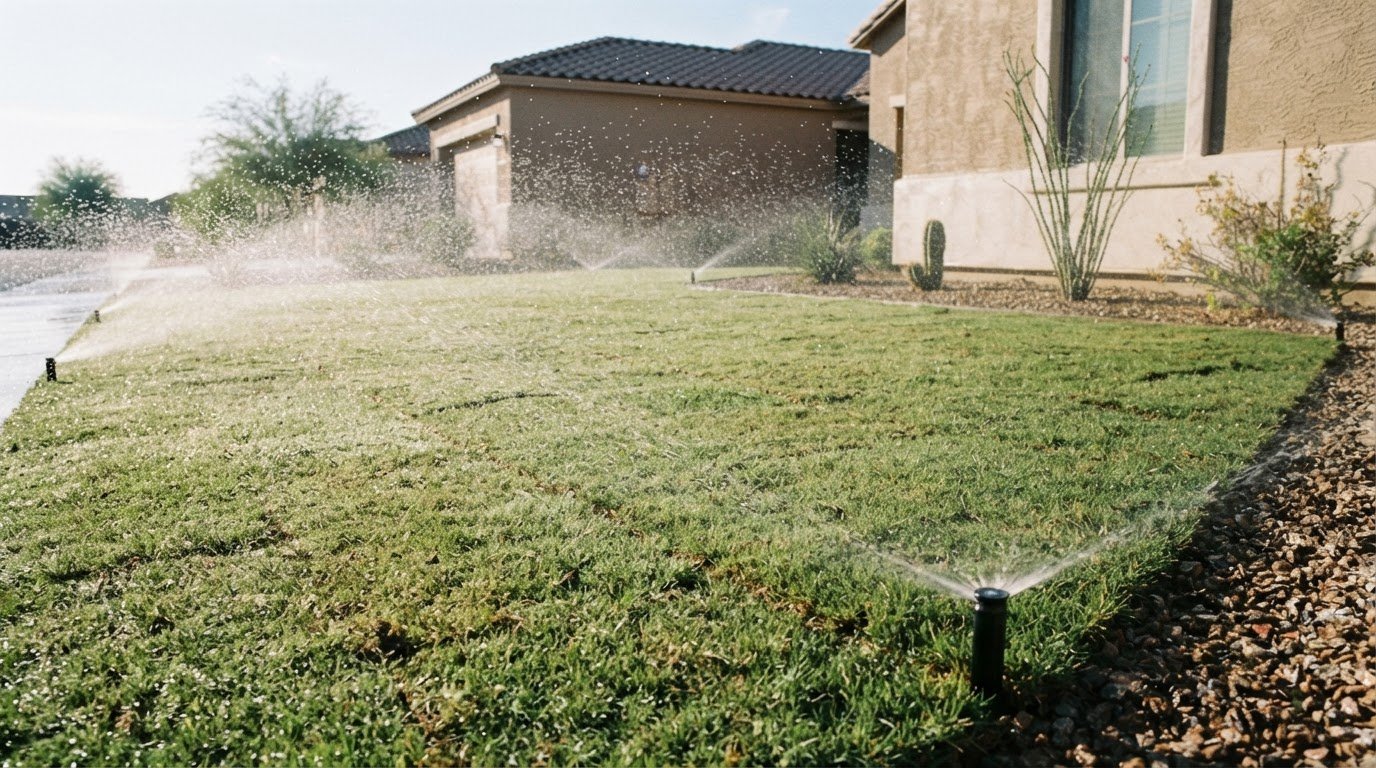
A sprinkler leak often shows above ground before you can see the damaged pipe. If you’re figuring out how to find a leak in an underground sprinkler system in Surprise, look for persistent wet or unusually green patches, bubbling soil, and sprinkler heads with weak or dirty spray. These clues help narrow down the area without digging blindly.
A soggy spot could be runoff, and weak spray could come from a clogged head. Compare the ground and spray across the zone while it runs, then listen near the suspected pipe for escaping water. Turn off the system and see whether the area stays wet. If the source is still unclear, isolate sections of the line. These steps can help you mark the likely leak area and decide what to do before digging, protecting your yard from unnecessary disturbance.
Key Takeaways
- Look for persistent wet patches, bubbling soil, or unusual changes in sprinkler spray to narrow down a possible leak.
- Listen near the suspected pipe while the zone runs; escaping water can help pinpoint the affected area.
- Compare isolated pipe sections to determine which part of the line may be leaking before considering repairs.
- Mark the suspected location and contact 811 before digging; utility markings do not identify private irrigation pipes.
- When the leak is difficult to locate or the pipe needs repair, irrigation diagnostics and repair can help restore reliable system flow.
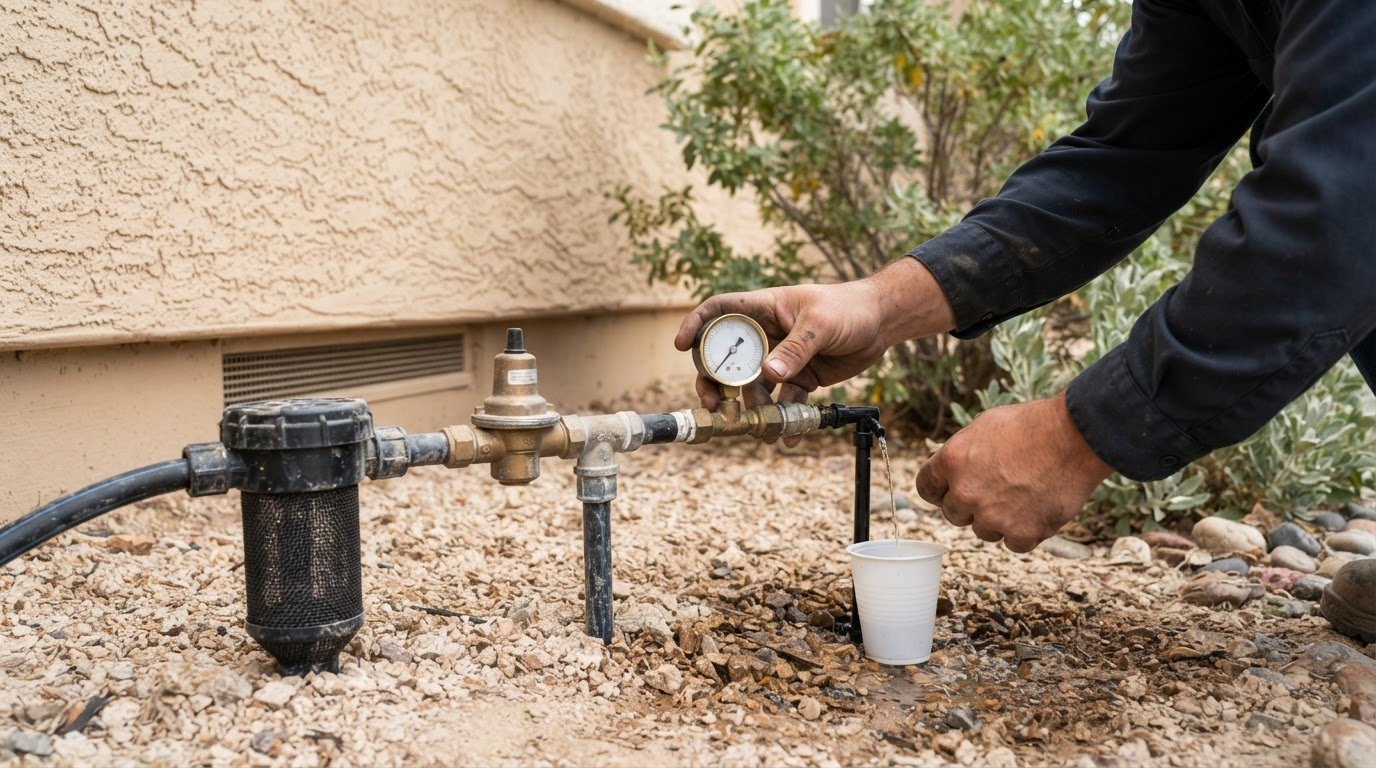
Listening for leaks with a mechanic's stethoscope
Permit requirements can depend on the repair and excavation scope. Before digging, contact the City of Surprise to ask whether your planned work needs a permit.
Common signs include soggy ground, bubbling soil, unusually green patches, and weak or dirty spray. According to the U.S. Environmental Protection Agency, U.S. homes use nearly 8 billion gallons of water daily on landscape watering. Even a small leak can waste water: the agency says an irrigation-system leak about 1/32 of an inch wide can waste about 6,300 gallons monthly.
To locate a likely leak, compare zones, listen at accessible points, and check the water meter to see whether water continues to move.
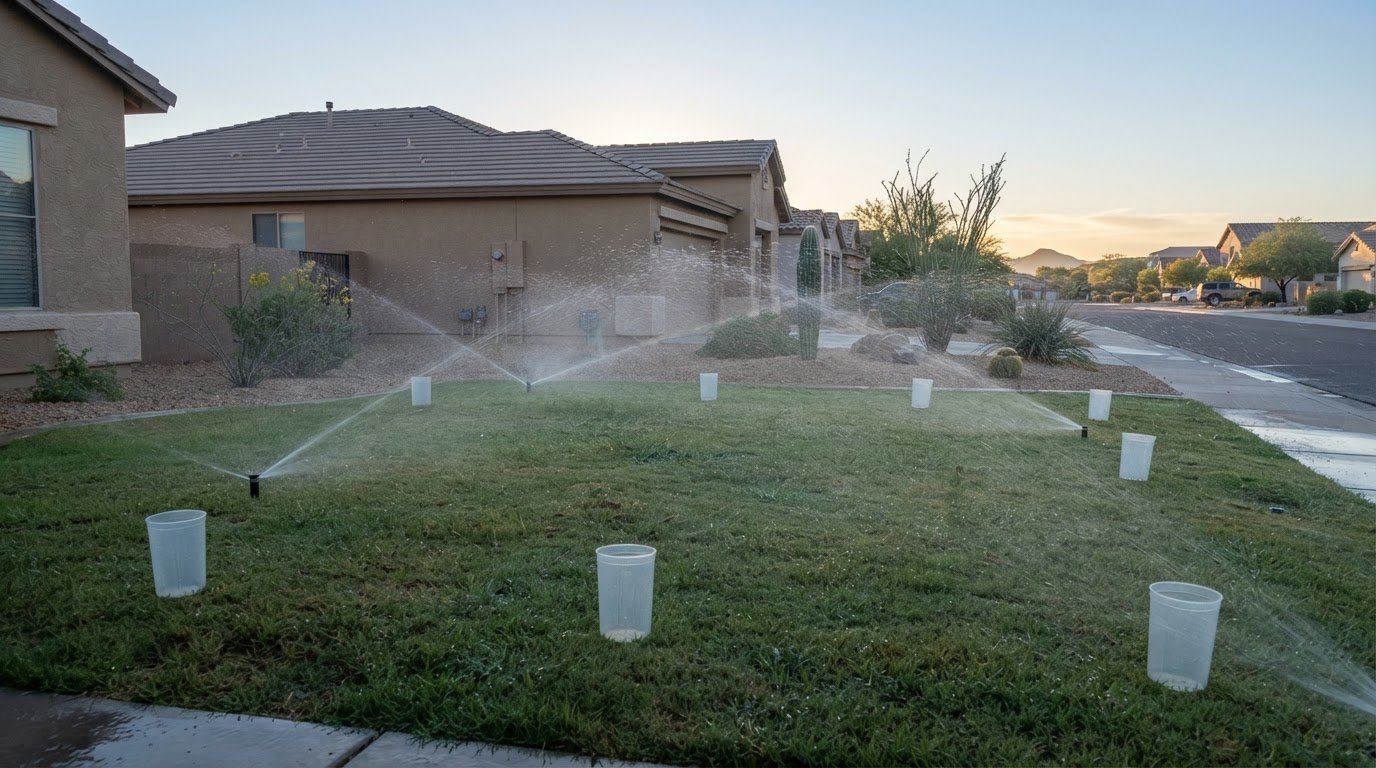
- Run one zone at a time. Use the controller to activate a zone, then walk its route slowly. Watch for bubbling soil, water surfacing between heads, or spray that weakens compared with nearby heads. Note the affected area and which heads operate normally. A leak may be near the transition between functioning and poorly performing heads.
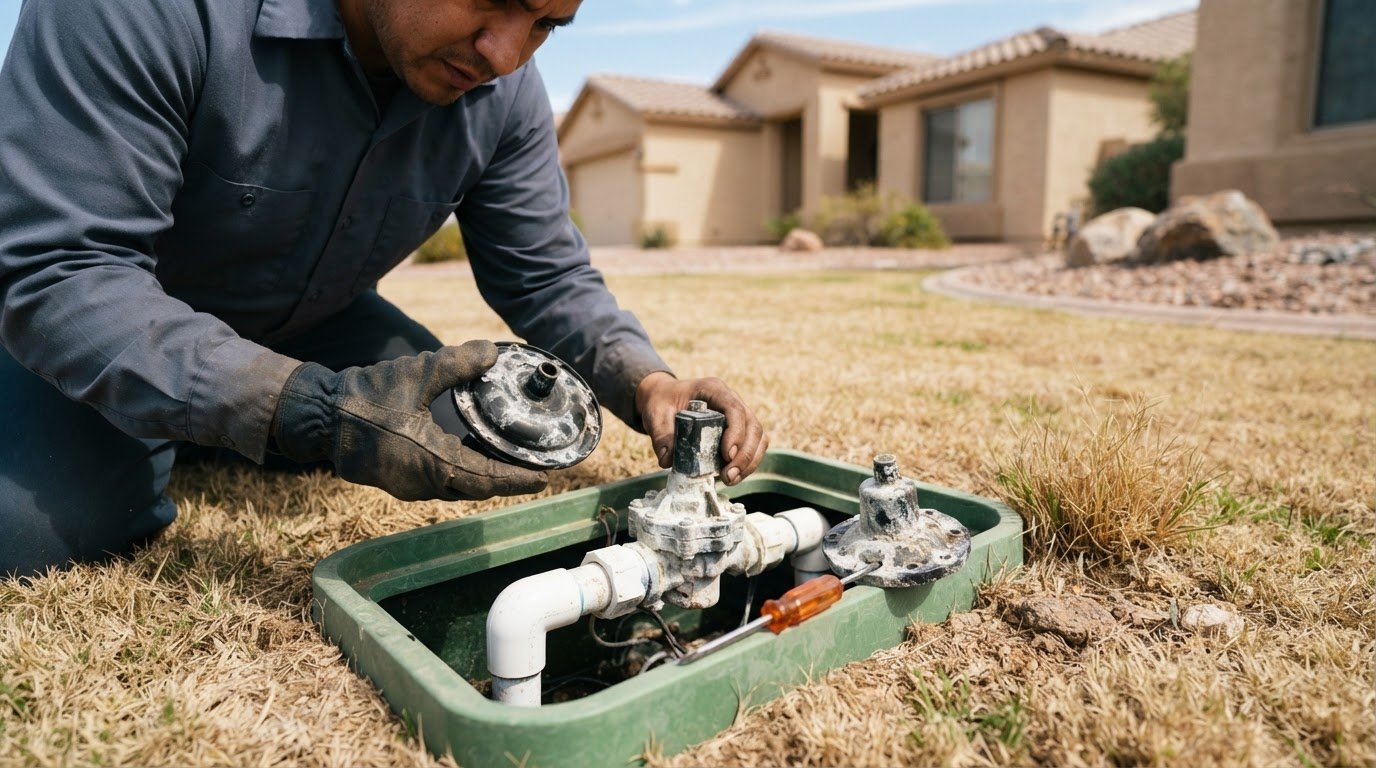
- Listen at accessible points. Place a mechanic's stethoscope against a valve box, exposed pipe, or other accessible irrigation component. Keep the zone running while you listen. A steady hiss, rush, or trickle can help narrow the search. Compare the sound at multiple points along the same zone, rather than treating one loud spot as proof.
- Move the listening point methodically. Follow the suspected pipe route and pause at each accessible location. Mark where the sound grows stronger, then compare it with locations farther along the line. Soil, pipe depth, and background noise affect what you hear, so combine sound with visible wet areas and changes in sprinkler flow.
- Check the meter with irrigation off. Turn off the sprinkler system and avoid indoor water use. Record the meter reading, wait 30 to 60 minutes, then read it again. Movement during that test indicates water use somewhere on the property; isolate irrigation zones to determine whether the sprinkler system is responsible.
- Use the controller as a comparison tool. If one zone produces unusual noise or poor spray, switch it off and test another zone. A WaterSense-labeled irrigation controller can save an average home up to 15,000 gallons annually, according to the U.S. Environmental Protection Agency. Controller adjustments help manage watering, but they do not repair a leaking pipe.
- Keep a simple location record. Note the zone, meter readings, sound changes, and visible symptoms. For example, a loud rushing sound beside one valve box, combined with a persistently wet patch, gives a clearer repair lead than either clue alone. Stop testing once the likely area is narrowed; repeated listening cannot confirm the exact break.
Permit requirements depend on the repair and excavation scope, so contact the City of Surprise before digging to confirm whether your work needs a permit.
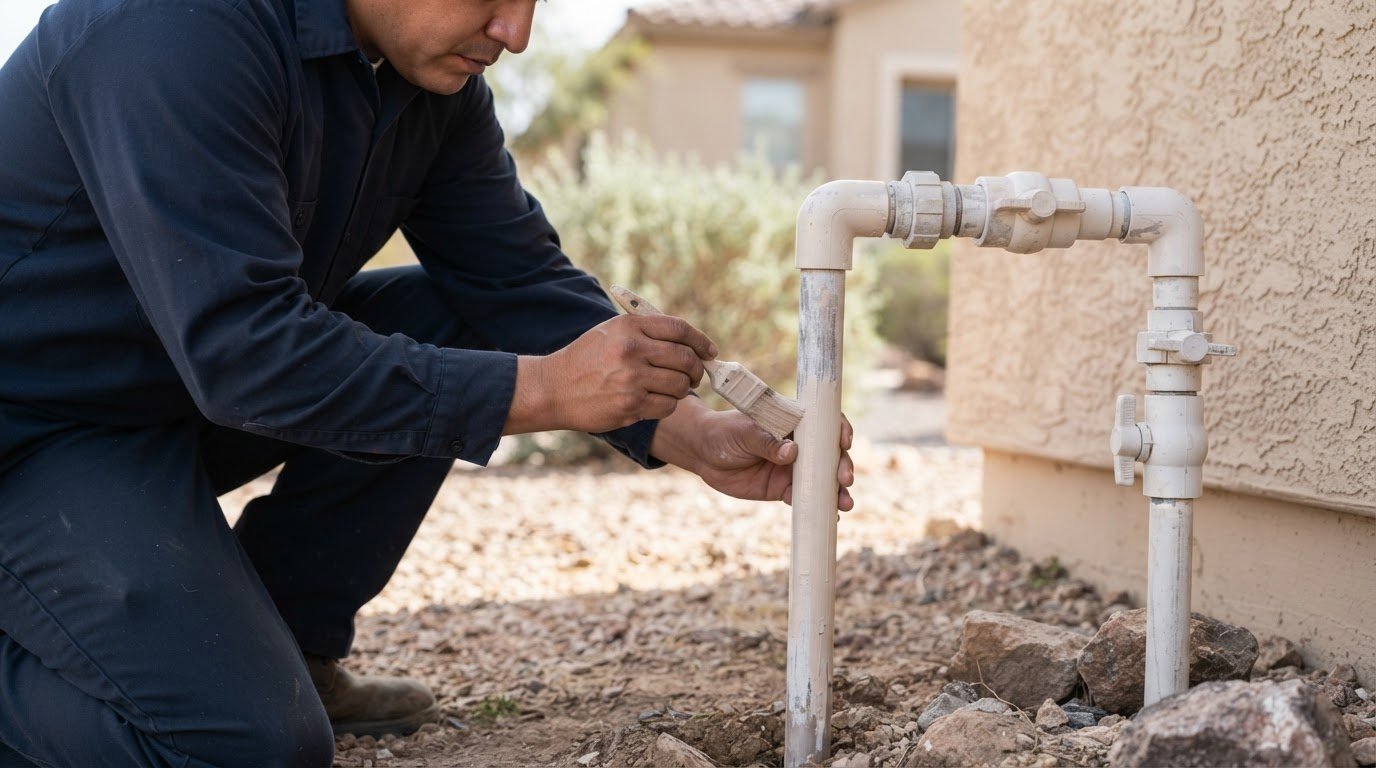
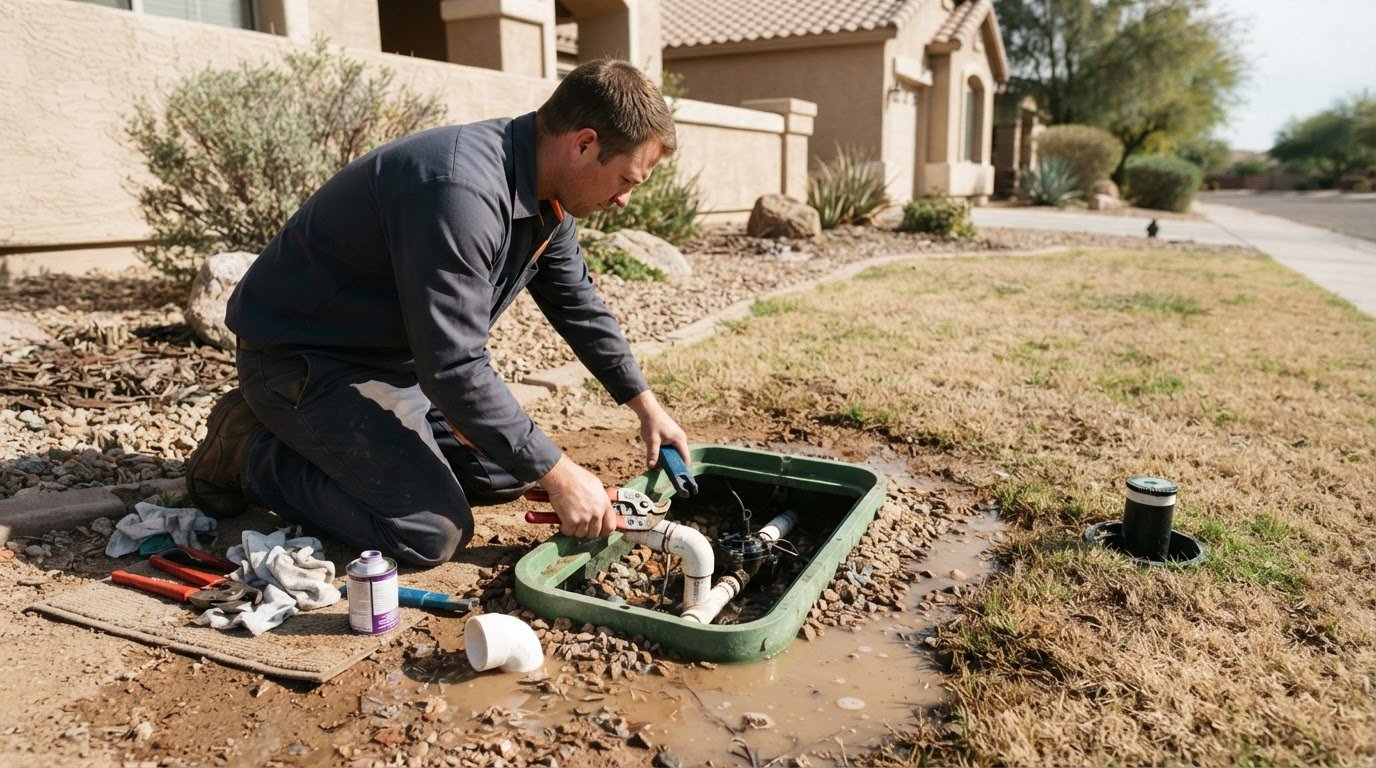
Isolating a leak by cutting and capping the pipe
Cutting and capping a line can narrow a suspected leak to one side of a sprinkler zone. Treat this as a diagnostic repair, not a first step: confirm the affected zone and pipe route before opening the line.
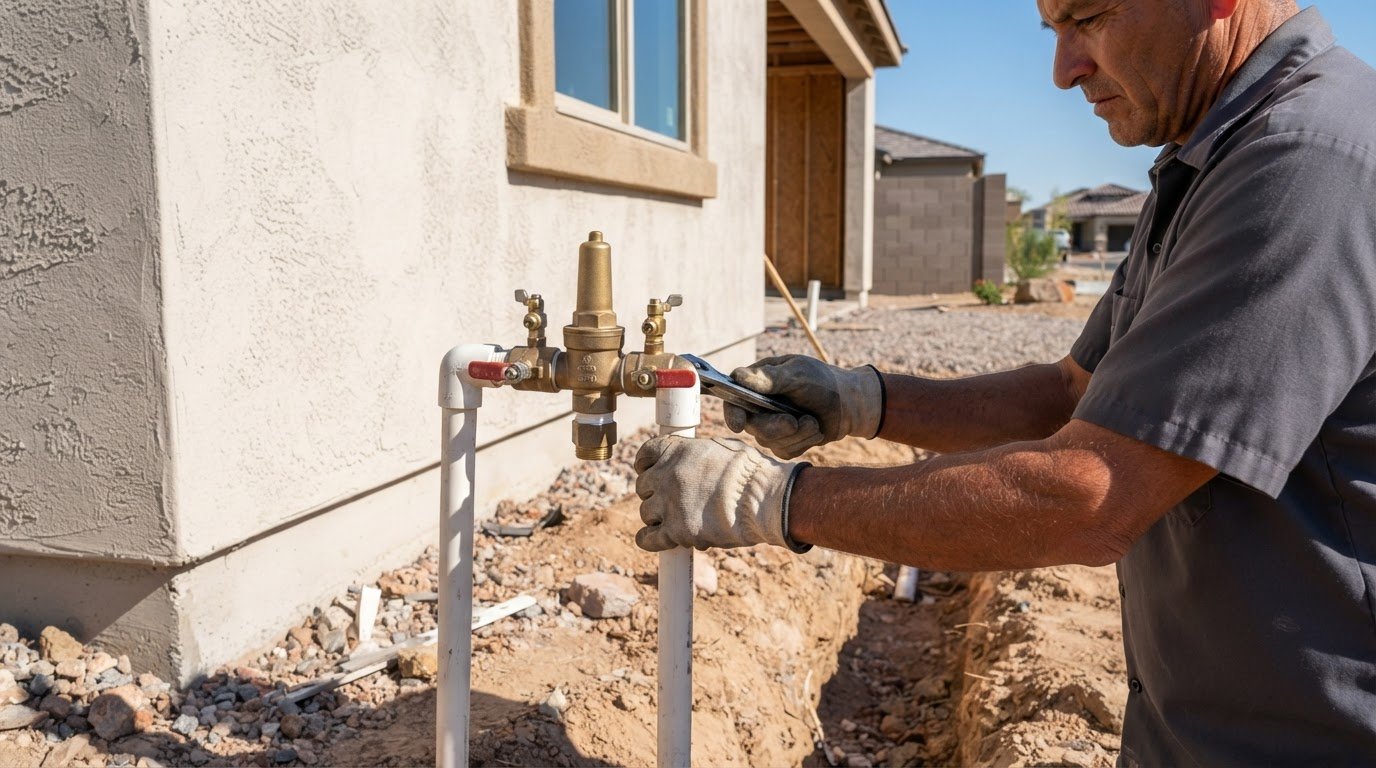
- Shut off the irrigation supply. Turn the controller off, then close the irrigation system’s supply valve if accessible. Confirm the zone no longer runs before exposing pipe. If water continues flowing, stop and identify the correct shutoff point; cutting a pressurized line can release water and wash soil into the work area.
- Choose a test point in the zone. Use the system layout, valve locations, sprinkler-head sequence, and visible symptoms to select a section that divides the suspected run. A forum-suggested diagnostic method is to cut and cap near the middle of the zone, then test each side separately. This narrows the search without assuming the wettest spot marks the break.
- Expose only the selected pipe. Remove soil carefully until the pipe is visible and there is room to work around it. Avoid pulling, bending, or twisting connected fittings. Check the exposed section for cracks, split joints, or damaged fittings before cutting; a visible defect may already identify the repair point.
- Cut and cap the line securely. Make a clean cut at the selected test point, then cap the open ends with fittings suited to the pipe. Keep dirt and debris out of both sides. If the pipe material or connection is unclear, don’t guess at a fitting; a mismatched cap can leak and undermine the test.
- Test each isolated side. Restore water carefully and run the affected zone only long enough to check whether the leak symptom returns. If one capped section still shows water loss or renewed wet ground, the suspected break lies on that side. Shut the supply off again before changing the test configuration.
- Repeat the split only when useful. Move the isolation point within the leaking section and test again, narrowing the affected length in stages. Record each cut location and result so the test remains traceable. If repeated isolation still leaves a long or uncertain section, stop rather than making additional cuts that complicate restoration.
After locating the damaged area, restore the pipe with a suitable repair and test the zone before replacing soil. For a difficult-to-isolate line or a repair that needs experienced handling, discuss the suspected pipe leak.
Low water pressure and reduced sprinkler flow
A cracked underground line can divert water before it reaches the sprinkler heads. To find a leak in an underground sprinkler system in Surprise, compare each zone’s spray and flow, then note where performance changes.
- Check controller settings first. Confirm the affected zone is running as programmed and compare its settings with a zone that sprays normally. A changed schedule or incorrect zone selection can make irrigation appear weak without indicating a broken pipe. Record the setting and zone before changing anything, so you can distinguish a controller issue from a pressure problem.
- Compare heads within the same zone. Run the zone and observe whether several heads have reduced reach or uneven spray. A single weak head points to a localized head or blockage issue; multiple weak heads on one line raise concern about water loss. Note which heads work normally and where performance begins to change.
- Watch for pressure changes during operation. Look for spray that weakens as the zone runs, heads that fail to rise, or water surging unexpectedly. A substantial pressure change can send water above ground, while a main-line flow drop can signal a leak or break. Treat these changes as clues, not proof of the exact fault location.
- Inspect the ground along the affected route. Follow the pipe path between the valve and heads showing reduced flow. Check for shifting soil, surface water, or a persistently damp strip aligned with the line. A pressure problem paired with localized wet ground gives a stronger lead than weak spray alone.
- Compare the affected zone with another zone. Run a nearby zone and observe whether its heads maintain their usual spray while the suspect zone remains weak. If the difference follows one zone, focus diagnosis on its valve, lateral pipe, and connected heads. If several zones show reduced flow, consider a system-wide supply or main-line issue before narrowing the search.
- Track pressure and flow clues together. Write down the zone, affected heads, and any ground changes during operation. For example, reduced spray across several heads plus water surfacing along their shared route points toward a damaged line. A lone weak head without a wet area suggests checking that head before opening the ground. This kind of comparison makes it easier to determine how to find a leak in an underground sprinkler system in Surprise without relying on one symptom.
- Stop repeated operation if water is surfacing. Continued watering can add water to an already saturated area and obscure the leak’s path. Turn the affected zone off and preserve your observations for the next diagnostic step. Notes about spray changes, zone behavior, and visible water help distinguish a pipe break from a localized sprinkler problem.
Marking a suspected leak and contacting 811 before digging
Mark the likely leak area before disturbing soil, then contact 811 before excavation. To trace irrigation piping without digging, compare the sprinkler heads, valve boxes, and zone route; 811 marks public utilities, not private sprinkler lines.
Mark the Suspected Leak
Place a visible marker beside the strongest clue, such as bubbling soil or a wet strip. Add markers along the suspected pipe route and note which sprinkler heads work normally. Keep the marks close enough to guide inspection, but don’t treat them as an exact pipe map. Avoid driving stakes into the ground, since buried irrigation pipes may cross the marked area.
- Trace the zone above ground. Identify the heads that operate together, then follow their apparent route from the valve box. Use the controller’s zone labels and any available irrigation plan to connect the components. A line between working heads and weak or inactive heads can help narrow the suspected section.
- Record the evidence. Photograph the wet area and nearby heads, then note which zone produces the symptoms. Mark the soggy edge and any place where water surfaces, rather than marking only the center. This record helps distinguish a broad wet patch from a likely pipe route and preserves observations before watering or foot traffic changes the ground.
Contact 811 Before Digging
Contact 811 before excavation so public utility lines can be marked. Give the location and planned digging area, then allow time for utility marking before work begins. The markings show public services, not private irrigation piping, so keep your sprinkler-route notes separate. Do not assume an unmarked area is clear of buried sprinkler lines.
- Wait for utility markings before digging. Keep the suspected leak markers visible, and compare them with the utility marks once the area is marked. Plan excavation around the public lines and avoid disturbing marked routes. If the leak appears close to a utility marking, pause rather than guessing where the pipe lies.
- Use careful exposure to confirm the private line. Start at the most likely marked location and remove soil gradually with hand tools. Watch for PVC pipe, fittings, and sprinkler connections as the soil clears. Keep the excavation limited to the suspected section, and stop if the pipe route remains unclear or the work approaches a marked utility.
811 helps identify public infrastructure, while zone mapping and careful observation guide the search for private sprinkler pipe. Keep both sets of markings visible until the leak location and safe work area are clear.
Signs of an underground sprinkler leak
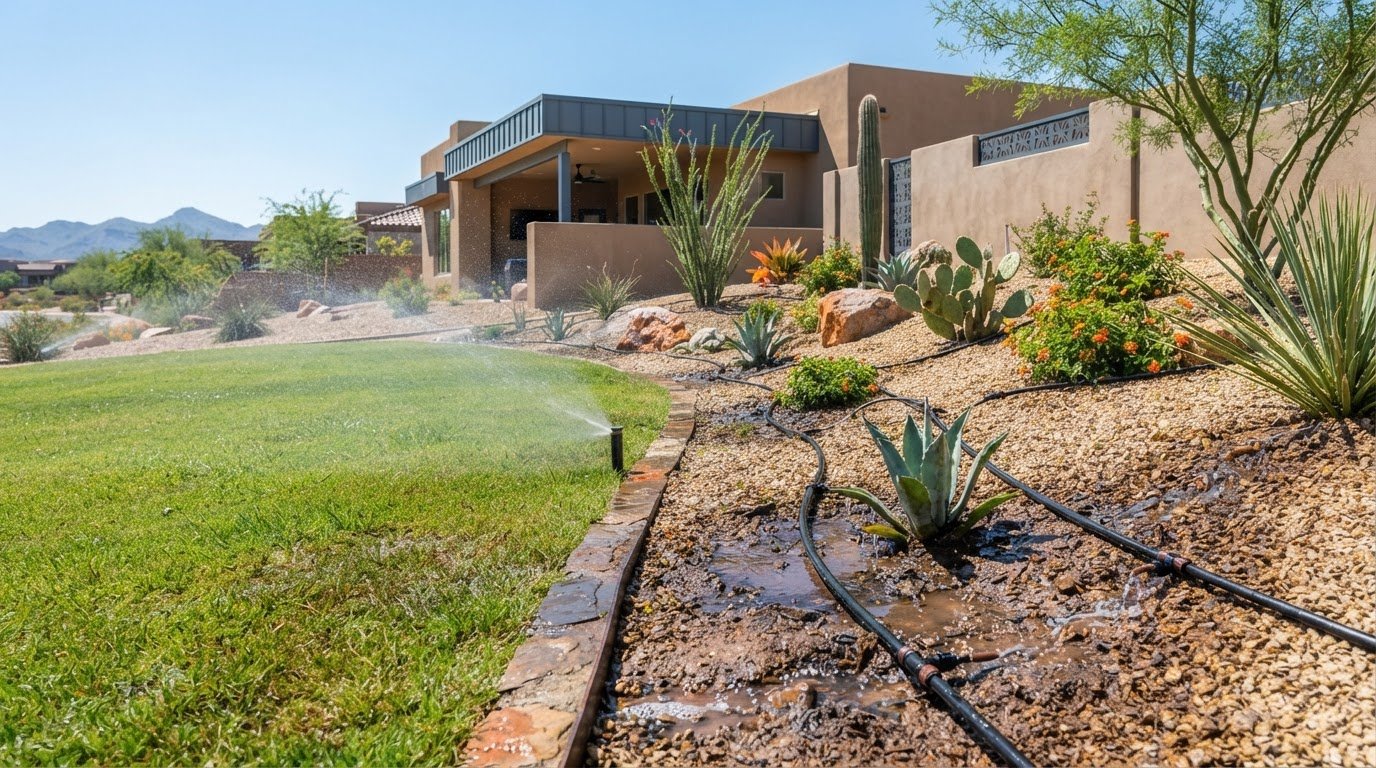
Finding a leak in an underground sprinkler system in Surprise starts with noticing patterns, not relying on one wet spot. Persistent moisture, disturbed soil, and changes around sprinkler heads can help distinguish a pipe leak from routine watering or drainage.
- Check for water when irrigation is off. A puddle that returns while the controller is off may indicate continuous seepage from a buried line or valve. Ground that remains wet after 24 dry hours is a useful lead. Compare it with nearby soil, since a damp patch after watering alone doesn’t identify the source.
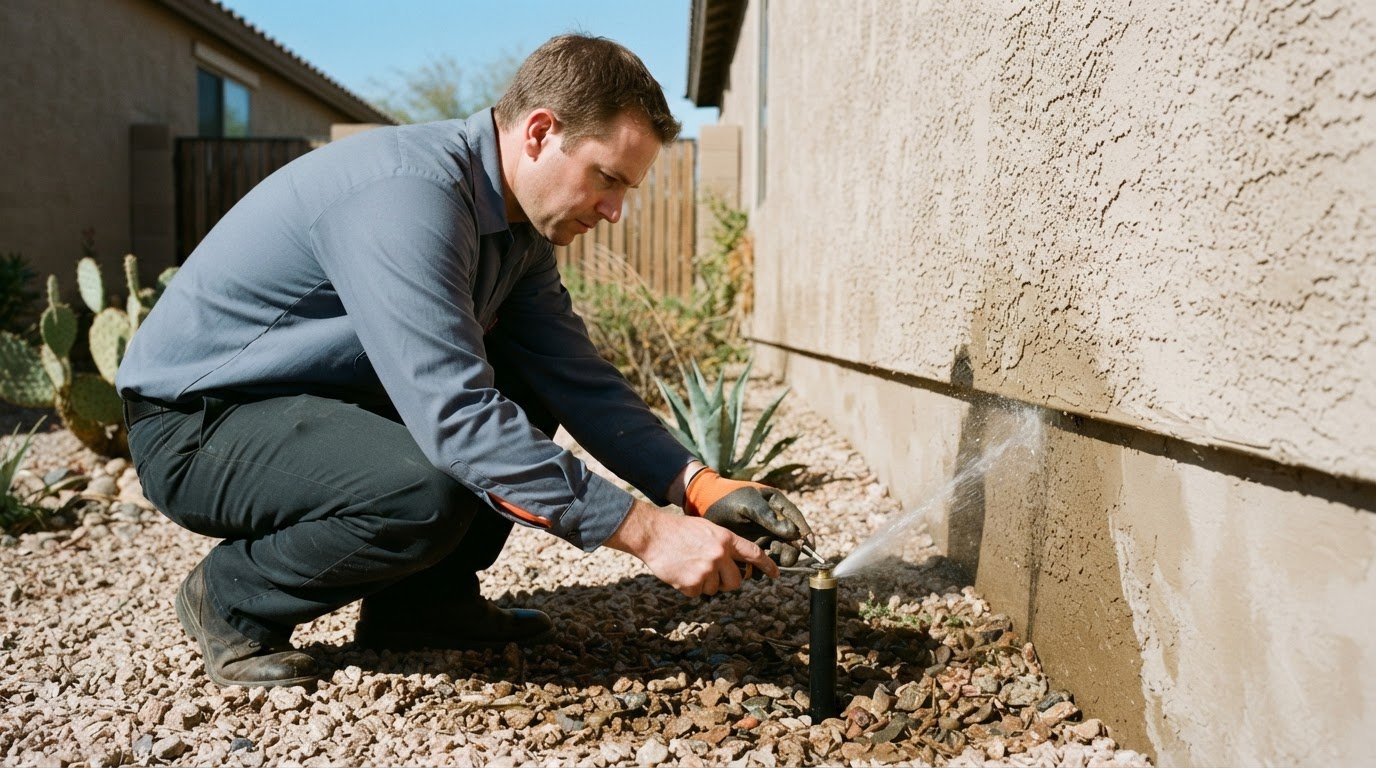
- Look for water emerging between heads. Bubbling or spurting from the ground during a zone cycle can signal a damaged lateral pipe. Soil may also sink or wash away above the leak, leaving a depression or hole. Note where water appears relative to the heads; the closest head isn’t necessarily the source.
- Watch heads after the zone shuts off. A steady trickle from a sprinkler head after the cycle ends can point to a valve that isn’t closing properly. A damaged head can also gush or spray irregularly, so examine the head and surrounding ground together. Water dribbling toward a curb may reflect a broken head, excess irrigation, or drainage issues.
- Compare spray quality across the zone. A head that suddenly sprays less distance or sends dirty water may indicate a ruptured line allowing soil or debris into the system. Note whether the change affects one head or several. This comparison can help you understand how to find a leak in an underground sprinkler system in Surprise without assuming every weak spray means a pipe break.
- Notice changes beyond the sprinkler bed. A summer water-bill increase of $50 to $200 or more without a schedule or weather change can be a warning sign. Slimy growth on a nearby curb may also accompany persistent moisture, though over-irrigation can create similar conditions. Treat these clues as reasons to inspect, not proof of a buried leak.
- Bring in a professional when clues remain unresolved. Persistent water with the system off, multiple weak heads, or signs of soil displacement warrant further diagnosis, especially when the pipe route is unclear. A professional can distinguish a leaking valve, damaged head, and underground pipe problem before opening the ground. If you’re still working out how to find a leak in an underground sprinkler system in Surprise, arrange a sprinkler leak assessment.
Sonora Sprinkler: Custom Sprinkler System Design
Sonora Sprinkler Inc. can help when an underground leak needs repair or recurring flow problems point to a system that needs rethinking. Irrigation Repair addresses damaged components, while Custom Sprinkler System Design can tailor a system to the property’s irrigation needs. If the existing layout no longer delivers consistent coverage, a design review may help guide the next step. For a suspected pipe break or a system that needs closer evaluation, contact Sonora Sprinkler Inc. to discuss the irrigation issue.
Plan the Next Step for Your Irrigation System
Diagnosing a leak can show whether the problem is limited to one damaged pipe or signals a broader irrigation need. A clear record of the affected zone, recurring symptoms, and previous repairs helps guide that decision. If you’re looking for an underground sprinkler leak in Surprise, use the clues you’ve gathered to describe what you observed and where it occurs.
Sonora Sprinkler provides irrigation repair, irrigation installation, and drip irrigation installation. These services can address a damaged system, a new irrigation layout, or a shift to drip watering. The right next step depends on the condition of the existing pipes and how water needs to reach your property.
Share the location and symptoms of the suspected leak so the irrigation issue can be discussed clearly. Contact Sonora Sprinkler to talk through your next step and move toward a sound, well-functioning system.
Frequently Asked Questions
How do you isolate sprinkler zones to find a leak?
Use the irrigation controller to run one zone at a time, then note which zone produces unusual flow or wet ground. Keep the other zones off so their water use doesn’t confuse the comparison. If symptoms occur in only one zone, focus the diagnosis on its valve, connected heads, and pipe run. Zone labels or an irrigation layout can help connect the controller setting to the area being tested.
How do you use a water meter to check for a sprinkler system leak?
Turn off irrigation and indoor water fixtures, then record the meter reading. Wait 30 to 60 minutes and compare the reading again. If it changes, close the irrigation supply and repeat the observation; this helps distinguish irrigation-related water use from another source on the property. A moving meter indicates water flow, but it doesn’t locate the leak, so use zone tests and visible symptoms to narrow the cause.
What tools do professionals use to detect irrigation leaks?
Useful diagnostic tools include the irrigation controller, water meter, mechanic’s stethoscope, and irrigation system layout. The controller identifies the active zone, while the meter can show ongoing water use. A stethoscope can help compare sounds at accessible valves or pipe sections. Professionals also use visible signs, such as unusual sprinkler-head behavior, to decide where further inspection is most useful.
What does underground sprinkler leak detection cost in Surprise, Arizona?
The cost depends on the situation and is provided after a quote request. Relevant factors include how accessible the suspected line is, how clearly the leak location can be narrowed, and whether the work involves diagnosis alone or pipe repair. A visible, accessible problem can involve different work from a leak beneath hard-to-reach areas. Share the symptoms and affected zone when requesting a quote so the scope can be considered.
Who provides irrigation leak detection in Surprise, Arizona?
Sonora Sprinkler Inc. provides residential irrigation repair and diagnostics in Surprise, including troubleshooting for suspected leaks. The work can help determine whether symptoms point to a damaged pipe, valve, or sprinkler component. If your system also needs installation or a different watering layout, the company provides irrigation installation and custom system design. Contact Sonora Sprinkler to discuss the affected zone and what you’ve observed.
How can you prevent damage when digging to find a sprinkler leak?
Contact 811 before digging so public utility lines can be marked, and remember that those markings don’t locate private sprinkler piping. Use the controller, valve locations, and visible sprinkler heads to estimate the irrigation route separately. Keep the suspected leak mark distinct from utility markings, then expose soil gradually rather than driving stakes or digging aggressively. Stop if the pipe route is unclear or excavation approaches a marked utility.