Low pressure in a drip system can leave emitters flowing unevenly or barely delivering water. Troubleshooting low pressure in a drip system means checking for clogged filters, leaks, restricted valves, and a water source that can’t keep up, then considering whether long lines or elevation changes are reducing flow. Some drip-tape systems are designed to operate at just 10-15 PSI, so the right pressure depends on the system’s components.
It’s easy to assume the water source is the problem, but a blockage or damaged fitting can cause similar symptoms. A pressure regulator can reduce and stabilize higher inlet pressure, but it can’t increase pressure from a weak source.
This guide explains how to troubleshoot low pressure in a drip system by checking emitters, filters, valves, the water supply, line layout, and elevation. It also covers low-pressure drip tape and gravity-fed systems, so you can tell when flushing may help and when the system setup needs attention.
Key Takeaways
- Learn how clogged filters, emitters, and line debris can restrict flow, and when flushing or cleaning may help.
- Understand how to distinguish a weak water source from a pressure-regulator issue.
- Compare your system’s operating pressure with its component requirements; some drip-tape systems are designed for 10-15 PSI.
- See how electric, battery-powered, and manual valves can affect water delivery when they don’t open fully or operate properly.
- Explore why gravity-fed layouts need attention to elevation, line length, and the system’s low-pressure design.
1. Preventing emitter clogs with filters and system flushing
Clogged emitters are a common cause of uneven flow in drip irrigation. Minerals, sediment, debris, fertilizers, and chemicals can build up inside their small openings. A filter at the start of a drip line catches debris before it reaches the tubing. Check and clean filters and screens regularly, because a clogged screen can restrict water to every emitter downstream.
Flushing clears loose material inside a line. Remove the end cap or open the flush valve, then run water through the tubing until the discharged water is clear. Close the valve or replace the cap before normal operation. Flush drip lines at least once at the start and once at the end of the growing season. Flushing periodically during the year can also help, especially when water quality is poor.
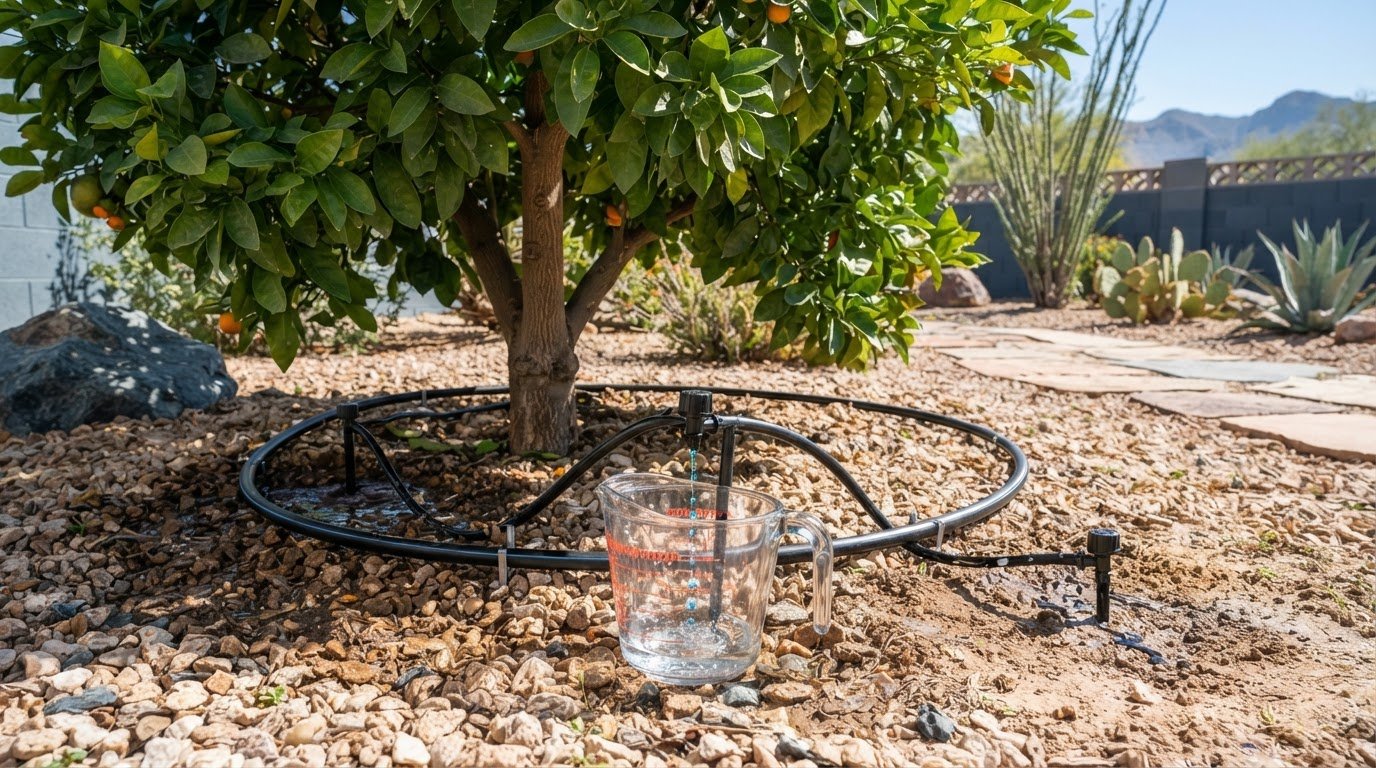
If one emitter still delivers little water after flushing, check for visible deposits or damage. Clean a clogged emitter, or replace it if cleaning doesn’t restore flow. Compare its rated flow with nearby emitters, since a damaged or incompatible emitter may deliver water differently. If several emitters are affected, inspect the filter and flush the line before replacing components one by one.
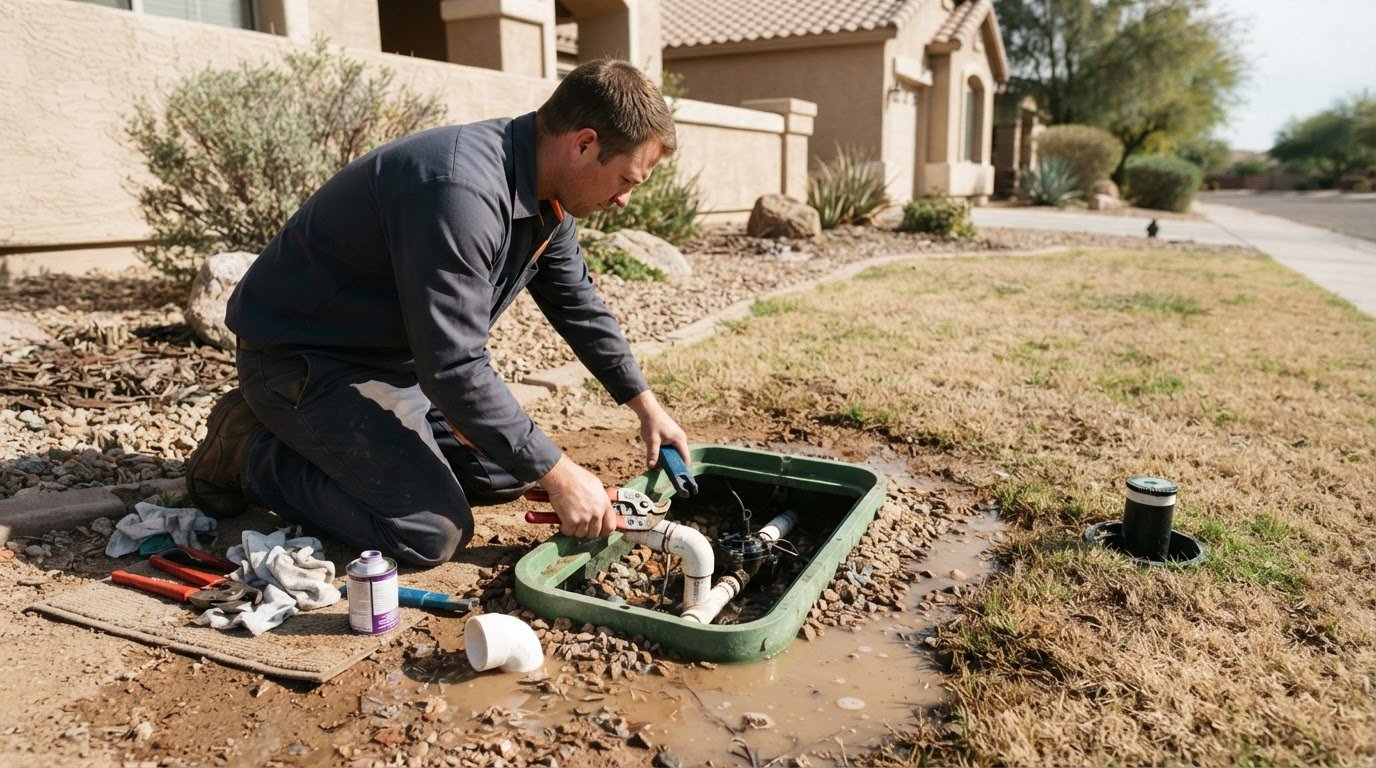
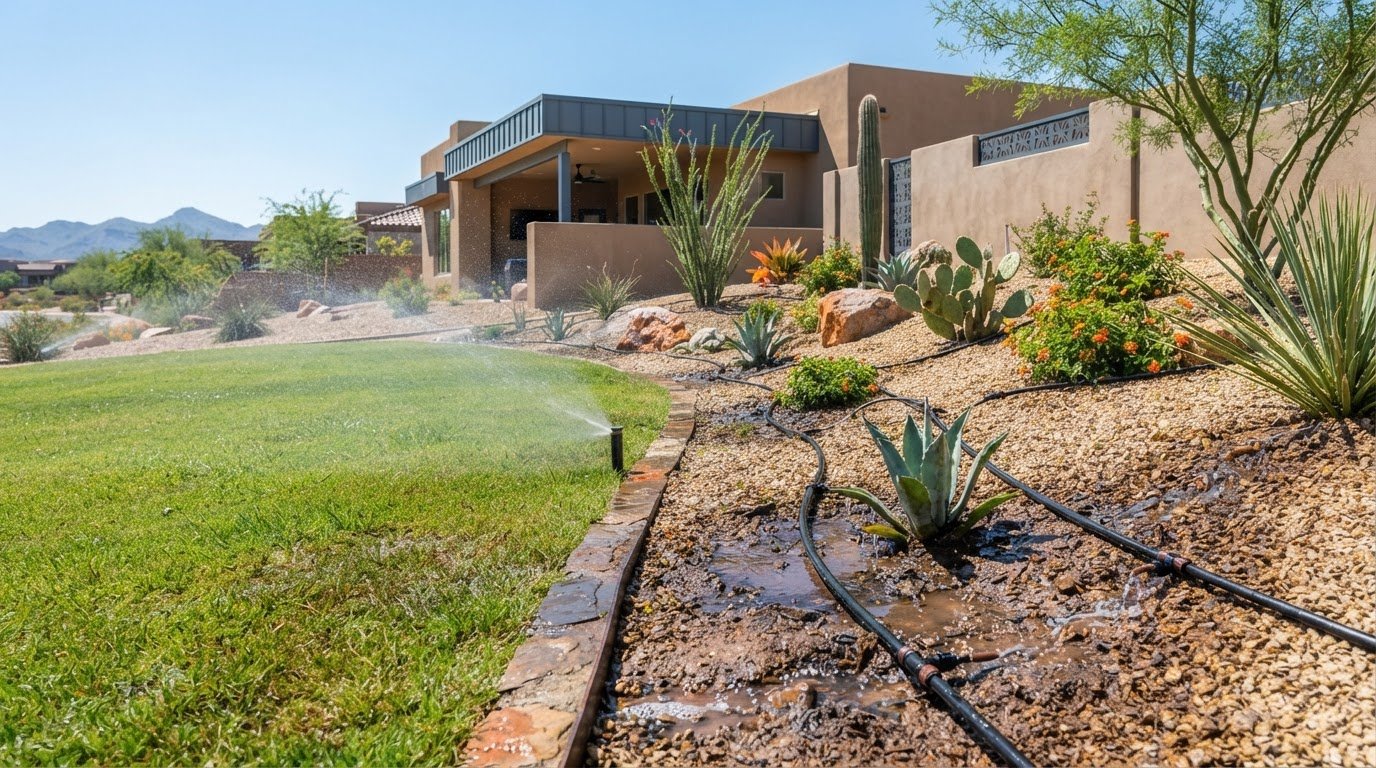
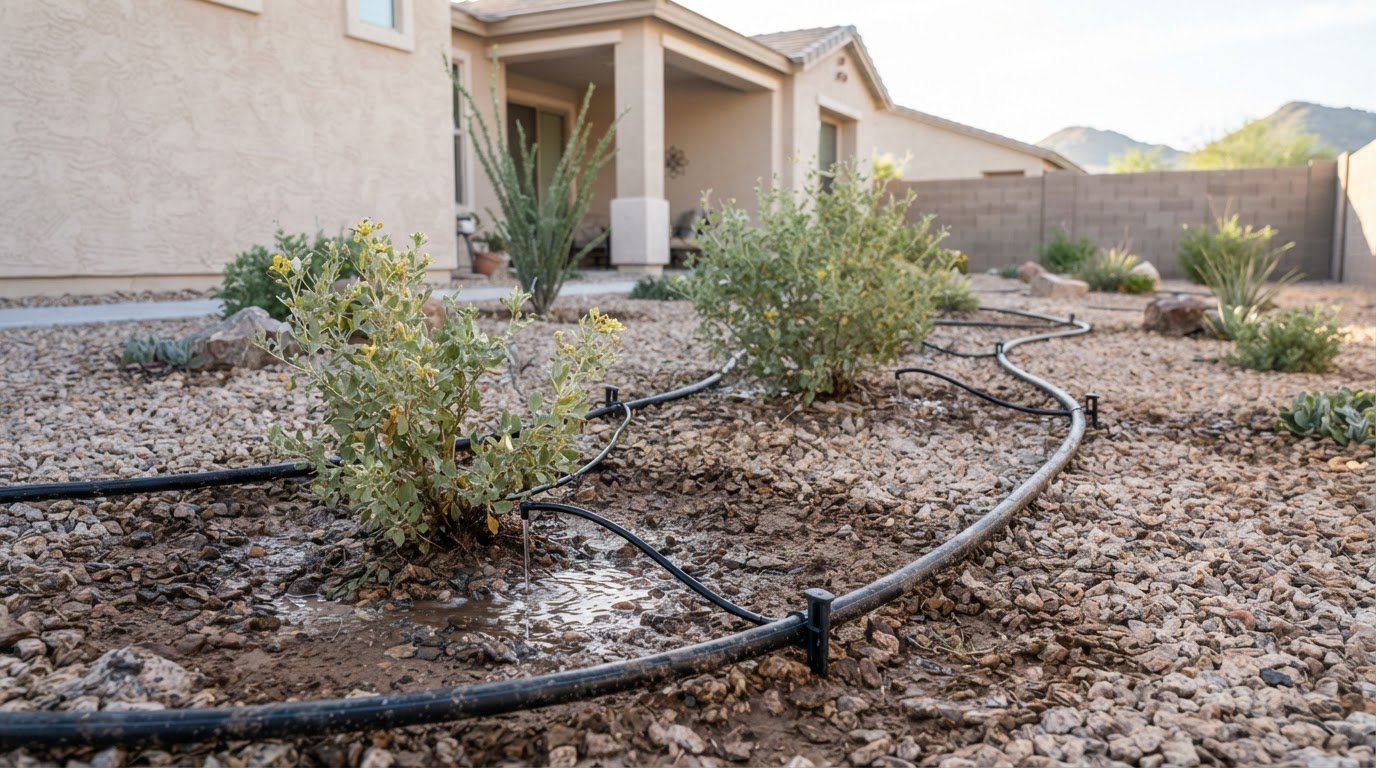
Leaks can also disrupt water delivery. While the system runs, look for wet spots along the dripline, water escaping around fittings, cracked emitters, or punctured tubing. Tighten a loose fitting where appropriate. Plug a small hole, or cut out a damaged section and join the undamaged ends with a coupler. A persistent leak wastes water and can reduce flow farther down the line.
Line capacity matters too. Keep a 1/2-inch supply line to 200 feet or less in a single drip-irrigation zone. A drip line should also have no more than 200 emitters rated at one gallon per hour. Long runs and excess emitters can reduce available flow, even when filters are clear. If the layout exceeds those limits, the system may need a revised line arrangement or another zone. These checks make troubleshooting low pressure in a drip system more systematic: clear restrictions, repair leaks, then assess line length and emitter demand.
2. Checking the water source and pressure regulator
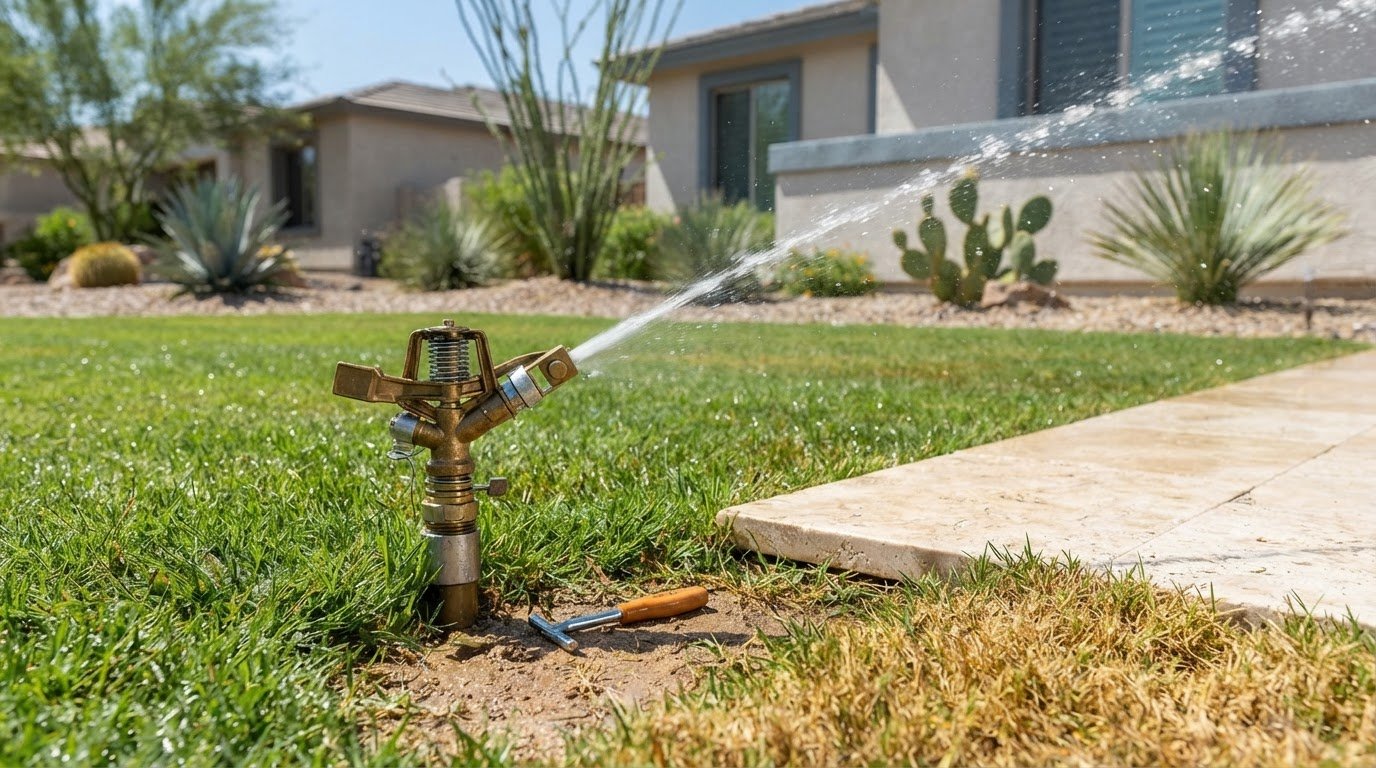
Start at the water source, because a regulator cannot correct weak supply. Household water systems commonly run at 50-80 psi, while drip components need lower operating pressure. Low-pressure problems are more common with wells and water tanks, where supply or pump performance can limit delivery. If flow drops while another water outlet is running, the source may be struggling to meet demand.
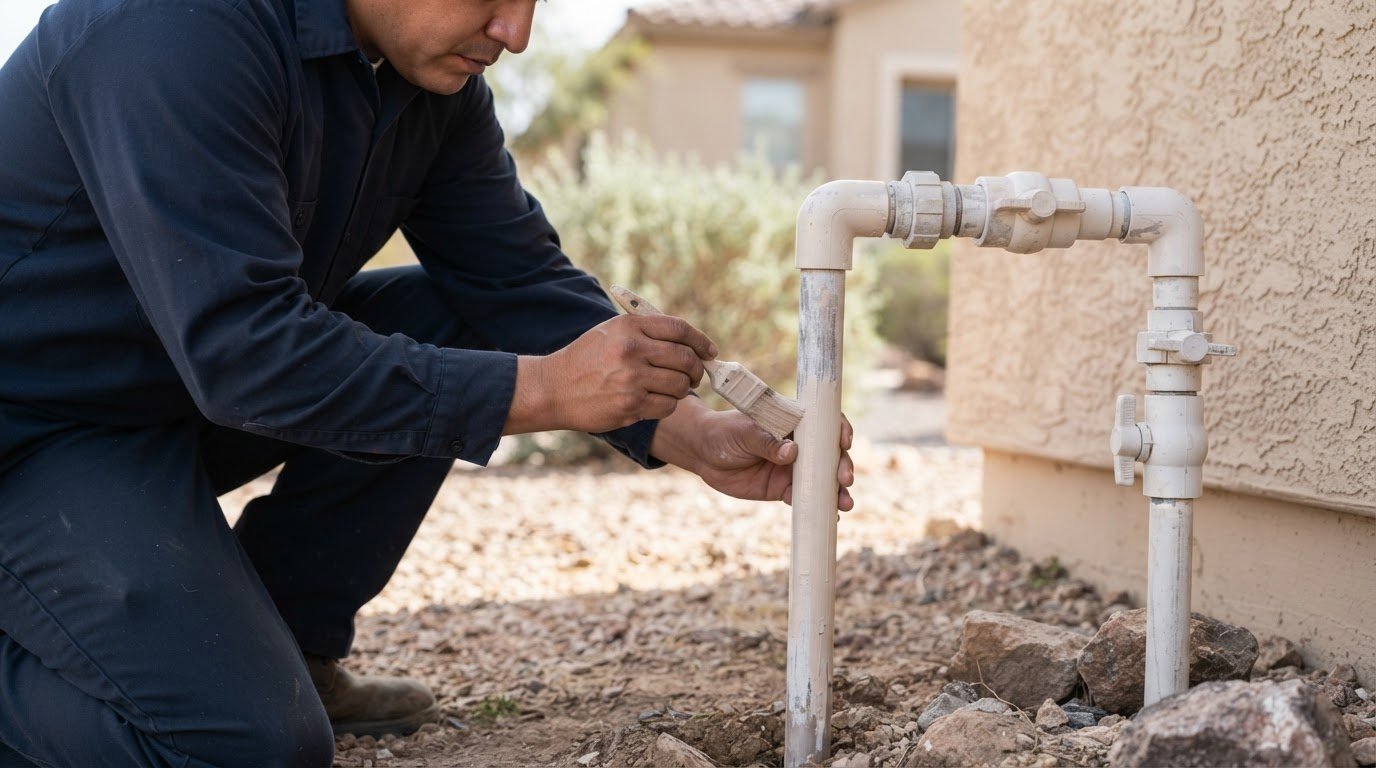
A pressure regulator reduces and stabilizes higher inlet pressure; it cannot increase pressure from a weak source. Connecting a drip system directly to a house spigot without a regulator isn’t recommended. Household pressure may exceed the range drip components are designed for, while too little inlet pressure leaves the regulator unable to provide adequate flow. Check that the regulator faces the correct direction and that its screen or inlet isn’t blocked.
Choose a regulator based on the drip system’s required operating pressure and the flow it must supply. Many drip systems operate around 15-25 psi, but component specifications determine the appropriate setting. Drip tape has its own limits, and some tape should not operate above 15 psi. A regulator set too low can starve emitters; one that fails to reduce pressure can expose tubing and fittings to excess pressure.
To measure pressure, use a pressure-test gauge at a compatible test point near the filter, regulator, or tubing. Take the reading while the irrigation zone is running, because static pressure with the water off doesn’t show operating conditions. Compare readings before and after the regulator, then check farther along the line. A sharp drop between points may indicate a restriction, leak, or undersized supply. Keep the gauge connection secure and watch for leaks during the test.
Replace a regulator when it no longer holds a consistent outlet reading, or when visible damage prevents reliable operation. Replace a filter when cleaning cannot restore flow, and replace tubing when cracking, punctures, or repeated leaks make repairs impractical. Costs depend on the component, access, and work required, with pricing provided after a quote request.
After checking the regulator, run one zone and compare its pressure readings with the requirements of its emitters and tubing. If a well or tank cannot sustain the needed flow, changing the regulator alone won’t solve the cause. If pressure remains uneven after these checks, discuss the system’s pressure and layout as part of a design assessment.
3. What can go wrong with drip irrigation?
Drip irrigation needs enough pressure to deliver water evenly, but there’s no single setting for every system. A typical home system needs about 25 psi to function optimally. Some thin-wall drip lines operate at 10 to 15 pounds per square inch, while some home systems operate around 20-30 PSI. The emitter, tubing, regulator, and manufacturer specifications determine the suitable operating range. A reading of 40 PSI may be excessive for one setup but acceptable for components designed for it.
Emitter type also changes how pressure affects watering. Many emitters rated at 25 psi can function at pressures as low as 15 psi. Pressure-compensating emitters are designed to deliver consistent flow across pressures from 15 to 45 PSI. That design doesn’t make every pressure suitable for every component. Match emitters and tubing to the system’s pressure range, then assess flow while the zone operates. A pressure reading alone won’t reveal whether each plant receives an even amount of water.
A large irrigation system may demand more water at once than its source or supply line can deliver. Splitting the layout into smaller zones reduces the number of emitters running simultaneously. For example, water separate planting beds in different cycles. If flow improves when only one zone runs, the combined demand may be too high. Plan zones around emitter flow, tubing capacity, and the water available to each section.
Elevation can reduce pressure as water moves uphill. Pressure changes by about 0.43 PSI for each vertical foot in a drip irrigation system. Emitters at the highest part of a sloped yard may therefore receive less pressure than lower emitters. Compare performance across the slope while the same zone runs. A consistent pattern of weaker flow uphill can point to elevation effects, while isolated weak emitters suggest a different restriction.
A controller can create symptoms that resemble a pressure problem if its schedule or zone operation doesn’t match the system layout. Drip irrigation controllers may use AC power or batteries to set watering frequency and duration. Confirm that the intended zone runs during the test and that its valve opens for the scheduled cycle. If the controller runs several zones in sequence, observe each separately. This helps distinguish a timing or zone-selection issue from inadequate pressure or flow.
4. Checking electric, battery, and manual valves
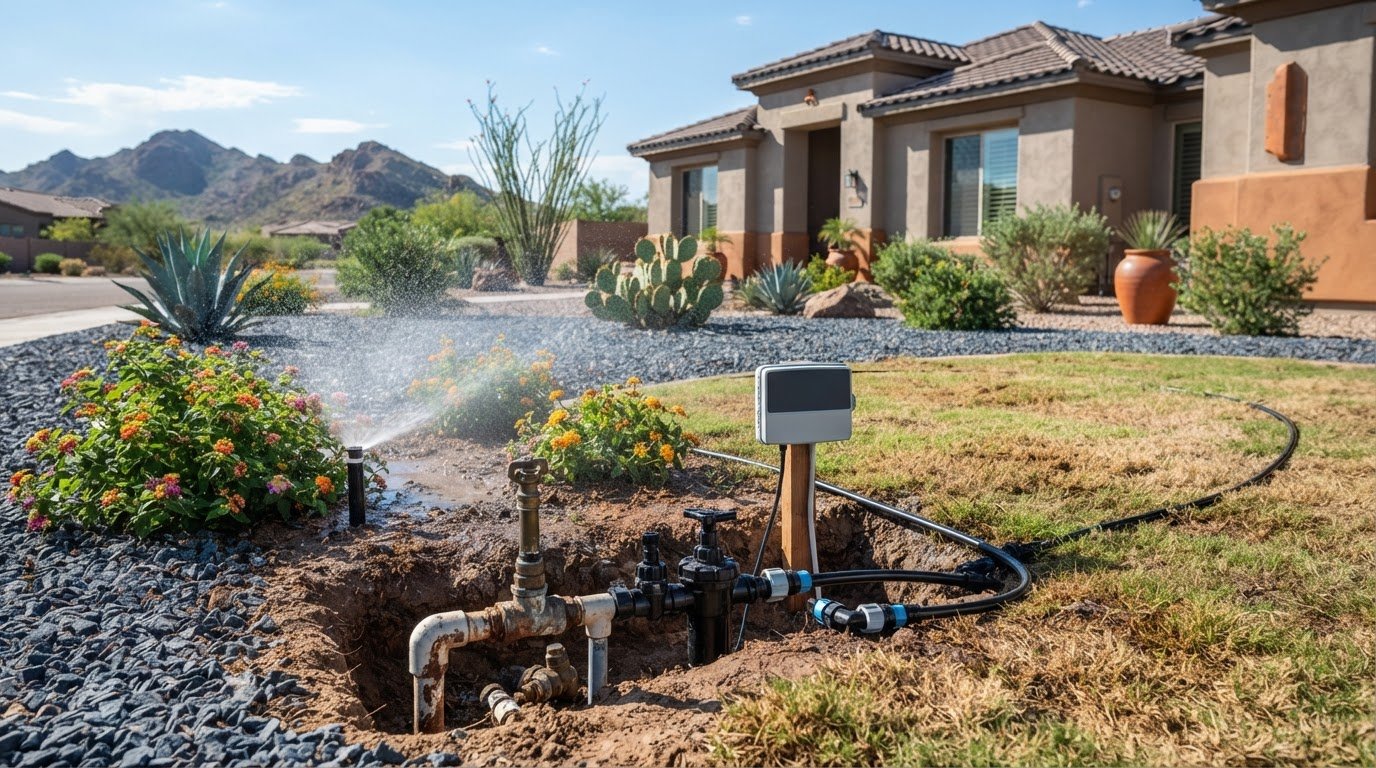
A valve that doesn’t open fully can restrict water to an entire drip zone. Identify whether the zone uses an electric, battery-powered, or manual valve. Run the zone and observe whether water reaches its lines. If every plant in one zone receives weak flow while other zones operate normally, focus on that zone’s valve and connections.
For an electric valve, confirm that the irrigation controller calls for the correct zone during the test. Check visible wiring for loose connections, breaks, or corrosion, and inspect the valve solenoid for damage. A controller may appear to run its cycle even when a wiring fault prevents the valve from opening. If the zone doesn’t activate, wiring and valve diagnostics can help distinguish an electrical fault from a water restriction.
Battery-powered valves need a separate check. Inspect the battery compartment for depleted batteries, poor contact, or corrosion, then confirm that the programmed zone activates. A weak battery can prevent reliable operation even when the drip tubing and water source are clear. If replacing the batteries doesn’t restore flow, check whether the valve opens during its scheduled cycle. A zone that remains dry points to a valve issue or blocked supply.
Manual valves are simpler, but a partly closed handle can limit flow without stopping it completely. Confirm that the handle is fully in its operating position, then check for debris around the valve and inlet. Don’t force a stiff handle, since resistance can signal a mechanical problem. If the handle moves but water delivery remains poor, inspect the valve body and nearby fittings for blockage or leakage.
Clean the valve filter or screen if the assembly has one. Shut off the water supply before opening the filter housing, remove trapped sediment, and reinstall the screen securely. Then run the zone and check whether flow improves. A filter that remains blocked after cleaning, or a valve that sticks repeatedly, may need replacement rather than repeated adjustment.
Finally, inspect the drip line while the zone runs. Check its full length for pooling near fittings, cracked emitters, punctured tubing, or damaged sections. A leak near the valve can reduce water reaching plants downstream. Repair a small puncture or replace a damaged section as needed. If the valve operates and there are no visible leaks, compare flow at the zone entrance and far end to locate a restriction.
5. Low-pressure drip tape and gravity-fed systems
Low-pressure irrigation can work well when the tape, emitters, fittings, and water source are designed for it. Certain drip-tape systems require only 10-15 PSI. A standard setup intended for higher pressure may deliver weak or uneven water flow when connected to a low-pressure source. First, identify the tape’s operating requirements, then compare them with pressure measured while the system runs.
Gravity-fed systems face a different constraint: available pressure depends on the vertical distance between the water surface and the outlet. Pressure changes by about 0.43 PSI per vertical foot. For example, a 10-foot elevation difference provides about 4.3 PSI before losses through tubing, filters, and fittings. That pressure may fall short of what the selected emitters require, even if water flows from the tank.
To locate the cause, run the system and compare flow near the source with flow at the far end. Weak delivery throughout the layout points to insufficient source pressure or a restriction near the outlet. Strong flow near the source but weaker flow downstream may indicate friction, elevation gain, a long run, or excess demand. Inspect fittings for leaks and make sure the tubing layout suits the available pressure.
Rainwater catchment and other containment systems can support drip irrigation when designed for low-pressure water. Match the drip tape, filter, valves, and emitters to the supply instead of assuming a pressure regulator will boost it. A regulator reduces and stabilizes higher inlet pressure; it cannot raise pressure from a weak source. If the water surface is too low to supply the selected components, adjust the layout or choose compatible low-pressure equipment.
Test one zone at a time before changing multiple fittings or emitters. Close unused zones, run the selected line, and note whether flow stays consistent from beginning to end. If several zones draw from one gravity-fed source at once, their combined demand may exceed the available supply. Dividing the layout into smaller zones can reduce simultaneous demand, while shorter tubing runs can limit pressure loss.
For a low-pressure design, the key is matching the source’s available pressure to the tubing and emitter requirements, not simply adding parts. A layout that still struggles after checking leaks, elevation, and demand may need a design adjustment. Discuss a low-pressure drip system design when the water source and existing layout aren’t delivering dependable flow.
Sonora Sprinkler: Drip Irrigation Installation
Sonora Sprinkler Inc. provides residential drip irrigation installation for systems that need a carefully planned layout. If low pressure continues after you inspect filters, valves, leaks, and the water source, the line arrangement or zone demand may need a closer assessment. Installation planning can account for the water supply, elevation changes, tubing runs, and emitter requirements so the components work together. For an existing system with damaged parts or persistent flow problems, irrigation repair addresses the mechanical cause instead of treating uneven watering as a scheduling issue. A system that needs broader layout changes may benefit from custom sprinkler system design. Contact Sonora Sprinkler Inc. to discuss drip irrigation installation or repair in Surprise or Peoria.
Keep Your Irrigation Working With Your Landscape
Reliable irrigation means more than restoring flow today. The system also needs to suit the plants, layout, and water source as your property changes. A gradual decline in performance can be easy to overlook when some areas still receive water, so treat uneven watering as a reason to reassess the system rather than simply extending run times.
A structured approach to troubleshooting low pressure in a drip system helps distinguish a local fault from a layout or supply issue. That distinction matters because the right repair depends on where flow is being lost and how the system should operate. For persistent problems, or when the design no longer fits the property, professional irrigation support can help identify a practical next step.
Contact Sonora Sprinkler Inc. to discuss your irrigation concerns and the options for your property. With a clear understanding of the issue, you can move toward more consistent watering and a system that better serves your landscape.
Frequently Asked Questions
What can go wrong with drip irrigation?
Drip irrigation can deliver water unevenly, leave plants under-watered, or waste water through leaks. A problem may affect one emitter, one zone, or the whole system, so note where symptoms appear. Dry plants at the end of one line, for example, suggest a different issue from weak flow across every zone. Changes in soil moisture and plant growth can help show whether the fault is isolated or system-wide.
What is the normal operating pressure for a drip irrigation system?
A typical home drip system operates around 15-25 psi, with about 25 psi often used as an optimal reference. The correct pressure depends on the tubing, emitters, and other components. Some thin-wall lines operate at 10 to 15 pounds per square inch, while certain drip tape is designed for 10-15 PSI. Check pressure while the zone runs and compare it with component requirements, rather than relying on a single general target.
What are the most common causes of low pressure in a drip irrigation system?
Common causes include restricted filters, clogged emitters, leaks, a valve that doesn’t open fully, or a source that can’t meet the system’s demand. Long tubing runs, elevation gain, and too many emitters running together can also reduce delivery. The pattern helps narrow the cause: weak flow across all zones points to a shared supply issue, while one affected zone suggests a local valve, line, or layout problem.
How do I check for clogged filters, emitters, or tubing and clean them?
Run one zone and look for emitters with little or no visible discharge. Turn off the water before opening a filter housing, then remove and rinse its screen. Flush the line through its end opening or flush valve, and watch for debris in the discharged water. If one emitter remains restricted, clean or replace it. Restart the zone and compare its output with nearby emitters.
How can leaks, damaged tubing, or loose fittings cause low drip system pressure?
A leak lets water escape before it reaches downstream emitters, so plants beyond the damaged point may receive less. While the system runs, look for pooling, damp soil in an unexpected location, or water escaping around a fitting. In Surprise and Peoria, Sonora Sprinkler Inc. provides residential irrigation repair for leaks and damaged components. A small puncture may be plugged; a larger damaged section may need replacement or a coupler repair.
How do I calculate whether the water source and tubing can supply enough flow?
Add the rated flow of all emitters scheduled to run in the same zone. Compare that total with the supply’s available flow while the zone is operating, not just with water present when the system is off. Then account for the tubing layout: a long run, narrow line, or uphill route can reduce delivery. If demand exceeds what the source and line can provide, divide the layout into smaller zones.
How do I choose or adjust a drip irrigation pressure regulator?
Choose a regulator that matches the operating range required by the system’s tubing and emitters. Measure pressure downstream while the zone is running, then compare the reading with those component requirements. Adjust the regulator only if its design allows it, making small changes before checking the running pressure again. A regulator can reduce and stabilize higher inlet pressure, but it cannot increase pressure when the source is weak.
How can elevation changes and long tubing runs reduce pressure at emitters?
Water moving uphill loses pressure, while friction along tubing also reduces pressure over distance. In drip systems, pressure changes by about 0.43 PSI per vertical foot, so emitters higher on a slope may receive less than lower ones. Compare flow at the beginning and end of a line, including uphill sections. Shorter runs, smaller zones, or a layout that accounts for elevation can help distribute available water more evenly.