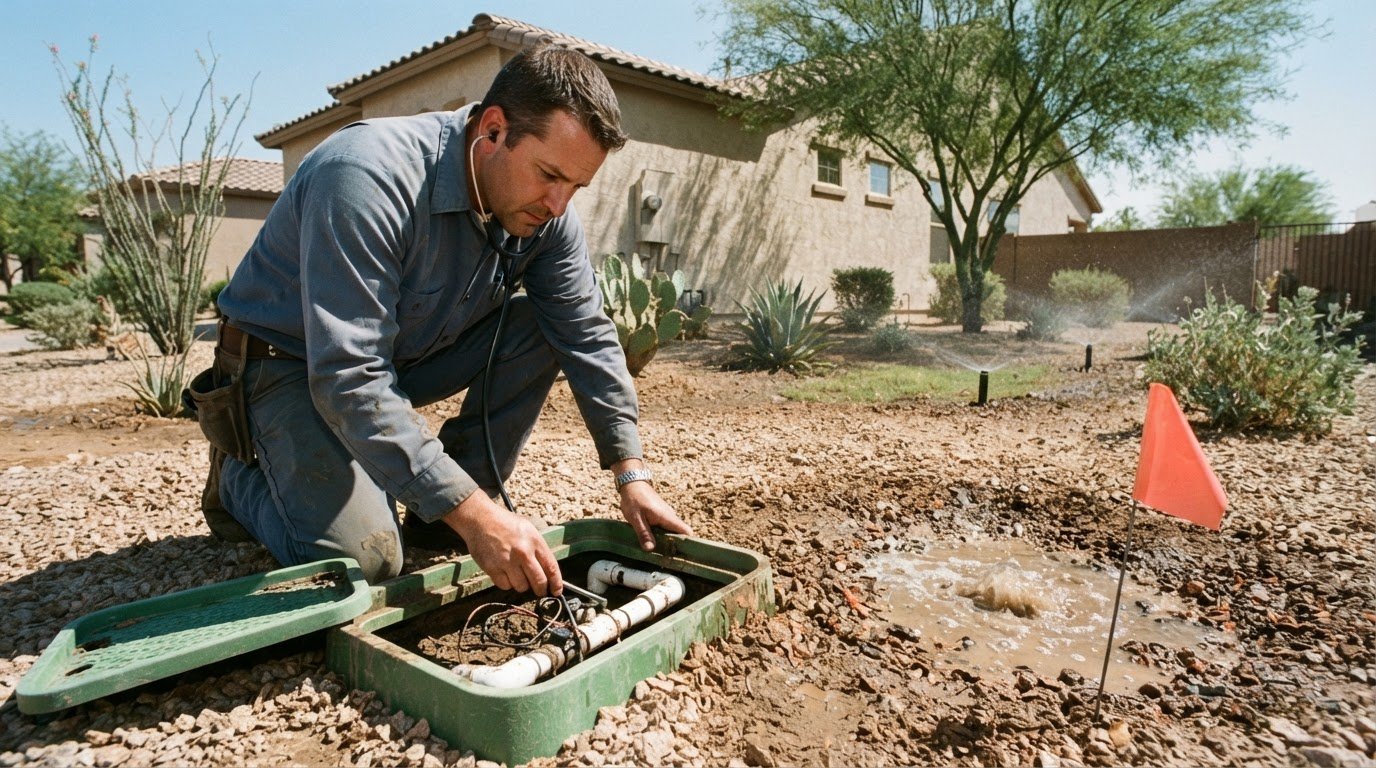
More sprinkler heads don’t automatically make a narrow side yard easier to water. A well-designed irrigation system for a narrow side yard matches sprinkler coverage to the space, slope, and available water flow. For complete coverage, each sprinkler should reach another sprinkler or 50% of its adjusted diameter.
It’s easy to focus on limited width, but elevation changes, nearby surfaces, and room for future adjustments matter just as much. A good layout accounts for these conditions instead of simply adding sprinkler heads.
This article explains how elevation and limited room for expansion shape the design, which sprinkler types can suit a long, narrow space, and how water pressure and flow affect zone planning. You’ll also learn what a professional considers before installation, so you can see how each choice supports even coverage and a healthy yard.
Key Takeaways
- Learn how sprinkler type and placement can support even coverage without overcrowding a long, narrow strip.
- See why available flow and working pressure influence sprinkler selection and how the system is divided into zones.
- Understand when drip irrigation may suit planted side yards better than a soaker hose.
- Find out how professionals shape a drip layout around the yard’s dimensions, elevation, and room for future changes.
- Learn which plant and soil conditions guide emitter spacing for consistent watering.
Number and type of included sprinklers
The sprinkler count follows the coverage pattern, not simply the length of the side yard. For complete coverage, each sprinkler should reach another sprinkler or 50% of its adjusted diameter. This overlap helps avoid dry strips between spray patterns. A narrow shape can therefore need more heads than its area first suggests, especially when heads are placed around the perimeter.
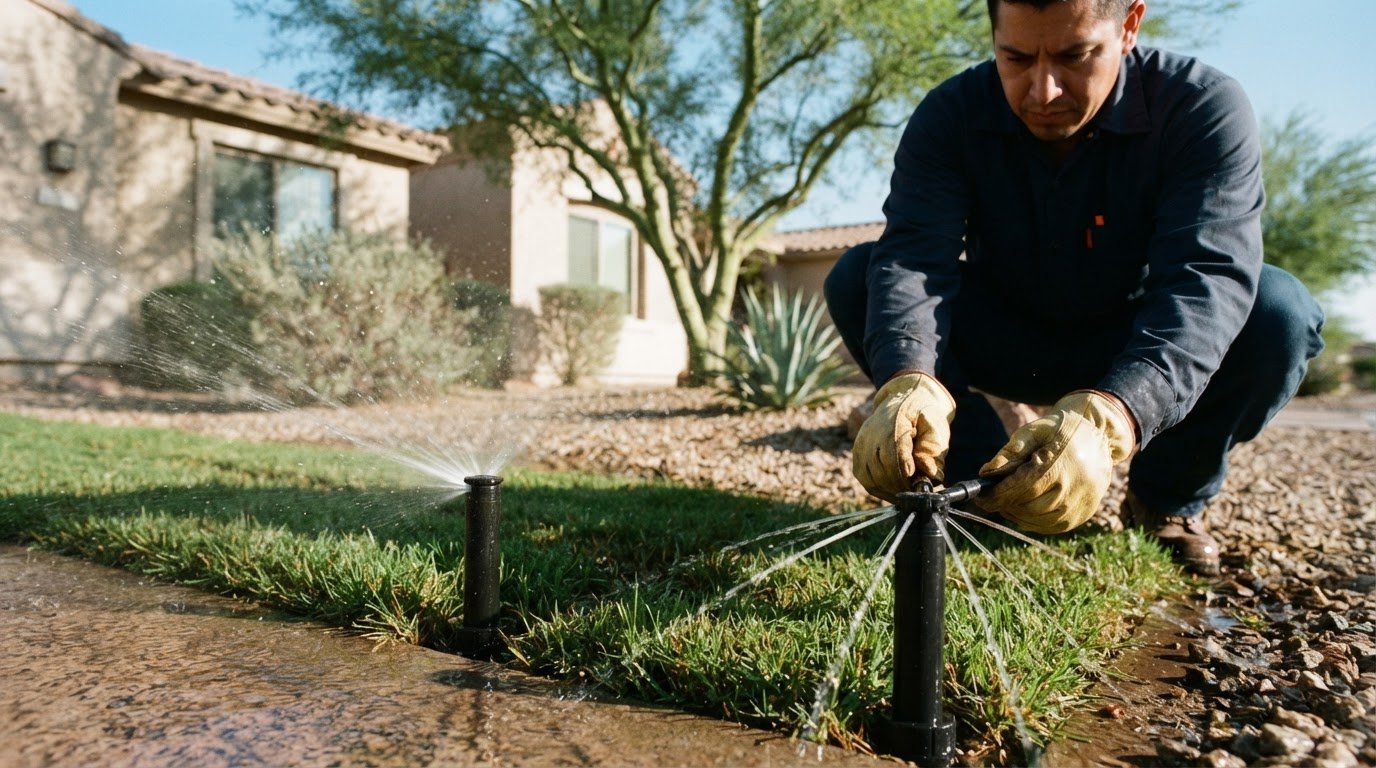
Fixed spray heads are one option for compact turf areas. The available guidance describes 4-inch or 6-inch heads, with the choice depending on turf type. Spray heads have a radius of 17 feet or less, making their reach a factor in spacing and placement. In a tight corridor, designers account for the boundaries and nearby surfaces so the spray pattern serves the intended area.
Rotary nozzles offer a different reach. MP Rotator nozzles are listed with a radius from 8 to 35 feet, so the suitable model depends on the yard’s dimensions and coverage needs. That range doesn’t mean every nozzle suits every narrow strip. A professional matches the nozzle’s throw to the usable width and adjusts spacing to maintain the required overlap.
Micro sprays are another possibility in a planted side yard. Hunter micro sprays are listed with a throw diameter ranging from 0 to 23 feet. That broad range makes exact placement important: the selected pattern must suit the planting area rather than overspray adjacent surfaces. Head type, throw, and layout work together, so counting heads before choosing the coverage pattern can lead to an unsuitable design.
Head count can rise quickly when the design uses small half-circle sprays around the perimeter. One homeowner estimate suggested as many as 20 heads for head-to-head coverage in that arrangement. Treat that as an example, not a standard count. A different yard outline, head type, or placement plan can change the required number.
- Measure the usable area: A long, narrow footprint needs coverage across its width and along its length.
- Choose a head type: Compare fixed spray heads, MP Rotator nozzles, and micro sprays according to their reach.
- Set spacing for overlap: Each sprinkler should reach another sprinkler or 50% of its adjusted diameter.
- Count after layout: Perimeter placement with small half-circle sprays could require as many as 20 heads.
A well-planned irrigation system for a narrow side yard balances the number of heads with the coverage they provide. The right setup depends on the space’s shape, planting plan, and each sprinkler’s reach.
Another option to consider in head selection is the PGJ residential rotor sprinkler. The guide lists PGJ residential rotor sprinklers with a flow range of 0.64-5.3 gallons per minute. That range offers a further specification to compare when choosing equipment for the layout, alongside the reach and placement needs already considered. Flow range alone does not determine how many sprinklers a side yard requires; the coverage pattern remains central to the count.
Even in a narrow space, sprinkler heads need to match the coverage plan. Compare the head’s listed flow range with the yard layout so equipment choices support the design, rather than relying on head count alone.
Water pressure and flow requirements
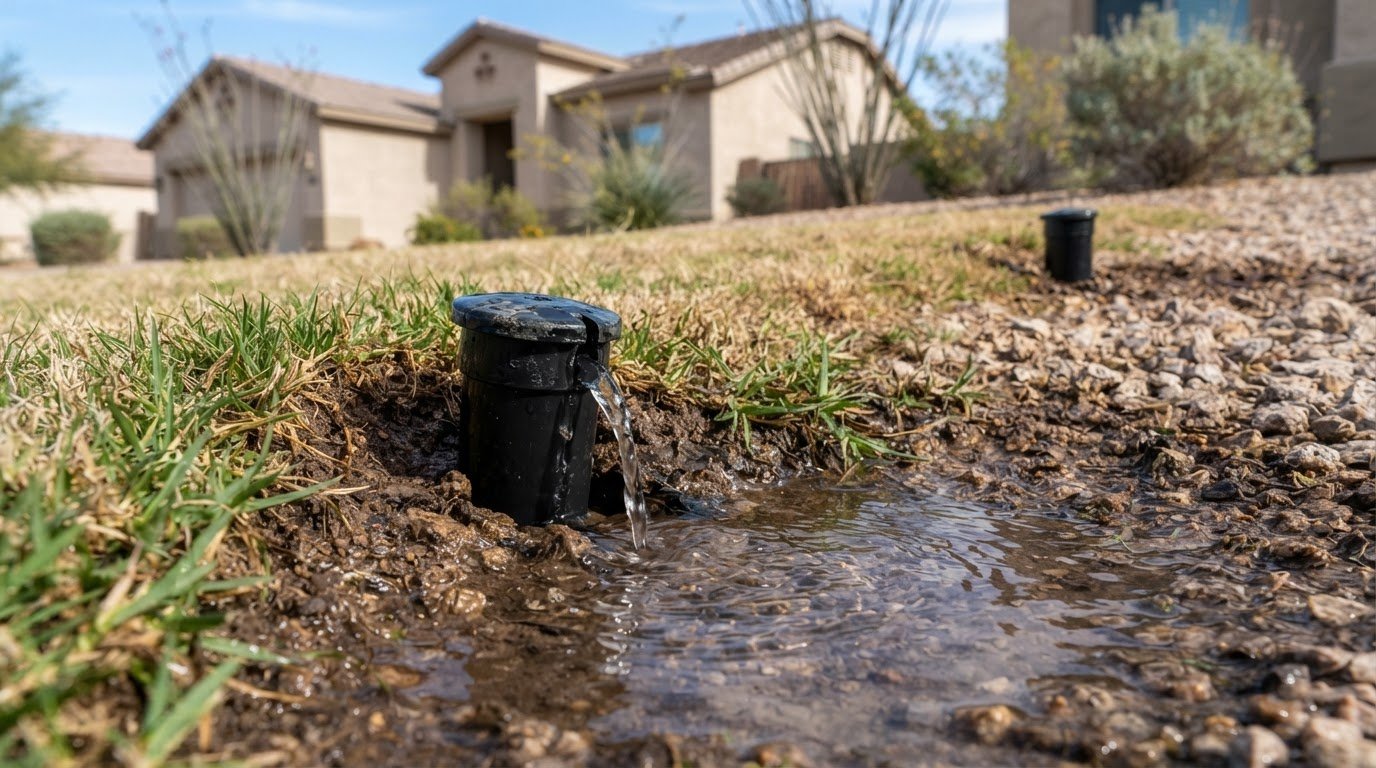
Pressure and flow describe different parts of irrigation performance. Pressure moves water through the system; flow is the volume available over time. The design needs enough of both for the selected heads to work as intended. Even a narrow layout can underperform if a zone demands more water than the supply provides.
Nozzle choice affects the flow required by each zone. Rotary sprinkler nozzle flow rates are listed as 1 gallon per minute for 90-degree coverage, 2 gallons per minute for 180-degree coverage, and 4 gallons per minute for 360-degree coverage. These figures help explain why spray direction matters: a full-circle nozzle uses more flow than a quarter-circle nozzle in this example.
For another example, feeding all 12 suggested R-VAN rotators on one zone requires about 5 gallons per minute. That demand needs to be considered alongside the available supply and pipe capacity. A zone that exceeds its available flow may not deliver uniform operation across its heads.
Pipe size also places a limit on flow. The listed maximum flow rates are 8 gallons per minute for 3/4-inch PVC thick-wall and polyethylene sprinkler lines, and 13 gallons per minute for 1-inch lines of those types. These are maximums, not a design target for every installation. Pipe material, diameter, and zone demand all inform how the system is arranged.
A design example pairs capacity of 13 gallons per minute with a working pressure of 50 PSI. That combination illustrates why capacity and pressure are assessed together, rather than treating one figure as a substitute for the other. PGV automatic control valves have a recommended pressure range of 20 to 150 PSI. A valve’s operating range is one component of the design; the system still needs suitable pressure at its sprinklers.
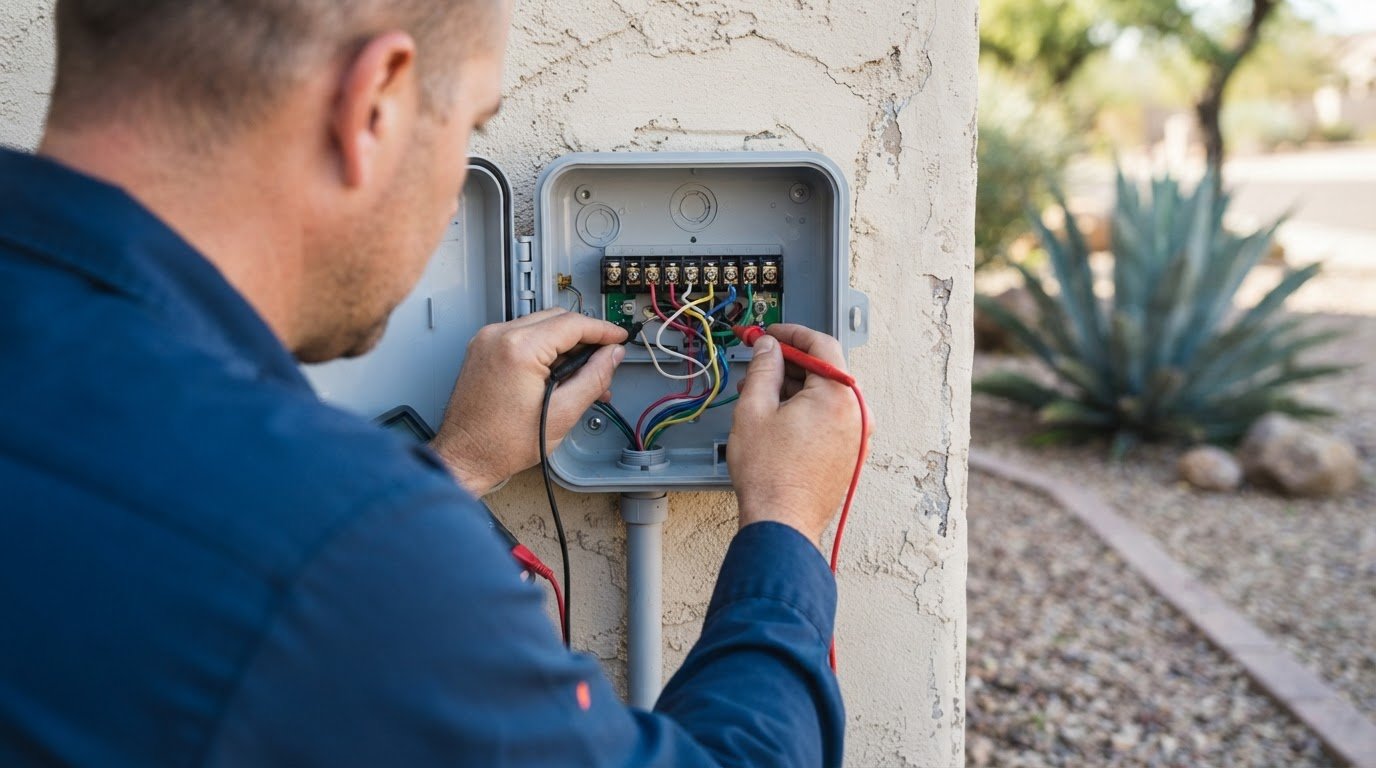
Planning also accounts for local requirements when connecting an irrigation system for narrow side yard layouts to a home’s water supply and installing backflow prevention. Connection and backflow arrangements must follow the applicable rules, which can vary by location.
- Assess demand: Add the flow needs of the heads assigned to each zone.
- Match pipe capacity: Compare zone demand with the selected pipe’s listed maximum flow.
- Consider working pressure: Confirm that the system’s operating conditions suit its components.
- Plan the connection: Account for local requirements and backflow prevention.
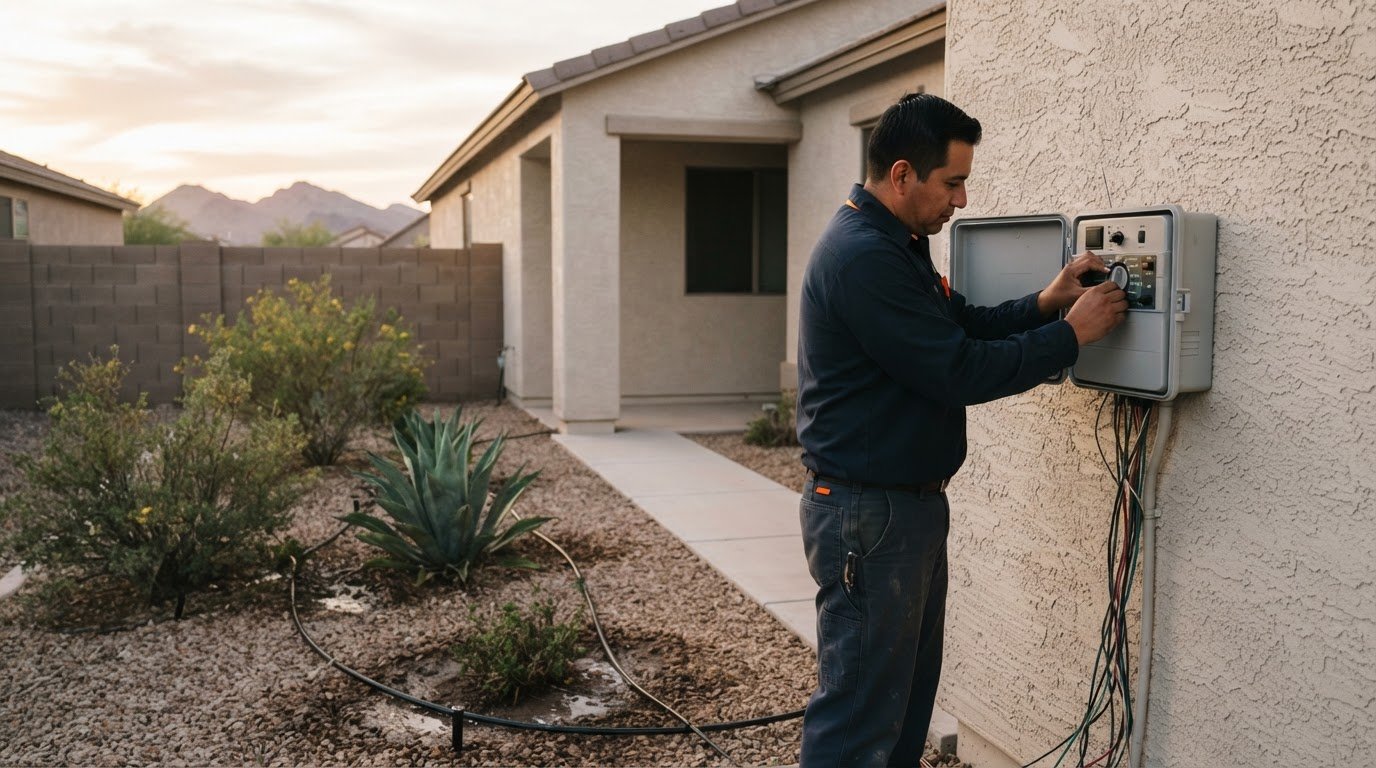
When a yard’s supply, pipe capacity, or pressure complicates the design, professional irrigation planning and installation support from Sonora Sprinkler Inc. can bring these factors together before the system is installed.
Proper planning can also account for how long each sprinkler type needs to run. For a weekly application of 1 inch of water, the guide lists a 40-minute run time for spray sprinklers, spread over 7 days. For the same weekly application, the guide lists a 150-minute run time for MP Rotator sprinklers, spread over 7 days. These schedules give a further planning consideration alongside pressure and flow, since sprinkler type affects the time needed to deliver the intended water.
Drip irrigation vs soaker hose for a narrow side yard
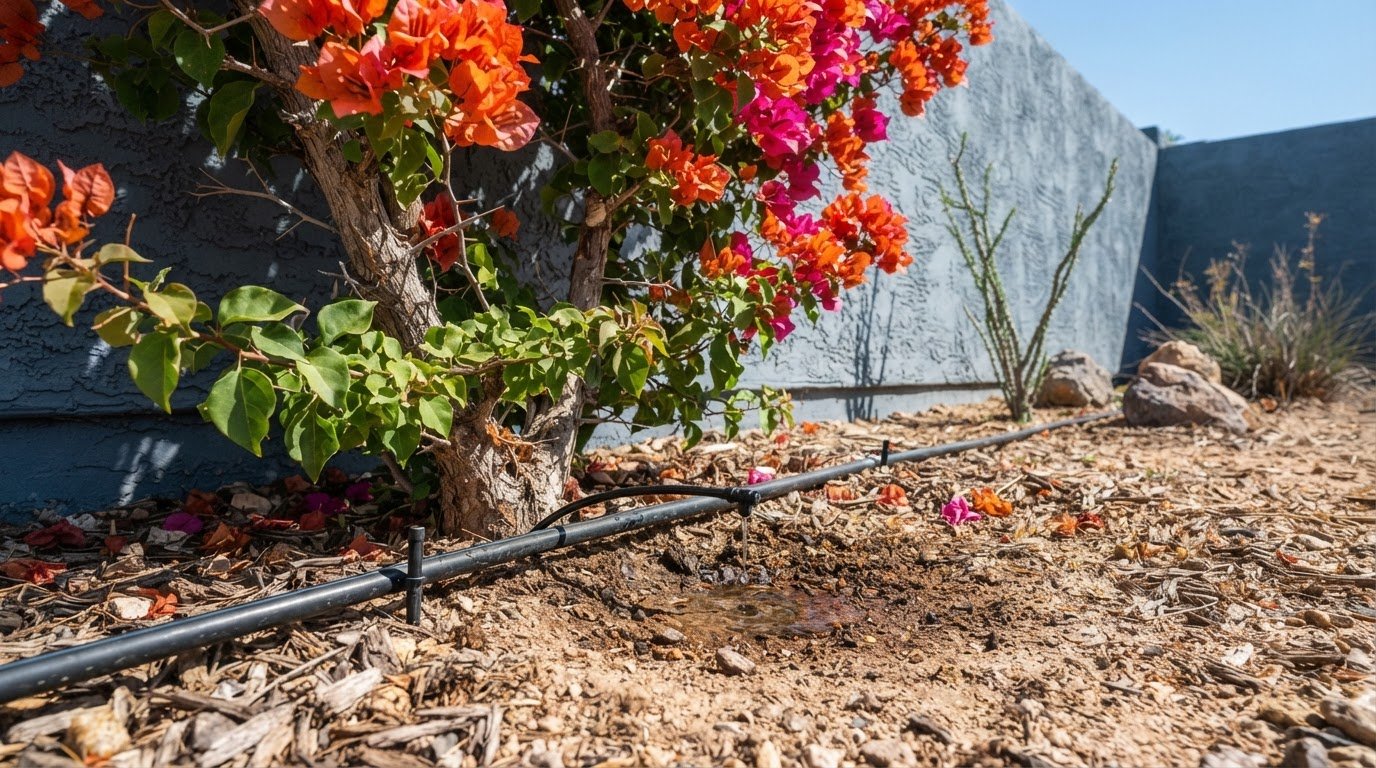
A planted side yard can use drip irrigation or a soaker hose, but the two deliver water differently. Drip tubing releases water at specific emitters; a soaker hose seeps water through its porous wall along the hose. This affects how well each method suits a row of shrubs, scattered plants, or a continuous bed. The better option depends on the planting arrangement and how precisely you need to direct water.
Drip irrigation gives you more control over individual watering points. You can place emitters near selected plants, which works well for shrubs spaced apart in a side yard. A professional can plan the line around plant locations and adjust emitter placement to suit the layout. This is also useful when different sections have distinct planting groups.
A soaker hose creates a simpler, continuous watering path. A narrow bed with plants in a close row, for example, may suit water released along one hose run. The hose should follow the planting area rather than winding through unrelated spaces. If plants are unevenly spaced, water released between them may be less targeted than water from individually placed drip emitters.
Both methods depend on the layout and the ground beneath them. On slopes, water can run downhill; compacted or uneven soil can also affect how moisture spreads from the line. A professional considers elevation and planting patterns before routing the system. The design should keep water near roots, avoid wetting unnecessary areas, and account for plants with different coverage needs.
- Choose drip irrigation for separated shrubs or plant groups needing targeted delivery.
- Consider a soaker hose for a continuous bed with plants arranged along its route.
- Plan around elevation so a slope does not redirect water away from intended plants.
- Match the route to the bed rather than running water through unplanted sections.
Maintenance also differs. You can move or reposition a soaker hose as one continuous line, while drip tubing and emitters need to stay aligned with the planting plan. If the bed may change, plan for accessible lines and practical adjustments around individual plants. Lines hidden beneath dense growth can be harder to inspect than lines with clear access.
For mixed planting, drip irrigation layouts can be planned around the location of each plant, while a soaker hose better follows a continuous row. Comparing the bed shape, slope, and plant spacing helps determine which delivery method suits the side yard. The installation should serve the actual planting pattern, not simply follow the easiest route for tubing.
How a professional designs a drip irrigation layout for a narrow side yard
A professional starts by mapping the side yard’s dimensions, planting beds, elevation changes, and access points. For example, a yard measuring 14 feet by 67 feet needs a layout that serves its length without sending water beyond planted areas. The plan also records where shrubs, trees, and other plants sit. Those details guide the tubing route and emitter locations.
Next, the designer groups plants according to their arrangement and watering needs. A continuous hedge differs from shrubs spaced along a wall, even in the same narrow strip. A connected row may suit a continuous line, while separated plants need emitters near their individual root zones. Grouping plants with similar needs helps direct water where it’s useful.
Elevation shapes the route. In a sloping side yard, water can run downhill, so the design accounts for high and low points instead of treating the ground as level. The designer also considers walls, paths, gates, and other obstacles. A route across a gate area, for example, needs to preserve clear access while delivering water to plants beyond it.
Line placement should also suit the yard’s future use. Running a line through a likely planting bed can complicate later changes, while accessible tubing is easier to inspect. The designer considers access to valves and connections and avoids unnecessary crossings. This planning preserves access for routine maintenance and future adjustments.
The layout is then developed around the planting pattern and water supply. A professional considers how the lines will be divided, where water enters each run, and whether the arrangement serves the full bed. The 14-by-67-foot example should not automatically receive one continuous line; plant locations, grade, and supply conditions determine the practical layout.
- Map the footprint: Record the 14-foot width, 67-foot length, planting areas, and access routes.
- Group plants: Separate continuous rows from individual shrubs or scattered plantings.
- Account for grade: Plan tubing around high and low points across the yard.
- Preserve access: Keep connections and tubing routes serviceable as beds change.
Before installation, the professional checks the proposed route against actual yard conditions. If the planting plan changes, emitter locations may need to move, or some areas may get less coverage. The final layout should reflect the site, not just a diagram. For a long, narrow bed, check each planting area along the route and account for obstacles, elevation, and access.
These decisions turn a narrow space into a defined irrigation layout, rather than a line placed wherever tubing fits. The dimensions, plant arrangement, slope, and access points all shape the design. Careful planning gives the installer a clear route and makes it easier to maintain coverage as the side yard changes.
How professionals determine drip emitter spacing for common side-yard plants
Emitter spacing depends on plant locations and the spread of their root zones. A row of shrubs needs a different arrangement from individual plants beside a walkway. Professionals map each plant group and position emitters to distribute moisture across the intended root area. They don’t treat the entire side yard as a uniform bed when planting patterns vary.
Plant size and maturity also shape the plan. A young shrub and an established one have different root areas. The layout should serve the plants as they are now while allowing practical adjustments as they grow. For example, a compact hedge may need a different emitter pattern from separated ornamental shrubs.
Soil affects how water spreads from each emitter. Where moisture spreads broadly, one placement pattern may cover more ground. Where water remains concentrated, delivery points may need more careful distribution. The design considers soil conditions as well as plant spacing instead of assuming every emitter wets the same area.
Elevation matters, too. On a slope, water can run downhill, so emitter positions should account for high and low planting areas. A professional reviews the grade and plant locations together. This helps avoid placing emitters only where installation is easiest while leaving roots elsewhere with less water.
One suggested example places six heads 14 feet apart. That spacing is a layout example, not a universal emitter-spacing rule for every plant. The appropriate distance depends on the type and placement of plants, soil, and yard conditions. Professionals use the example as a starting point for considering distribution, then adapt the arrangement to the actual bed.
- Map plant positions: Separate continuous rows from spaced shrubs and individual plants.
- Consider growth: Account for the difference between young and established plants.
- Assess soil: Plan placement around how moisture spreads from each delivery point.
- Review elevation: Include sloped sections when locating emitters along the bed.
Spacing also needs to suit the line route. Emitters too far from a plant may leave its root area short of water; clustered emitters can concentrate water in one small area. Professionals balance placement across the bed and consider inspection access. A hedge, scattered shrubs, and a sloping section can each affect the final spacing.
For plant-specific drip planning, request help planning emitter placement around your side-yard planting and site conditions.
Sonora Sprinkler Inc.: Custom Sprinkler System Design
Sonora Sprinkler Inc. designs custom sprinkler systems around your side yard’s layout, elevation, planting, and water supply. This is a practical next step when sprinkler coverage, drip emitter placement, or changing yard conditions make a standard layout unsuitable. A design tailored to your property can guide installation and suit Arizona’s desert environment.
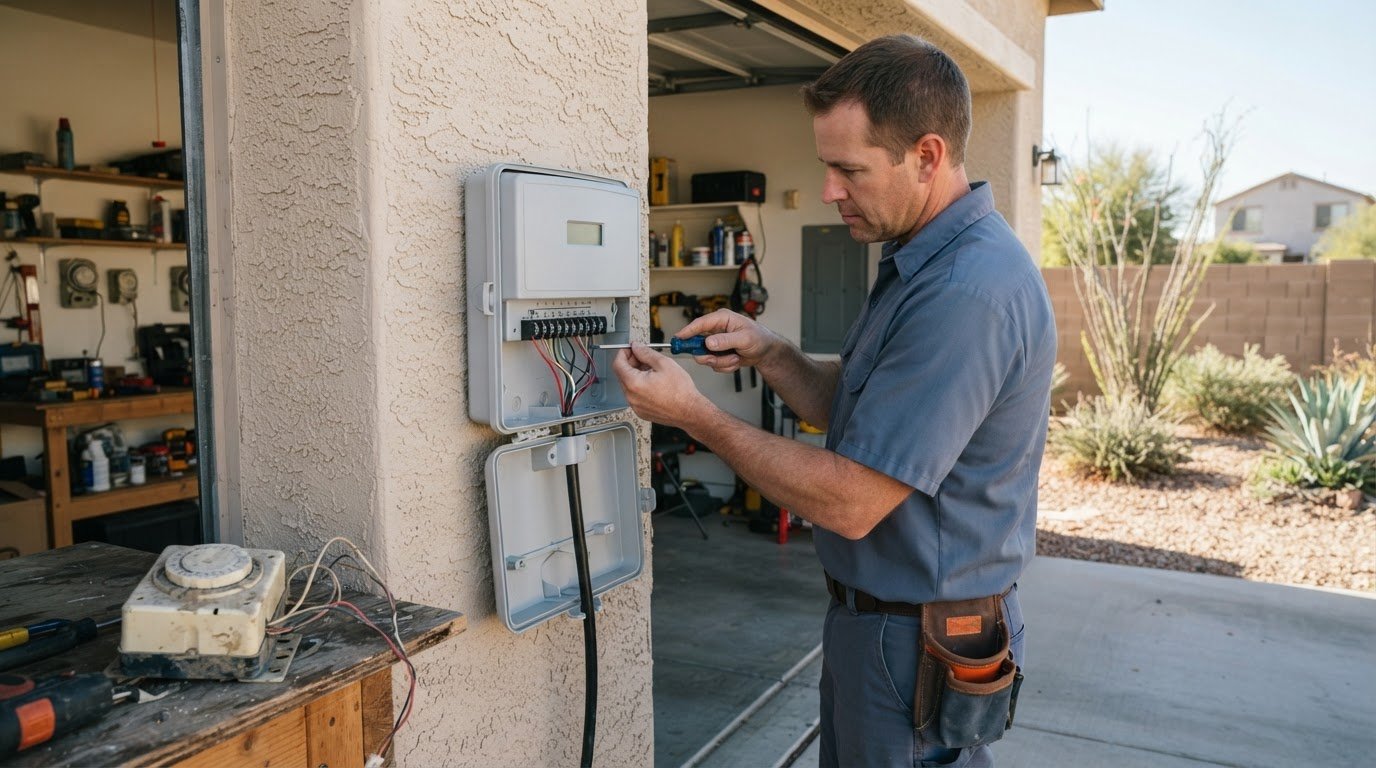
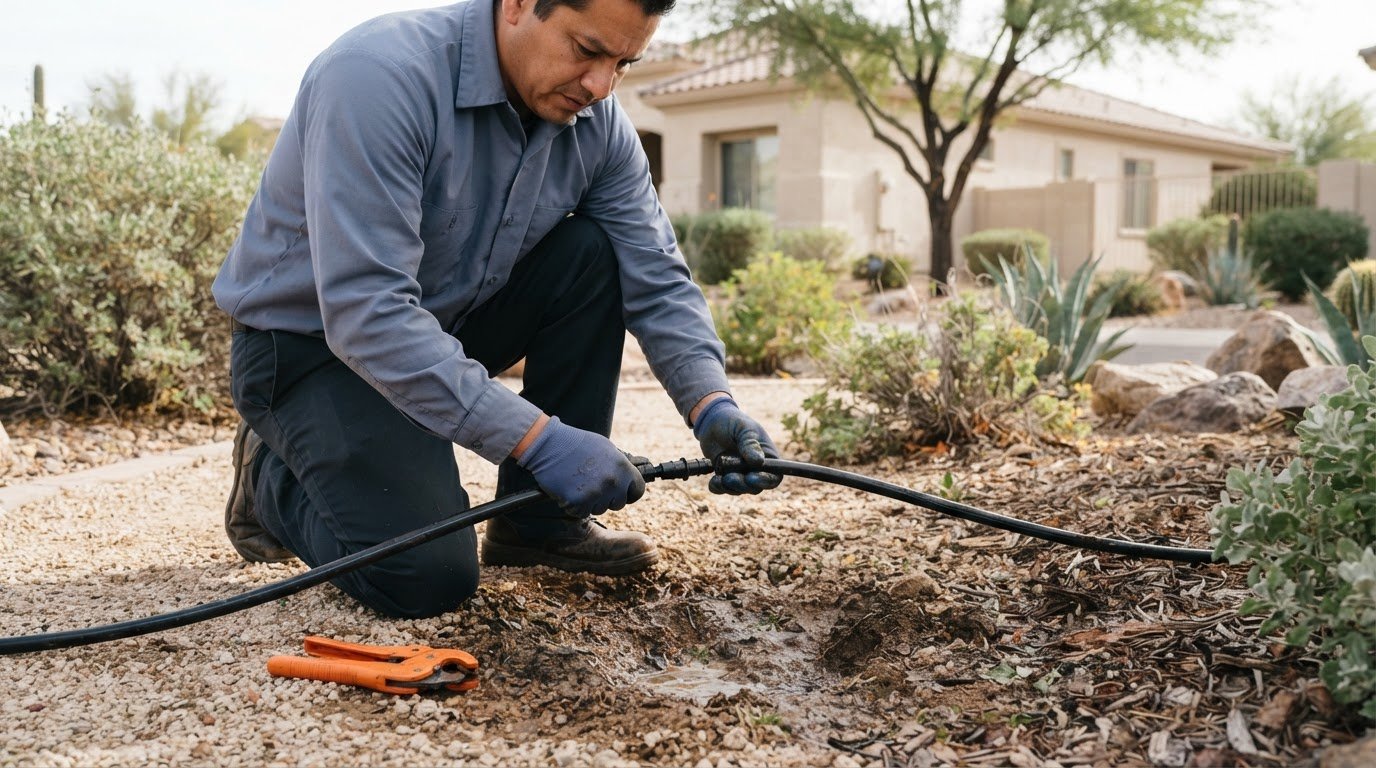
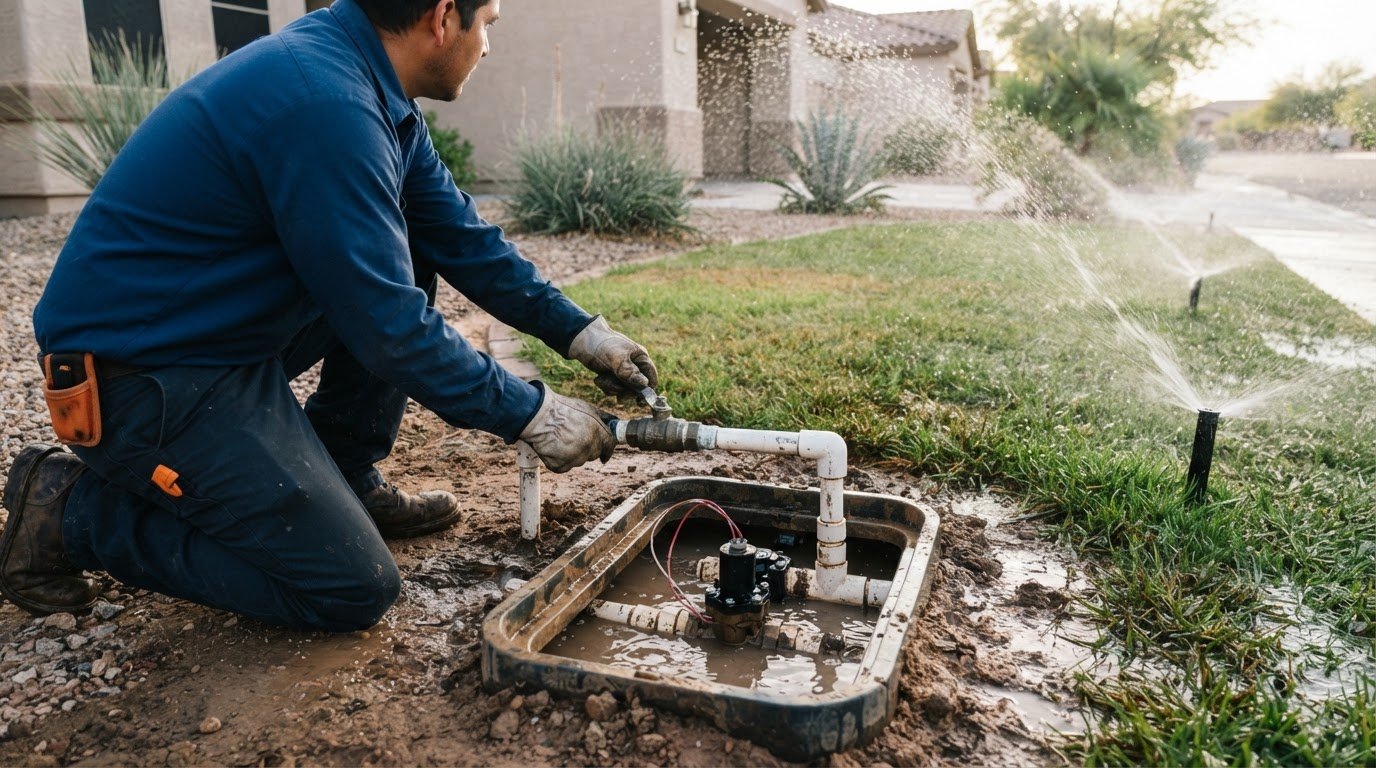
For planted narrow spaces, Sonora Sprinkler Inc. also installs drip irrigation. If an existing system has uneven coverage or needs adjustment, irrigation repair can address the issue. The right service depends on whether your yard needs a new layout, drip irrigation, or repairs to existing equipment.
Contact Sonora Sprinkler Inc. to discuss a custom irrigation design for your side yard.
Plan for a Side Yard That Can Keep Growing
A successful design should suit your side yard now and remain practical as your property changes. New planting, revised paths, or different uses for the space can affect where irrigation lines belong. Keeping future plans in view makes the installation a considered part of the property, rather than a layout suited only to today’s conditions.
Before moving ahead, consider what you want the space to support and which existing conditions matter most. Sharing those priorities gives a professional useful context for planning an irrigation system for a narrow side yard. The discussion can then focus on a layout that fits your property and how you intend to use it.
Sonora Sprinkler Inc. can help turn those priorities into a practical next step for your irrigation project. Contact Sonora Sprinkler Inc. to discuss your yard and the approach that fits your property.
Frequently Asked Questions
What type of irrigation system works best for a narrow side yard?
Drip irrigation usually suits planted beds, while sprinklers are better for narrow areas covered with turf. The best irrigation system for a narrow side yard depends on what needs watering and how the space is used. For a mixed yard, separate watering zones can serve turf and planted areas according to their different needs. In Surprise and Peoria, a design should also account for the property’s actual pressure, grade, and planting layout.
DIY steps to install drip irrigation along a side yard
Map the yard’s dimensions, planting beds, elevation changes, access points, and plant locations. Group plants by watering needs, then route drip tubing to the intended plants and place emitters near their roots. Keep lines accessible for inspection and future adjustments.
Best narrow side-yard irrigation products and kits
For compact turf, consider 4-inch or 6-inch fixed spray heads, chosen for the turf type; MP Rotator nozzles suit layouts needing an 8-to-35-foot radius. For planted areas, Hunter micro sprays have a throw diameter of 0 to 23 feet. The Rain Bird 32ETI rotor is also listed, with a 1/2-inch inlet and 4-inch pop-up height.