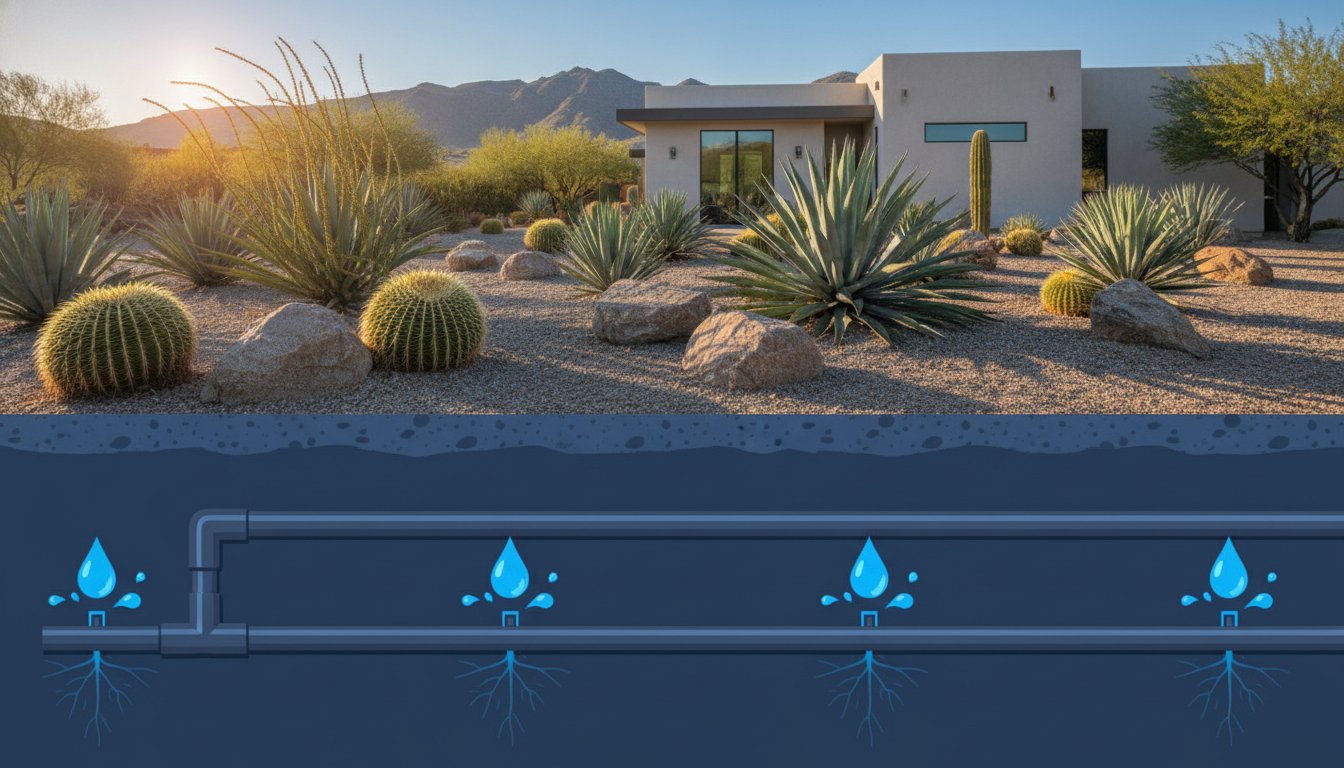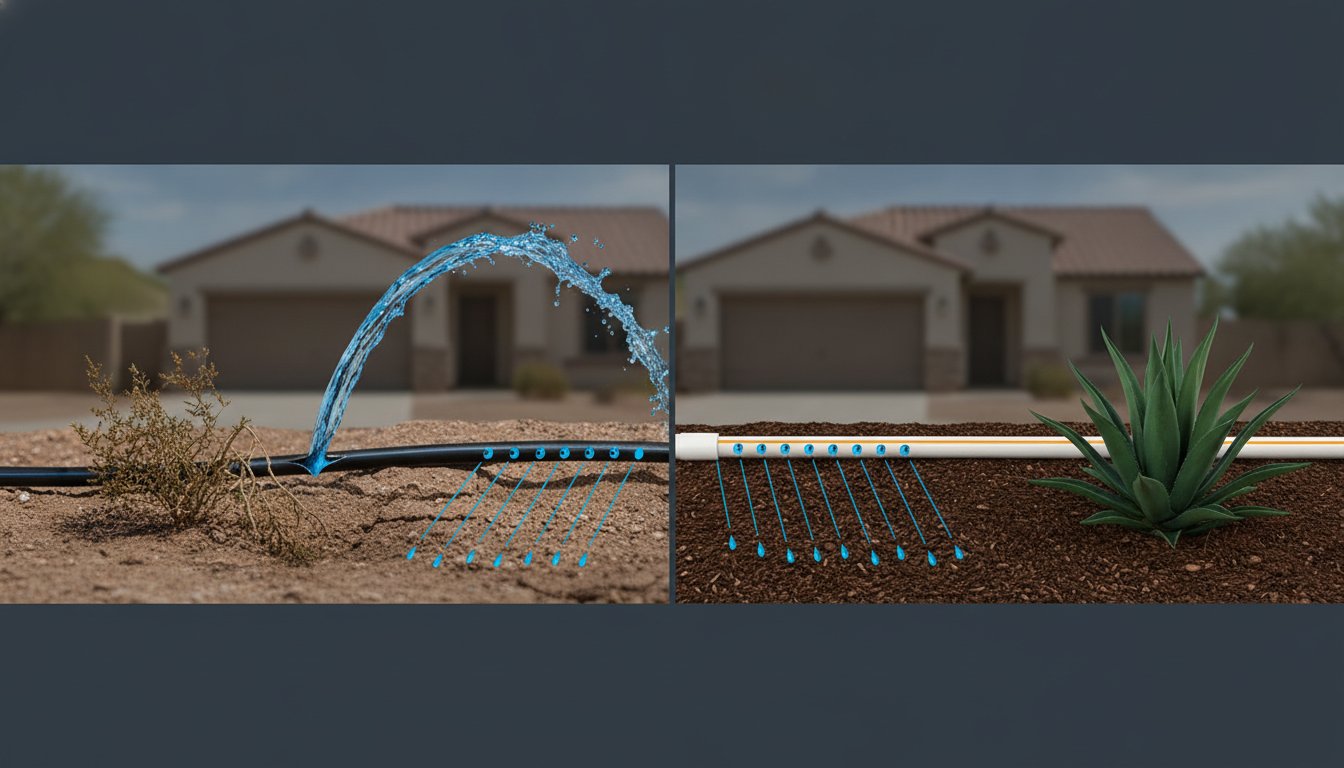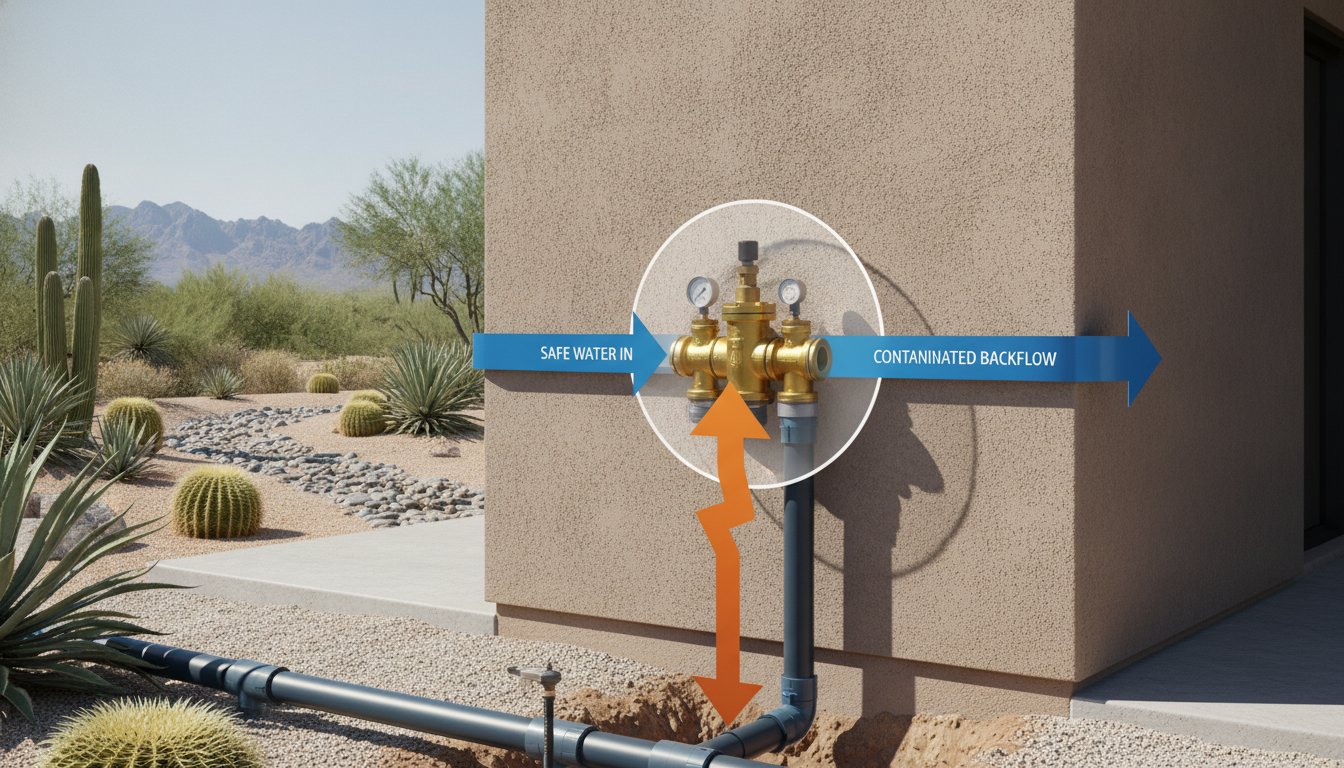
You step outside on a mid-summer morning in Surprise to find a single zone of your landscape turning a brittle, dusty brown while the rest of your yard thrives. It's a common frustration for Arizona homeowners who rely on precision watering to combat the desert heat. When a specific area fails to activate, the culprit is often a faulty component requiring an irrigation solenoid replacement. With Phoenix currently under a Stage 1 Water Alert, addressing these failures quickly is essential to prevent water waste and comply with local city codes that prohibit runoff.
We understand the confusion that arises when you're trying to distinguish between a complex wiring fault and a simple mechanical failure. This guide provides a clear path to restoring your system's performance so you can stop the cycle of dead plants and high water bills. You'll learn how to accurately diagnose the electrical health of your valves and the methodical process for a professional-grade repair. We'll cover everything from testing ohms to the final installation, ensuring your system returns to peak efficiency without the guesswork of unguided DIY repairs.
Key Takeaways
- Understand how the solenoid serves as the critical link between your controller's electrical signals and the mechanical operation of your irrigation valves.
- Learn to use a multimeter to verify electrical failure, ensuring an irrigation solenoid replacement is the correct solution before you begin repairs.
- Identify the physical signs of valve body damage, such as cracks or stripped threads, to determine if a full overhaul is necessary for long-term reliability.
- Follow a structured approach to replacing faulty components, including essential steps for water shut-off and debris prevention during installation.
- Recognize when recurring zone failures require professional wiring diagnostics to address systemic issues beyond a simple hardware swap.
Understanding the Irrigation Solenoid’s Role in Your Arizona System
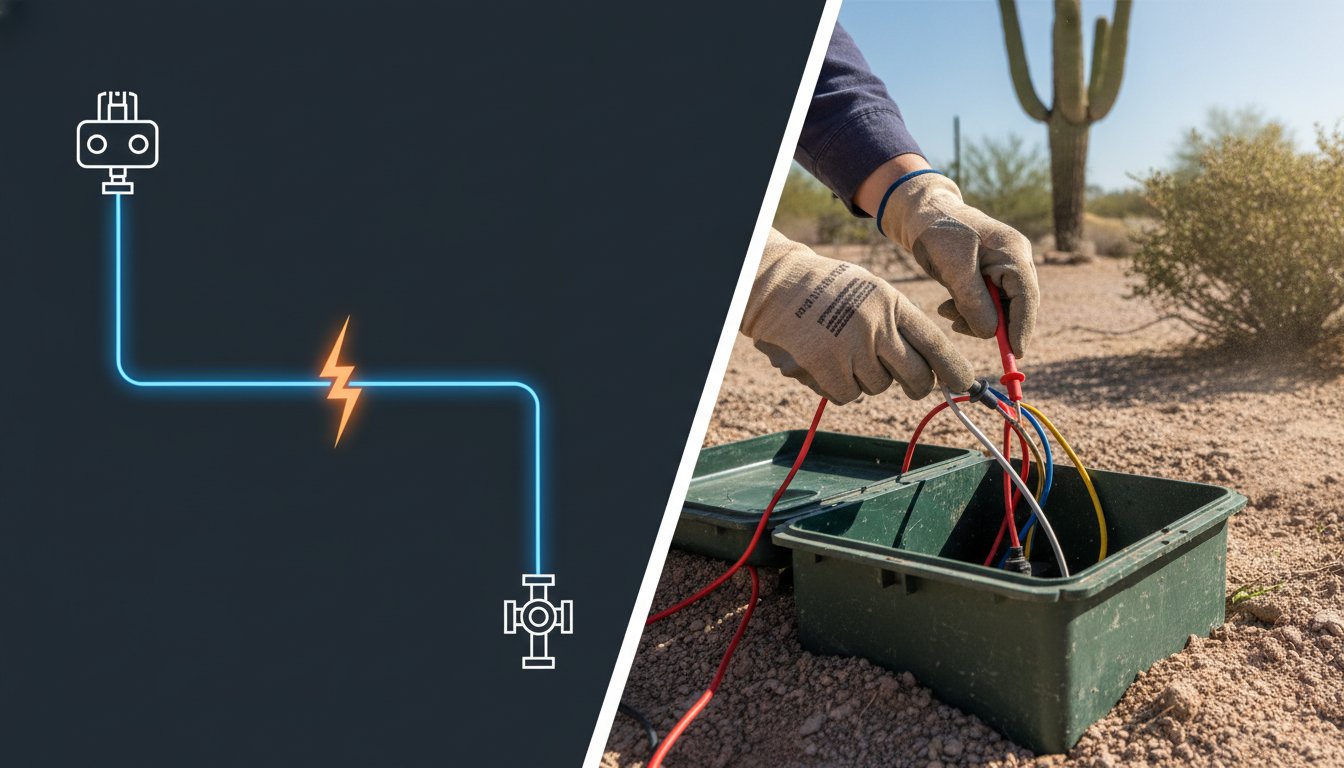
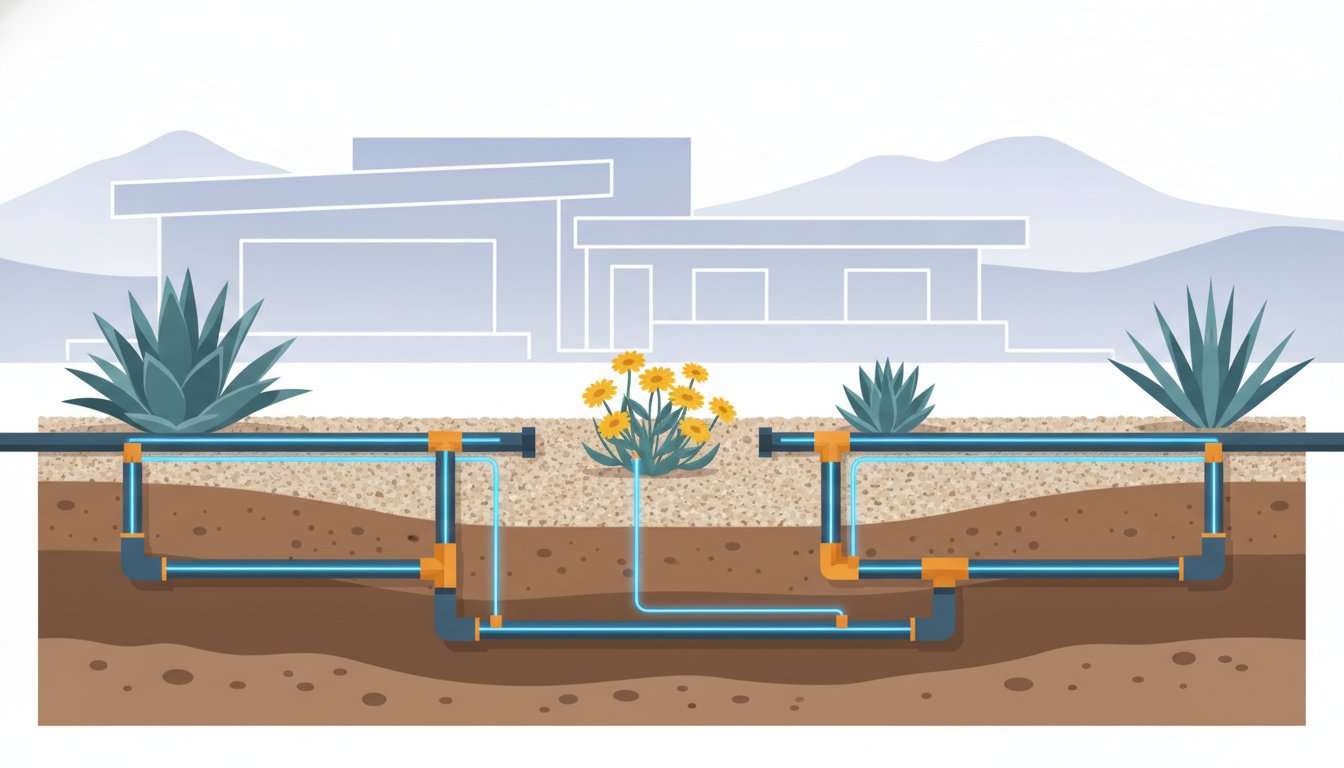
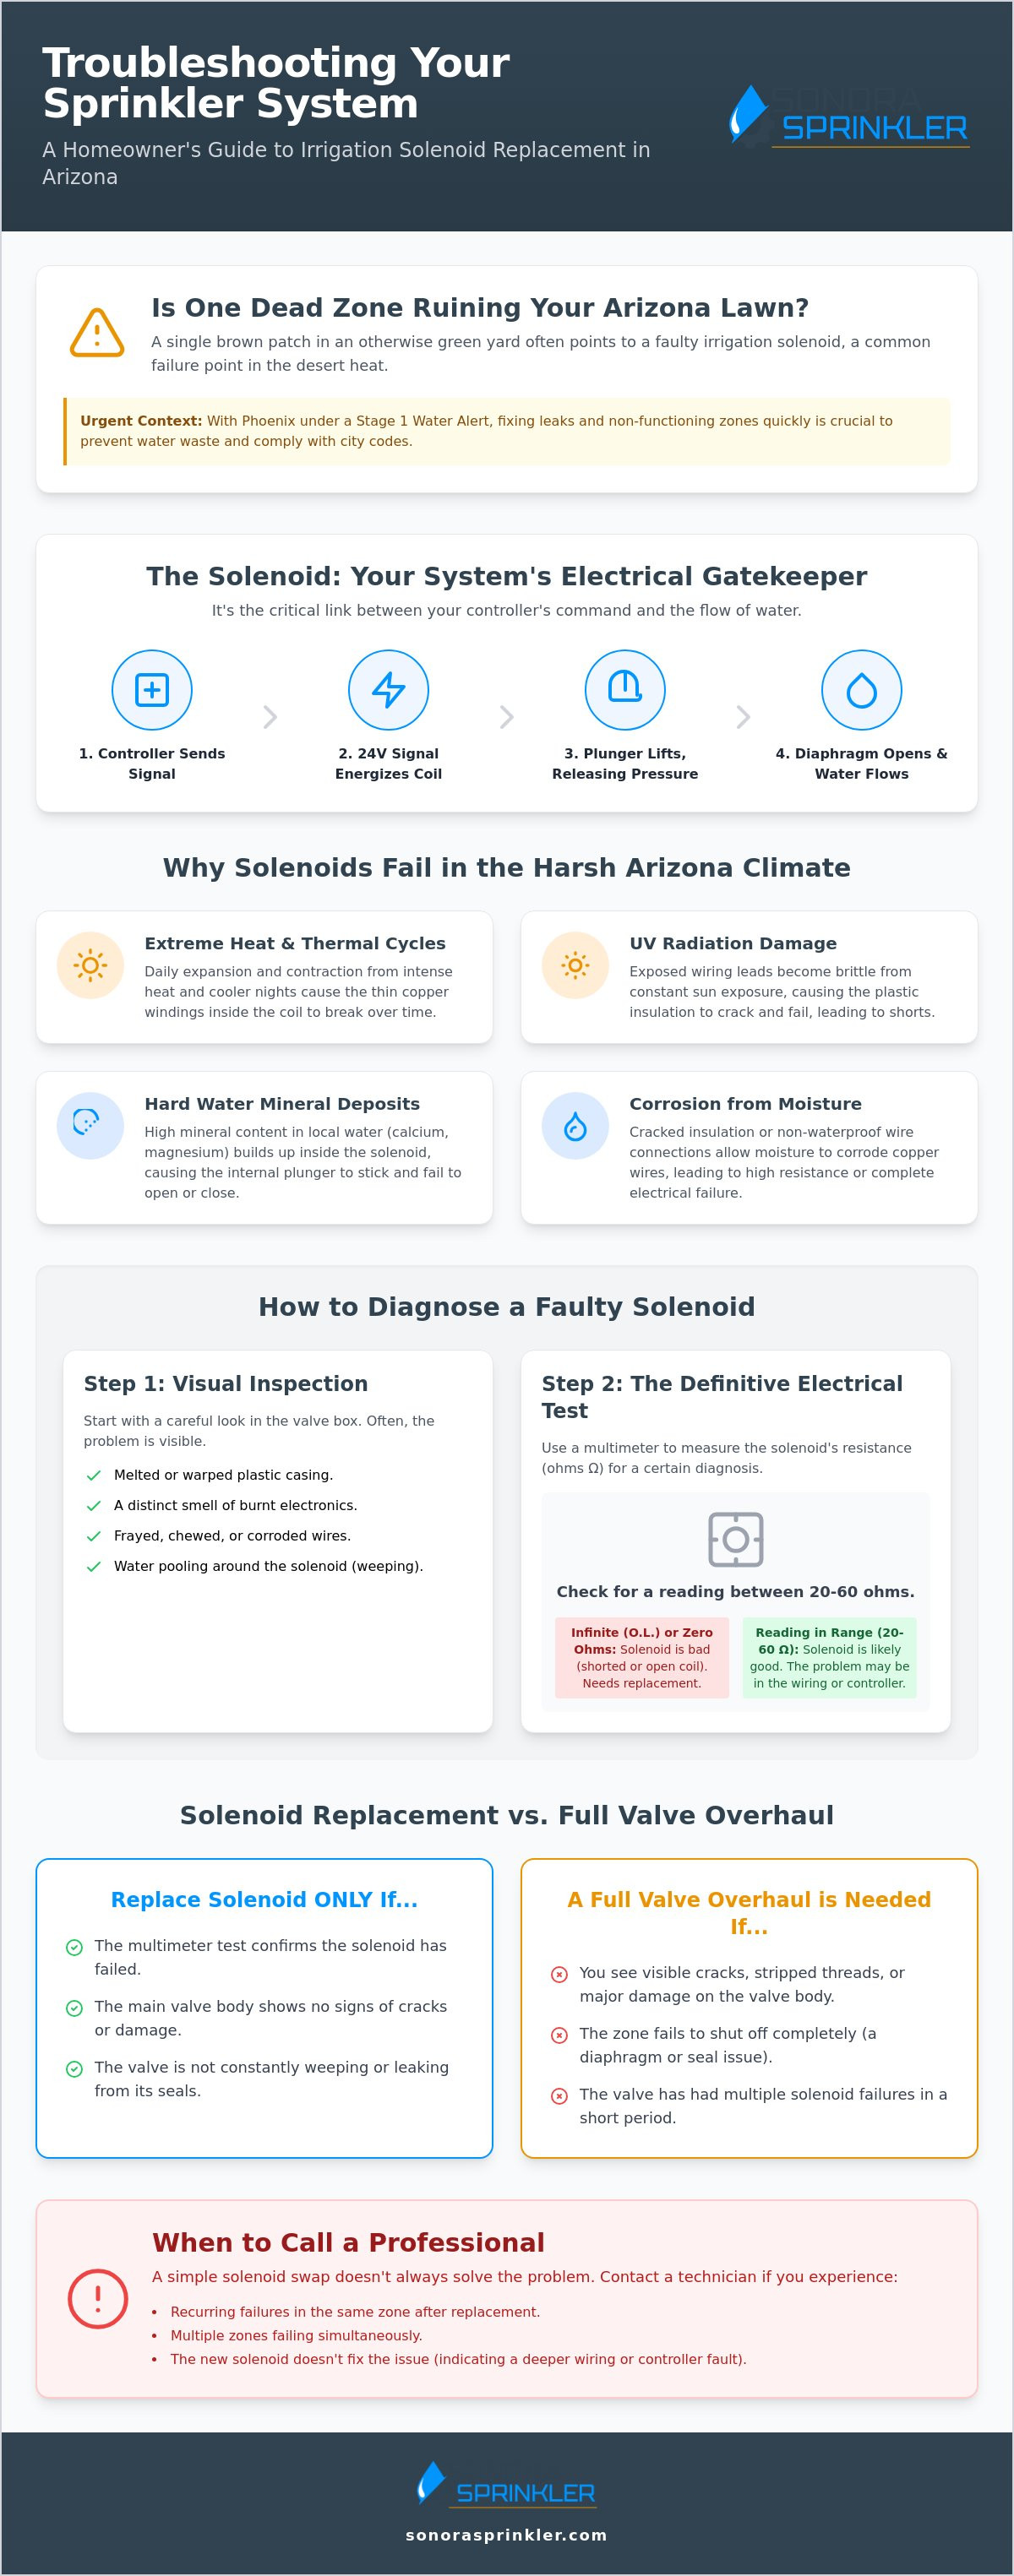
In the context of a residential sprinkler system, the solenoid acts as the vital communication link between your digital controller and the physical flow of water. Technically, an irrigation Solenoid valve is an electromechanical device designed to control the flow of liquid by using an electric current to create a magnetic field. When your timer sends a 24-volt signal to a specific zone, the solenoid generates this field to lift an internal plunger. This movement changes the pressure balance inside the valve, allowing the diaphragm to open and water to reach your plants. Understanding this process is the first step in determining if an irrigation solenoid replacement is truly necessary or if the fault lies elsewhere in the system. Many homeowners assume a dead zone always requires a new valve, but often the issue is isolated to this single electrical component.
To better understand this concept, watch this helpful video:
Arizona homeowners face unique environmental stressors that complicate this mechanical process. In Surprise and Peoria, ground temperatures can reach levels that accelerate the degradation of the thin plastic insulation surrounding solenoid wires. When this insulation cracks, moisture enters the copper core, leading to short circuits or high resistance. Additionally, the high mineral content in our local water often leads to calcium and magnesium deposits within the plunger cavity. This buildup creates friction, causing the plunger to stick and preventing the valve from opening or closing reliably. These mineral issues are particularly prevalent in systems that have been in operation for several years without regular maintenance.
Anatomy of a Sprinkler Valve Solenoid
A standard solenoid consists of three primary components that work in harmony. First, the wire leads, typically color-coded to identify the common and hot wires, carry the electrical load from the controller. These wires must be securely connected with waterproof wire nuts to prevent corrosion. Second, the electromagnetic coil sits housed in a waterproof resin, though this housing can still fail under extreme desert conditions. Finally, the plunger and spring assembly provide the physical force needed to manage water pressure. If any of these parts fail, the entire unit usually requires replacement to maintain valve and backflow integrity. A technician can often tell a solenoid is failing simply by the "hum" or "click" it makes, or lack thereof, when energized.
Why Solenoids Fail Frequently in the Desert
The harsh climate of the West Valley is particularly unforgiving to irrigation components. Frequent thermal expansion and contraction cycles cause the internal copper windings to expand during the heat of the day and contract at night, eventually leading to internal breaks. UV exposure is another critical factor; wiring leads that aren't properly buried or protected by a valve box lid will become brittle and snap. Additionally, the intense heat can cause the plastic casing of the solenoid to warp slightly, allowing grit to enter the internal chamber. These regional challenges mean that an irrigation solenoid replacement is often a matter of "when" rather than "if" for long-term residents. Keeping your valve boxes clear of debris and ensuring lids are tightly sealed can extend the life of these components significantly.
How to Diagnose a Faulty Solenoid with Precision
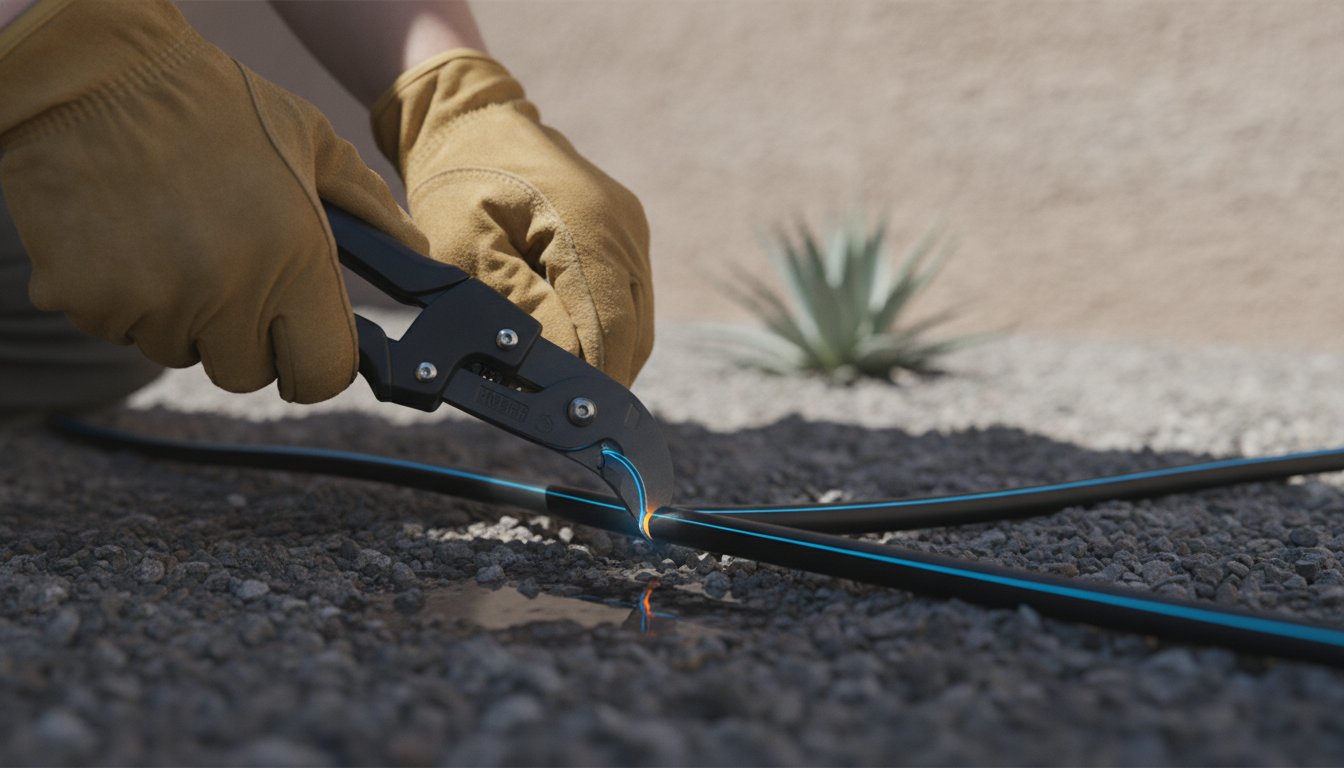
Before committing to an irrigation solenoid replacement, you must confirm that the electrical coil is indeed the failure point. Precision diagnostics save time and prevent the unnecessary replacement of functional parts. Start by ensuring the irrigation controller is off or the specific zone isn't active to avoid electrical surges or unexpected water flow while you're working. Safety is the foundation of any successful repair; even though 24 volts is considered low voltage, a short circuit can still damage your controller's sensitive circuitry if handled improperly.
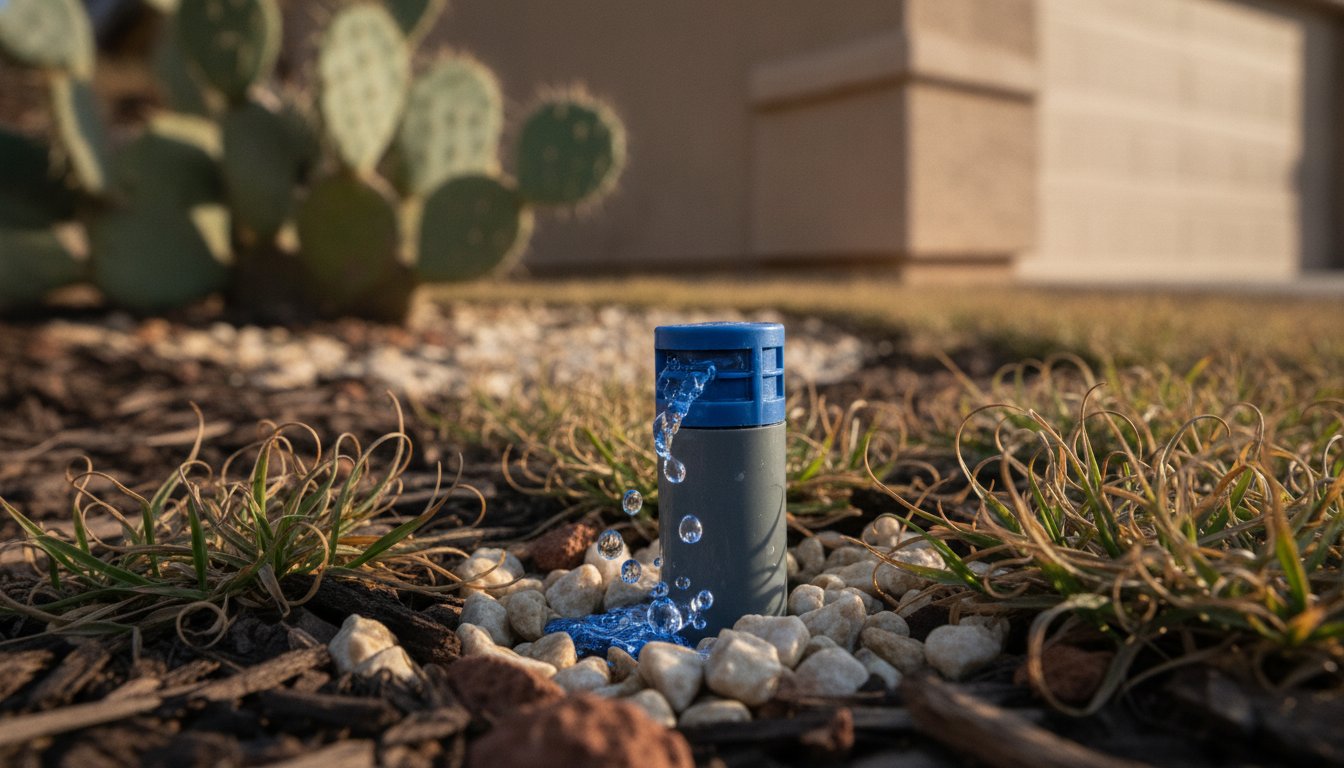
A visual inspection of the valve box often reveals the first clues. Look for obvious signs of distress like melted plastic casing, which is common in the high-temperature environments of Surprise and Peoria. Check for the smell of burnt electrical components or wires that have been frayed by pests or garden tools. If you notice water pooling around the base of the solenoid while the zone is off, you might have a "weeping" valve. This often indicates that the internal plunger isn't seating correctly, usually due to mineral buildup or a failing spring inside the solenoid itself.
Using a Multimeter to Test Ohms
The most reliable method for maintaining your irrigation system involves using a multimeter to check electrical resistance. Set your multimeter to the 200-ohm range. Disconnect the solenoid wires from the main irrigation cable and touch the probes to the lead ends. A healthy residential solenoid should typically read between 20 and 60 ohms. If your meter displays a '0' or a very low number, the coil has a short circuit. Conversely, a reading of '1' or 'OL' (Open Line) indicates an open circuit, meaning the internal copper coil is broken. Any reading outside the 20 to 60-ohm range necessitates immediate replacement to restore system functionality. If the numbers don't add up, scheduling a professional diagnostic can help identify if the issue lies deeper in your field wiring.
The Manual Bleed Test
If the electrical tests are inconclusive, use the manual bleed test to isolate the problem. Most solenoids are designed to act as a manual switch; turning the solenoid a quarter-turn counter-clockwise should bypass the electrical signal and open the valve mechanically. If the zone activates and water flows correctly during this test but fails to turn on via the controller, you've confirmed the issue is electrical. This narrows the fault down to the solenoid itself or the wiring leading back to the timer. For a deeper look at mechanical failures versus electrical ones, you can learn how to test if you have a bad valve to ensure you aren't overlooking a damaged diaphragm or a cracked valve body.
Solenoid Replacement vs. Complete Valve Overhaul
When you encounter a zone failure, the most logical first step is to determine if a targeted irrigation solenoid replacement will solve the problem or if the entire valve assembly has reached the end of its service life. From a cost-benefit perspective, replacing a single solenoid is a highly efficient fix, often costing a fraction of a professional valve replacement. However, this only holds true if the valve's internal mechanical components remain in good condition. Homeowners in Surprise and Peoria must weigh the age of the system against the immediate fault. If your valve body is less than five to seven years old and shows no signs of physical stress, a solenoid swap is usually the most prudent path forward.
Compatibility is a non-negotiable factor when sourcing parts. You must match the solenoid brand and model exactly to the valve body currently installed in your ground. Leading brands like Rain Bird, Hunter, and Irritrol use proprietary threading and plunger lengths that aren't interchangeable. Attempting to force a mismatched solenoid into a valve body can strip the PVC threads or lead to persistent leaks. As you inspect your irrigation system, check the top of the valve bonnet for a model number to ensure you're purchasing the correct hardware for your specific setup.
It's also essential to understand the "Diaphragm Factor." If your specific irrigation zone won't turn off, or if you notice water constantly weeping from the sprinkler heads when the system is idle, an irrigation solenoid replacement likely won't fix the issue. These symptoms usually point to a torn or debris-clogged diaphragm rather than an electrical coil failure. In the desert, fine silt and mineral deposits can easily wedge into the valve seat, preventing a watertight seal regardless of how well the solenoid is functioning.
When to Only Replace the Solenoid
- You've confirmed an electrical failure using the multimeter steps outlined previously, showing an open or shorted circuit.
- The valve body, bonnet, and internal diaphragm are relatively young and haven't been subjected to extreme mineral buildup.
- The internal plunger cavity is clean and free of the "white crust" associated with Arizona's hard water.
- The valve opens and closes perfectly during a manual bleed test, proving the mechanical parts are still functional.
When a Full Valve Replacement is Required
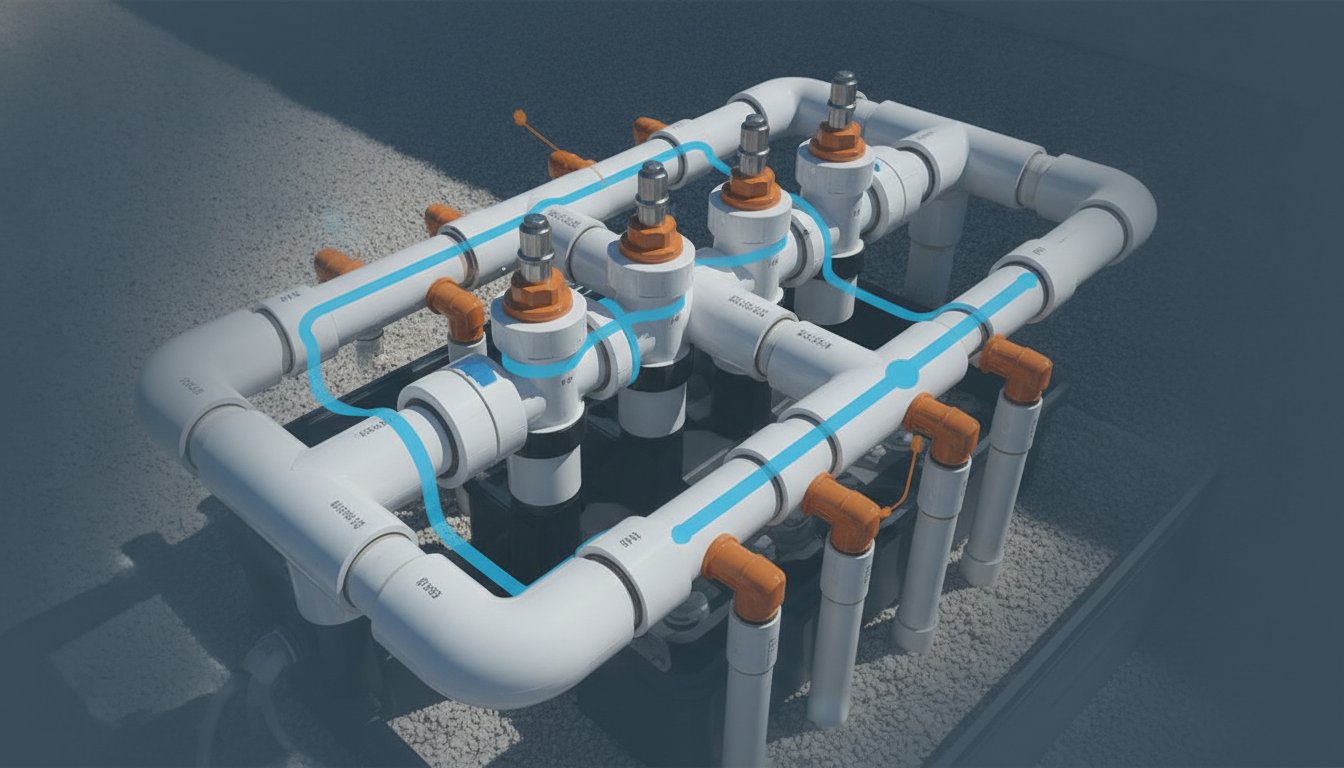
There are scenarios where a simple part swap is merely a temporary bandage on a systemic problem. Severe mineral scaling inside the valve body can create enough friction to burn out a new solenoid within months. If you notice cracks in the PVC housing or if the screw holes in the bonnet have become stripped, the structural integrity of the valve is compromised. Additionally, if you're dealing with older, obsolete valves where parts are no longer manufactured, an upgrade is the only reliable solution. For complex situations involving multiple failures, professional valve and backflow services ensure your system is rebuilt to modern standards of durability and water efficiency.
Step-by-Step Guide to Irrigation Solenoid Replacement
Once you've confirmed that the electrical coil has failed, the actual process of an irrigation solenoid replacement is straightforward but requires a meticulous approach to cleanliness. Begin by shutting off the main water supply to your irrigation system. This step is vital because it prevents pressure surges that can dislodge internal valve parts once the solenoid is removed. Open a manual bleed screw on the valve to relieve any residual line pressure before you start unscrewing the component.
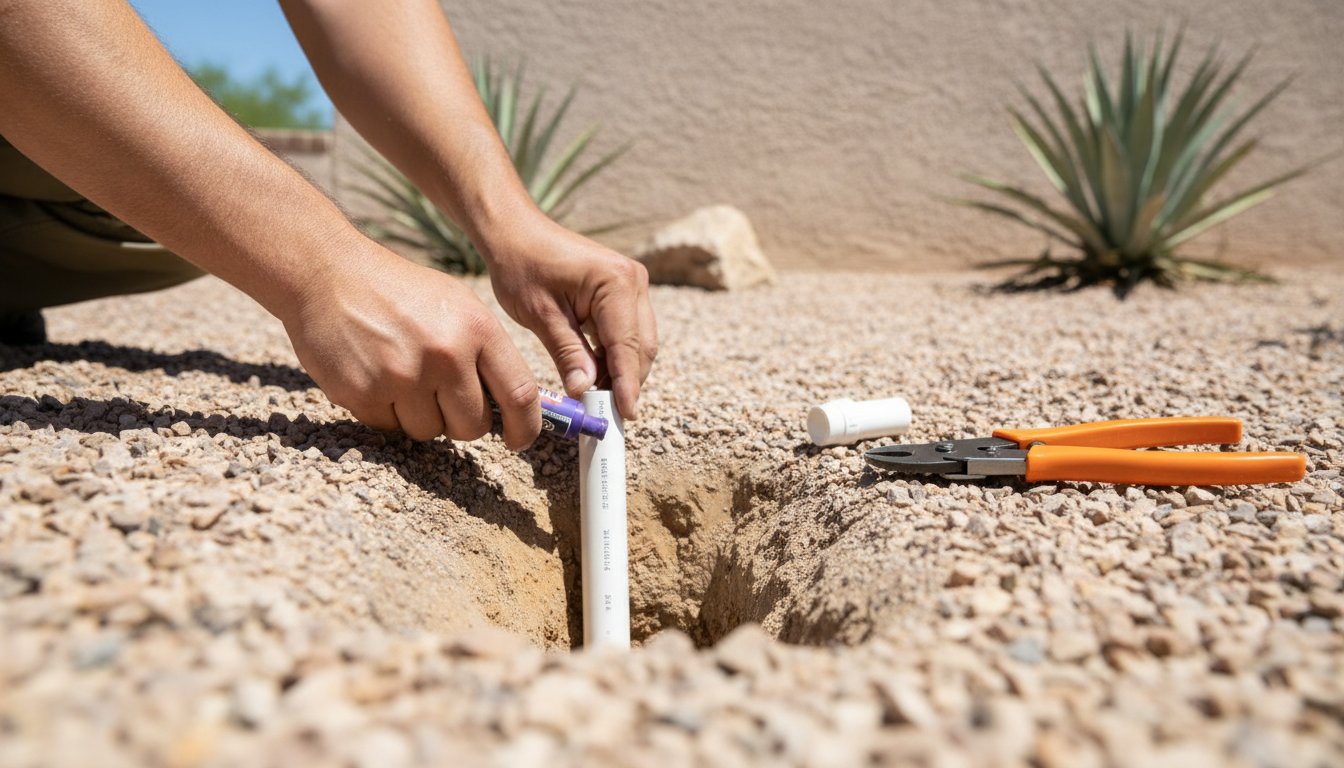
Carefully unscrew the old solenoid by turning it counter-clockwise. As you lift it out, pay close attention to the small plunger and spring; sometimes these parts can fall out and disappear into the dirt of the valve box. Use a clean, lint-free cloth to wipe the threads and the internal plunger seat of the valve body. In Arizona, even a single grain of desert sand can prevent the new solenoid from seating properly, leading to persistent leaks. If you find the job is more complex than anticipated or if you discover damage to the valve body, contact a professional to ensure your system is restored correctly.
When installing the new unit, thread it in by hand until it's snug against the O-ring. Don't use pliers or a wrench for this step. Over-tightening is a common mistake that leads to hairline cracks in the plastic valve bonnet, which eventually fail under the stress of high-pressure water cycles. A firm hand-tightening is all that's required to create a watertight seal.
Wiring the New Unit Correctly
Irrigation solenoids have two wires, and in a standard 24-volt AC system, it doesn't matter which wire connects to the common or the hot lead. However, consistency helps with future troubleshooting. Identify your common wire, which is usually white, and the hot wire, which will be the specific color assigned to that zone. Strip approximately half an inch of insulation from each lead to ensure a solid copper-to-copper connection. Use grease-filled, waterproof wire nuts to protect these connections. In Surprise and Peoria, our intense monsoon season can flood valve boxes, and standard wire nuts will corrode quickly, leading to intermittent signal failure.
Testing and Re-pressurizing the System
After the wiring is secure, you must re-pressurize the system with care. Slowly turn the main water supply back on to avoid a "water hammer," which is a high-pressure shockwave that can burst PVC pipes or damage valve diaphragms. Once the water is on, activate the zone from your controller. Observe the valve for several minutes to check for "weeping" or small leaks around the base of the solenoid. If the zone activates immediately and shuts off completely without leaking, your irrigation solenoid replacement is a success.
Beyond the Quick Fix: Long-Term Reliability for Desert Irrigation
While a successful irrigation solenoid replacement can restore a specific zone to operation, the long-term health of your landscape depends on a holistic approach to system maintenance. In the West Valley, our environmental conditions are particularly demanding. Dust storms, extreme heat, and heavy monsoon rains all place cumulative stress on your equipment. Taking a proactive stance ensures that your system remains efficient, preventing the sudden failure of your lawn or desert-adapted plants. Homeowners in Surprise should make it a habit to inspect their valve boxes following any major storm event. Silt and debris often wash into these boxes, burying solenoids and trapping moisture against the electrical leads. Over time, this leads to premature corrosion even when using high-quality waterproof wire nuts.
Modernizing your system is another effective way to reduce the frequency of repairs. Upgrading to a smart controller can manage electrical stress more effectively than older mechanical timers. These modern units often feature diagnostic alerts that notify you of a short circuit or high-resistance issue before it can damage your solenoid or the controller's internal ports. By reducing the electrical strain on your system, you extend the lifespan of every component from the timer to the valve. This forward-thinking approach preserves the health of your property while making the most of our limited water resources.
Preventative Maintenance for Arizona Valves
Maintaining your valves involves more than just fixing what's broken. We recommend clearing debris and silt from your valve boxes at least twice a year to maintain proper airflow and drainage. This simple step prevents the internal plunger cavity from becoming clogged with grit. You should also inspect the wire insulation for signs of "sun rot" or damage from desert rodents, as pack rats often chew through exposed wiring in search of moisture. Ensuring your valve box has a layer of gravel at the bottom can also prevent solenoids from being submerged during heavy rains, which is a leading cause of electrical failure in our region.
Why Professional Diagnostics Matter
Sometimes, a repeat failure suggests a deeper issue that a standard irrigation solenoid replacement won't address. A professional technician can distinguish between a faulty solenoid and a failing port on your controller, saving you from replacing parts that are still functional. more importantly, we can identify "ghost" electrical leaks in the field wiring. These are tiny breaks in the insulation that bleed power into the soil, causing intermittent performance and high water bills. For recurring or complex issues, utilizing expert irrigation wiring diagnostics is the only way to ensure the permanent health of your system.
If you find yourself struggling with a zone that refuses to cooperate or suspect your system is losing efficiency, it's often more cost-effective to seek an expert opinion. Since 1999, we've provided grounded expertise to homeowners throughout the West Valley, focusing on durable repairs and precise water management. You can contact Sonora Sprinkler Inc. for professional irrigation repair in Surprise and Peoria to ensure your landscape thrives regardless of the desert heat.
Securing Your System for the Seasons Ahead
Restoring a dead zone requires more than just a quick part swap; it demands an understanding of how desert stressors impact electrical components. By following the diagnostic steps outlined in this guide, you've learned to use a multimeter to verify electrical health and distinguish between a simple irrigation solenoid replacement and a complex diaphragm failure. These precision checks, combined with meticulous installation and waterproof wiring connections, are the keys to maintaining an efficient landscape in the West Valley.
While many repairs are manageable for a dedicated homeowner, systemic wiring faults or recurring failures often benefit from a master craftsman's perspective. Our family-owned team at Sonora Sprinkler Inc. has specialized in desert landscape irrigation since 1999, bringing grounded expertise to every residential property we service in Surprise and Peoria. We take pride in providing the specialized diagnostics and durable repairs that keep your yard thriving through the summer heat. If your system requires a deeper look to ensure peak performance, schedule your professional irrigation diagnostic in Surprise today! With a well-maintained system, you can enjoy a resilient Arizona landscape with total confidence.
Frequently Asked Questions
Can I replace just the solenoid on a sprinkler valve?
Yes, you can replace just the solenoid if the valve body and internal diaphragm remain in good condition. This targeted irrigation solenoid replacement is a cost-effective way to fix electrical failures without the labor of cutting PVC pipes. It's a common maintenance task that preserves the integrity of your existing valve manifold while restoring zone functionality quickly.
How do I know if my irrigation solenoid is bad?
You'll know a solenoid is bad if a specific zone fails to activate from the controller but opens manually when you turn the solenoid a quarter-turn. Other signs include a distinct humming sound without water flow or visible melting of the plastic casing. Electrical testing with a multimeter remains the most accurate way to confirm a dead coil without guesswork.
What should a sprinkler solenoid read on a multimeter?
A healthy residential solenoid should typically read between 20 and 60 ohms on a multimeter set to the 200-ohm range. A reading of zero indicates a short circuit, while a reading of '1' or 'OL' means the internal coil has a break. Readings consistently outside this specific range confirm that the component is faulty and requires immediate replacement.
Are all irrigation solenoids the same or interchangeable?
No, irrigation solenoids are not universal and must match the specific brand and model of your valve body. Manufacturers like Rain Bird, Hunter, and Irritrol use proprietary thread patterns and plunger lengths that don't cross over. Attempting to use a mismatched part will lead to leaks or mechanical failure, so always check the valve bonnet for model details first.
Why does my sprinkler zone stay on even when the controller is off?
This issue usually points to a mechanical failure in the valve diaphragm rather than a bad solenoid. If debris or a tear prevents the diaphragm from sealing, water will flow regardless of the electrical signal. While an irrigation solenoid replacement fixes zones that won't turn on, a valve that won't shut off often requires a diaphragm cleaning or a full valve overhaul.
How much does it cost to have a professional replace an irrigation solenoid?
Professional costs vary based on the accessibility of your valve box and the specific replacement parts required for your system. While the replacement part itself is affordable, a technician's fee covers the precision diagnostics needed to ensure the field wiring and controller ports are also functional. Investing in professional repair ensures the long-term reliability of your Surprise or Peoria landscape.
Can a bad solenoid cause my irrigation controller to fuse or short out?
Yes, a shorted solenoid can pull excessive current and potentially damage the output station on your irrigation controller. Most modern controllers have built-in circuit breakers to prevent total system failure, but repeated attempts to run a zone with a bad solenoid can eventually burn out the transformer. Replacing a failing solenoid early protects your more expensive controller components.
Do I need to turn the water off to change a solenoid?
Yes, it's highly recommended to shut off the main irrigation water supply before unscrewing a solenoid from the valve. Removing the component while the line is under pressure can cause the internal plunger and spring to eject forcefully, leading to lost parts or water flooding the valve box. Relieving the pressure ensures a clean, safe installation of the new unit.